Restoration of Lisa 1 upgraded to Lisa 2
#14 LISA’s restoration, the keyboard

12 May 2020 -


The LISA keyboards, it’s simple, they all die...
It was with this sentence that I decided to begin this article. Why? Quite simply because during my tests, I inevitably needed, at one time or another, a keyboard. And it’s not complicated, despite the six or seven I have, none worked. Whose fault was that? It’s simply a question of time.
In fact, the keys of the LISA keyboard are made of foam, covered on each side by a piece of rigid plastic and a Mylar-type material. It’s called "capacitive" in electronics. In general, this is not the most common method for a keyboard, a good old electrical contact does the job very well.
For more information on this type of keyboard made by Key tronics in the 80’s, I refer you to Wikipedia.
The problem over time is that the foam contracts and disintegrates completely. The original thickness is only a vague memory and the capacitive role is absent.
This is a known and recurring problem with this type of keyboard. Other manufacturers have used Key tronics for their keyboards, and all the collectors who own them have the same problem and have to repair them. Apple and its LISA keyboard are no exception.
A little tour of the owner:
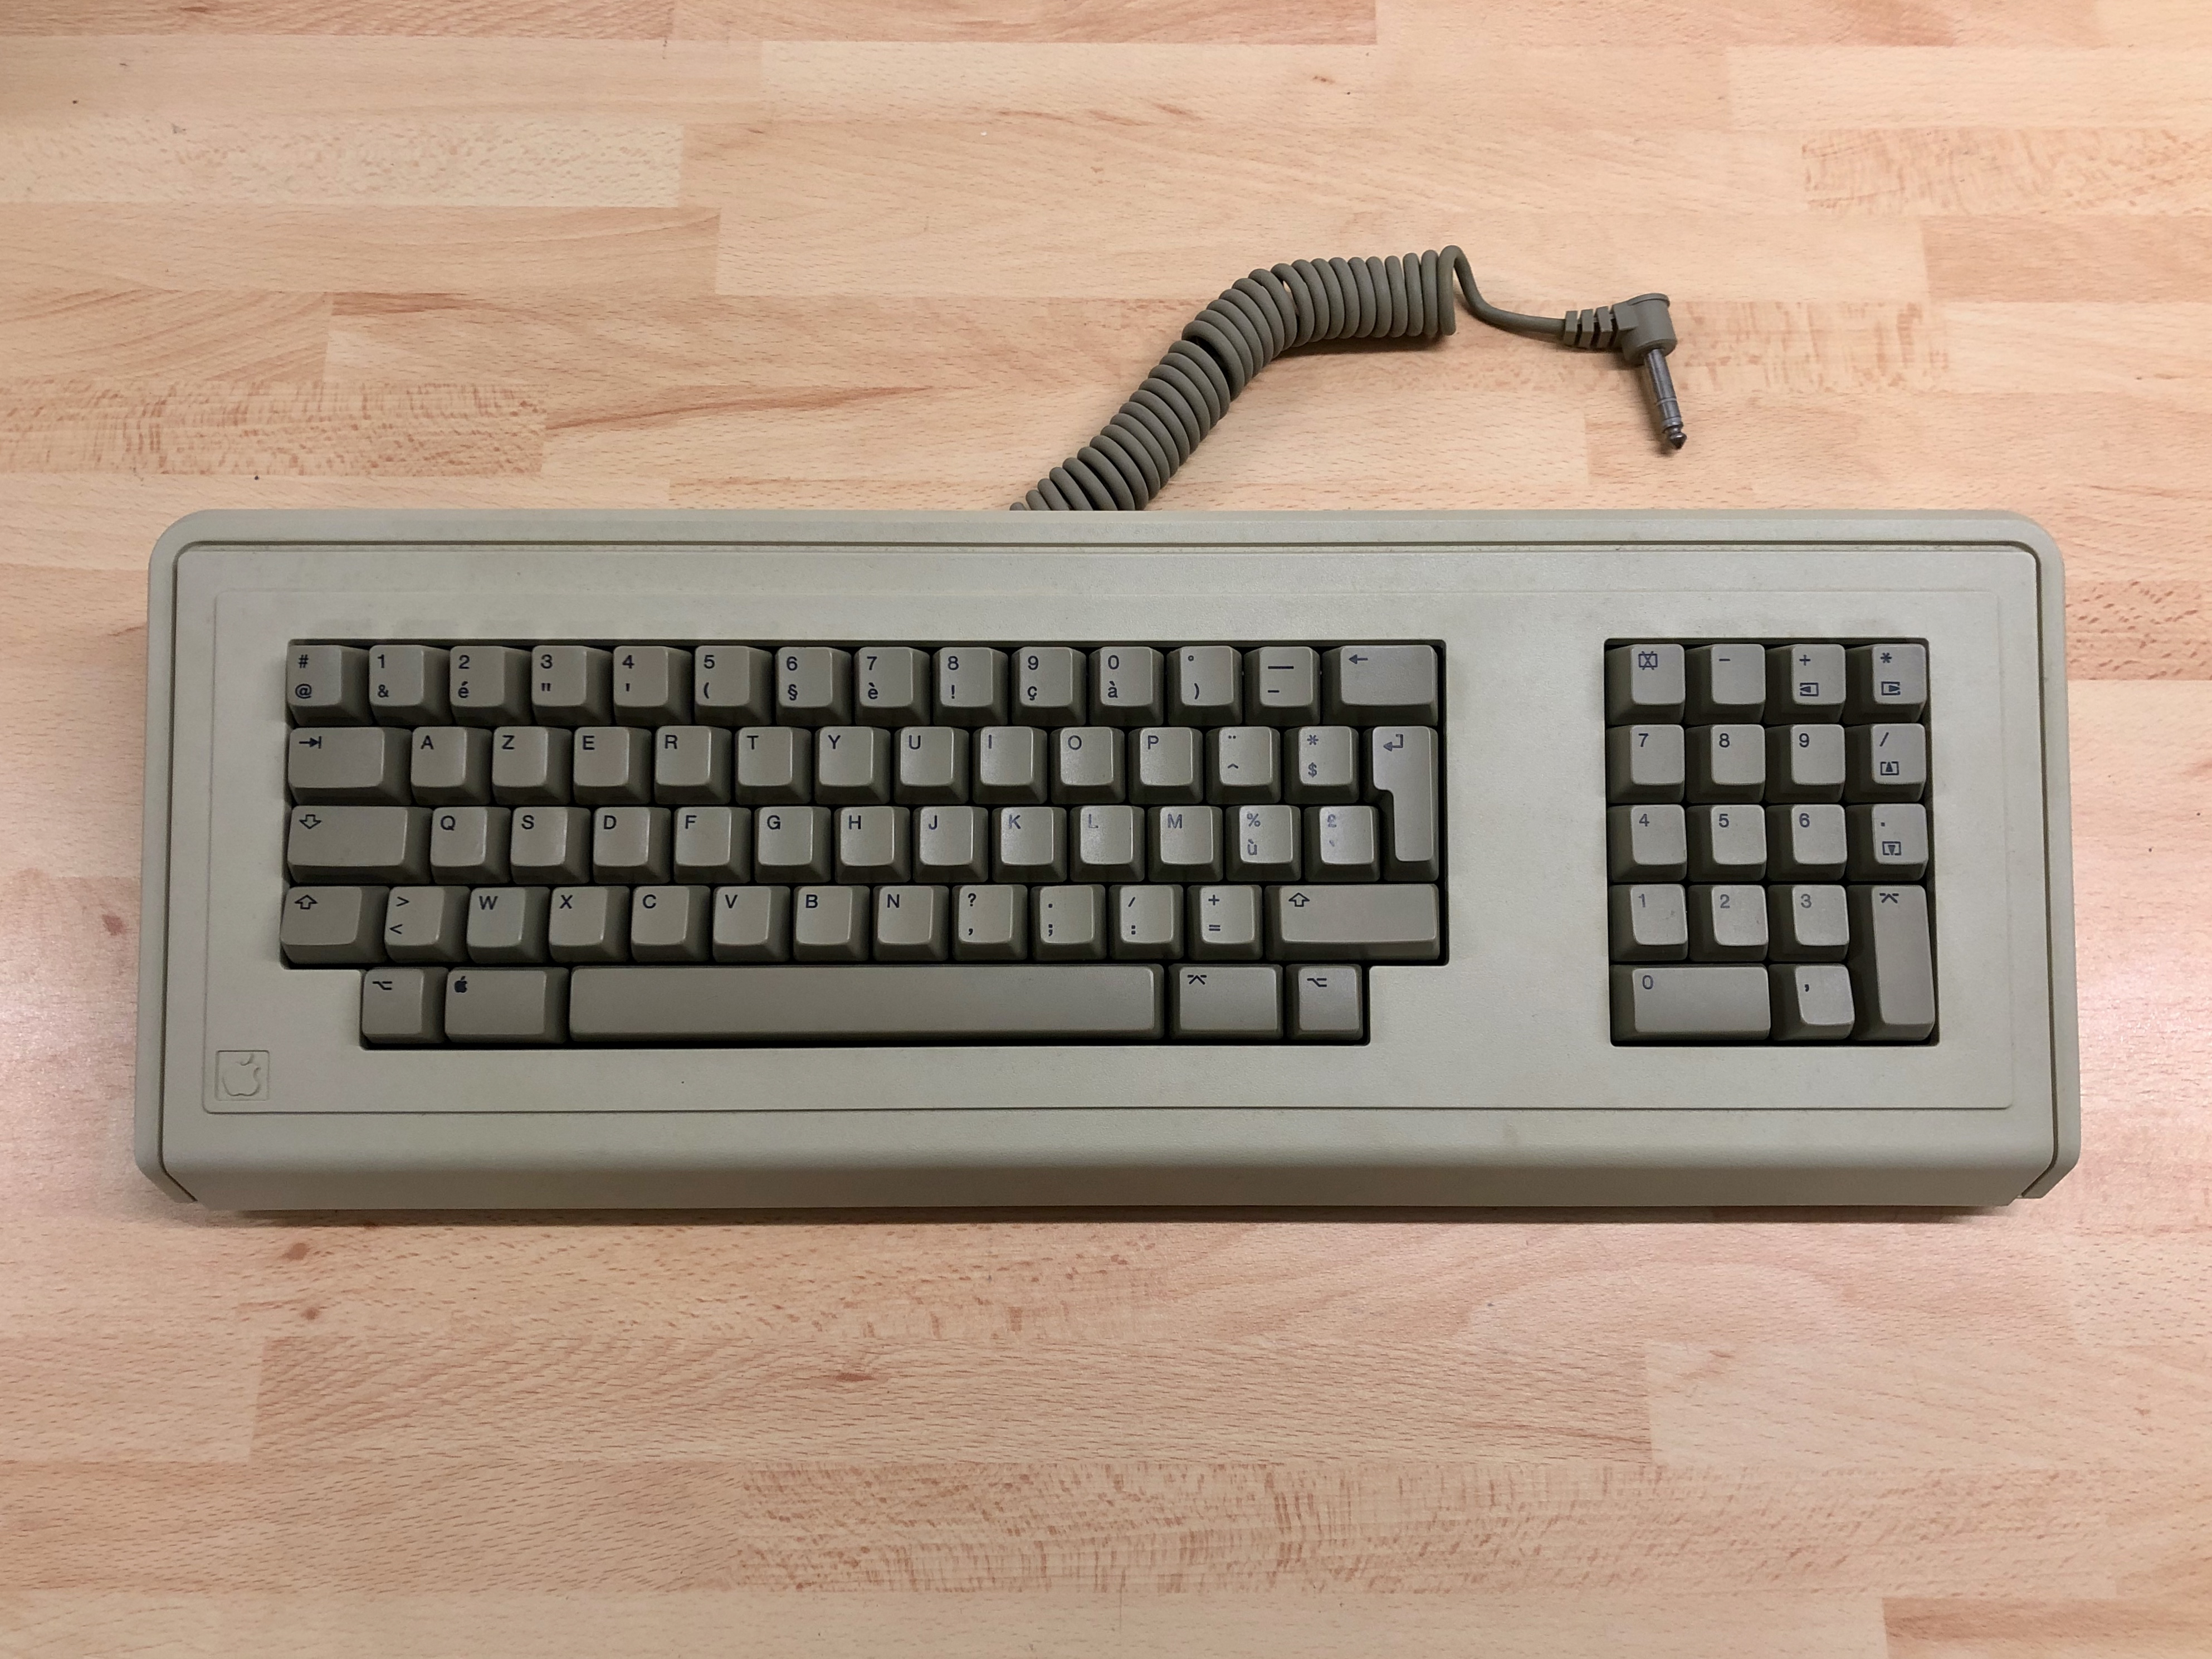
Note the 6.35mm jack plug which serves as a connector with the computer.
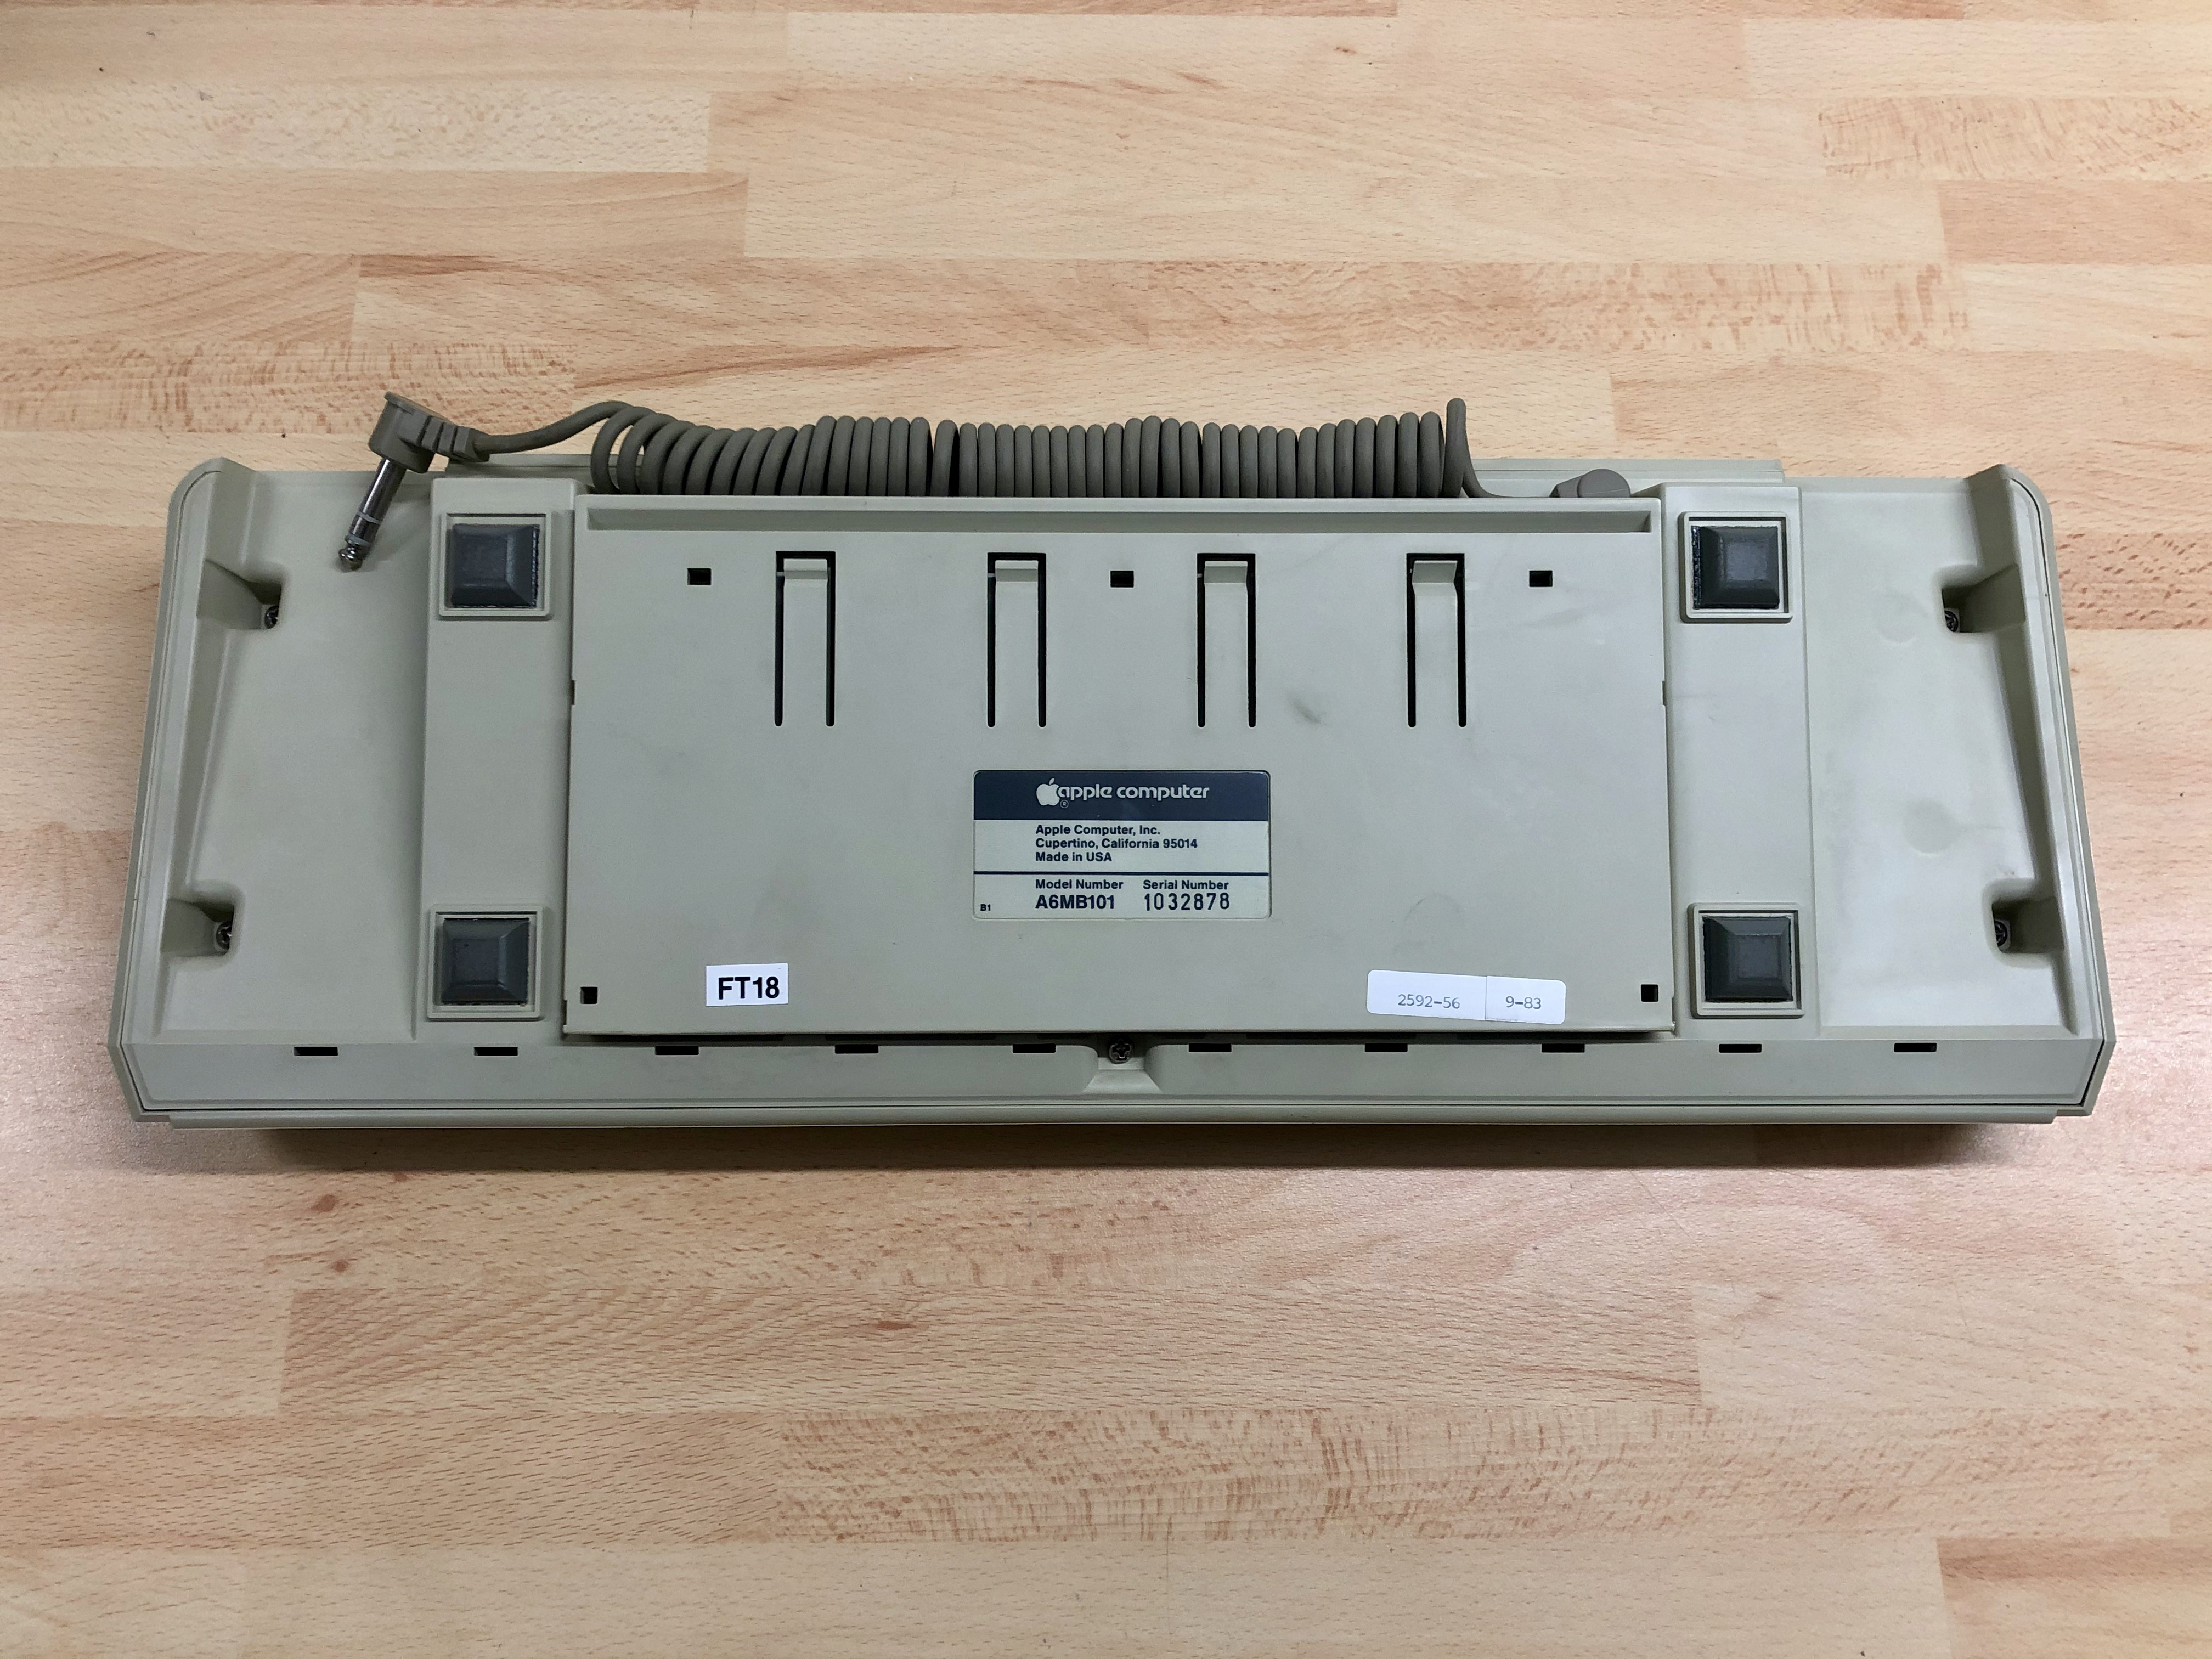
The keyboard is dated September 1983.
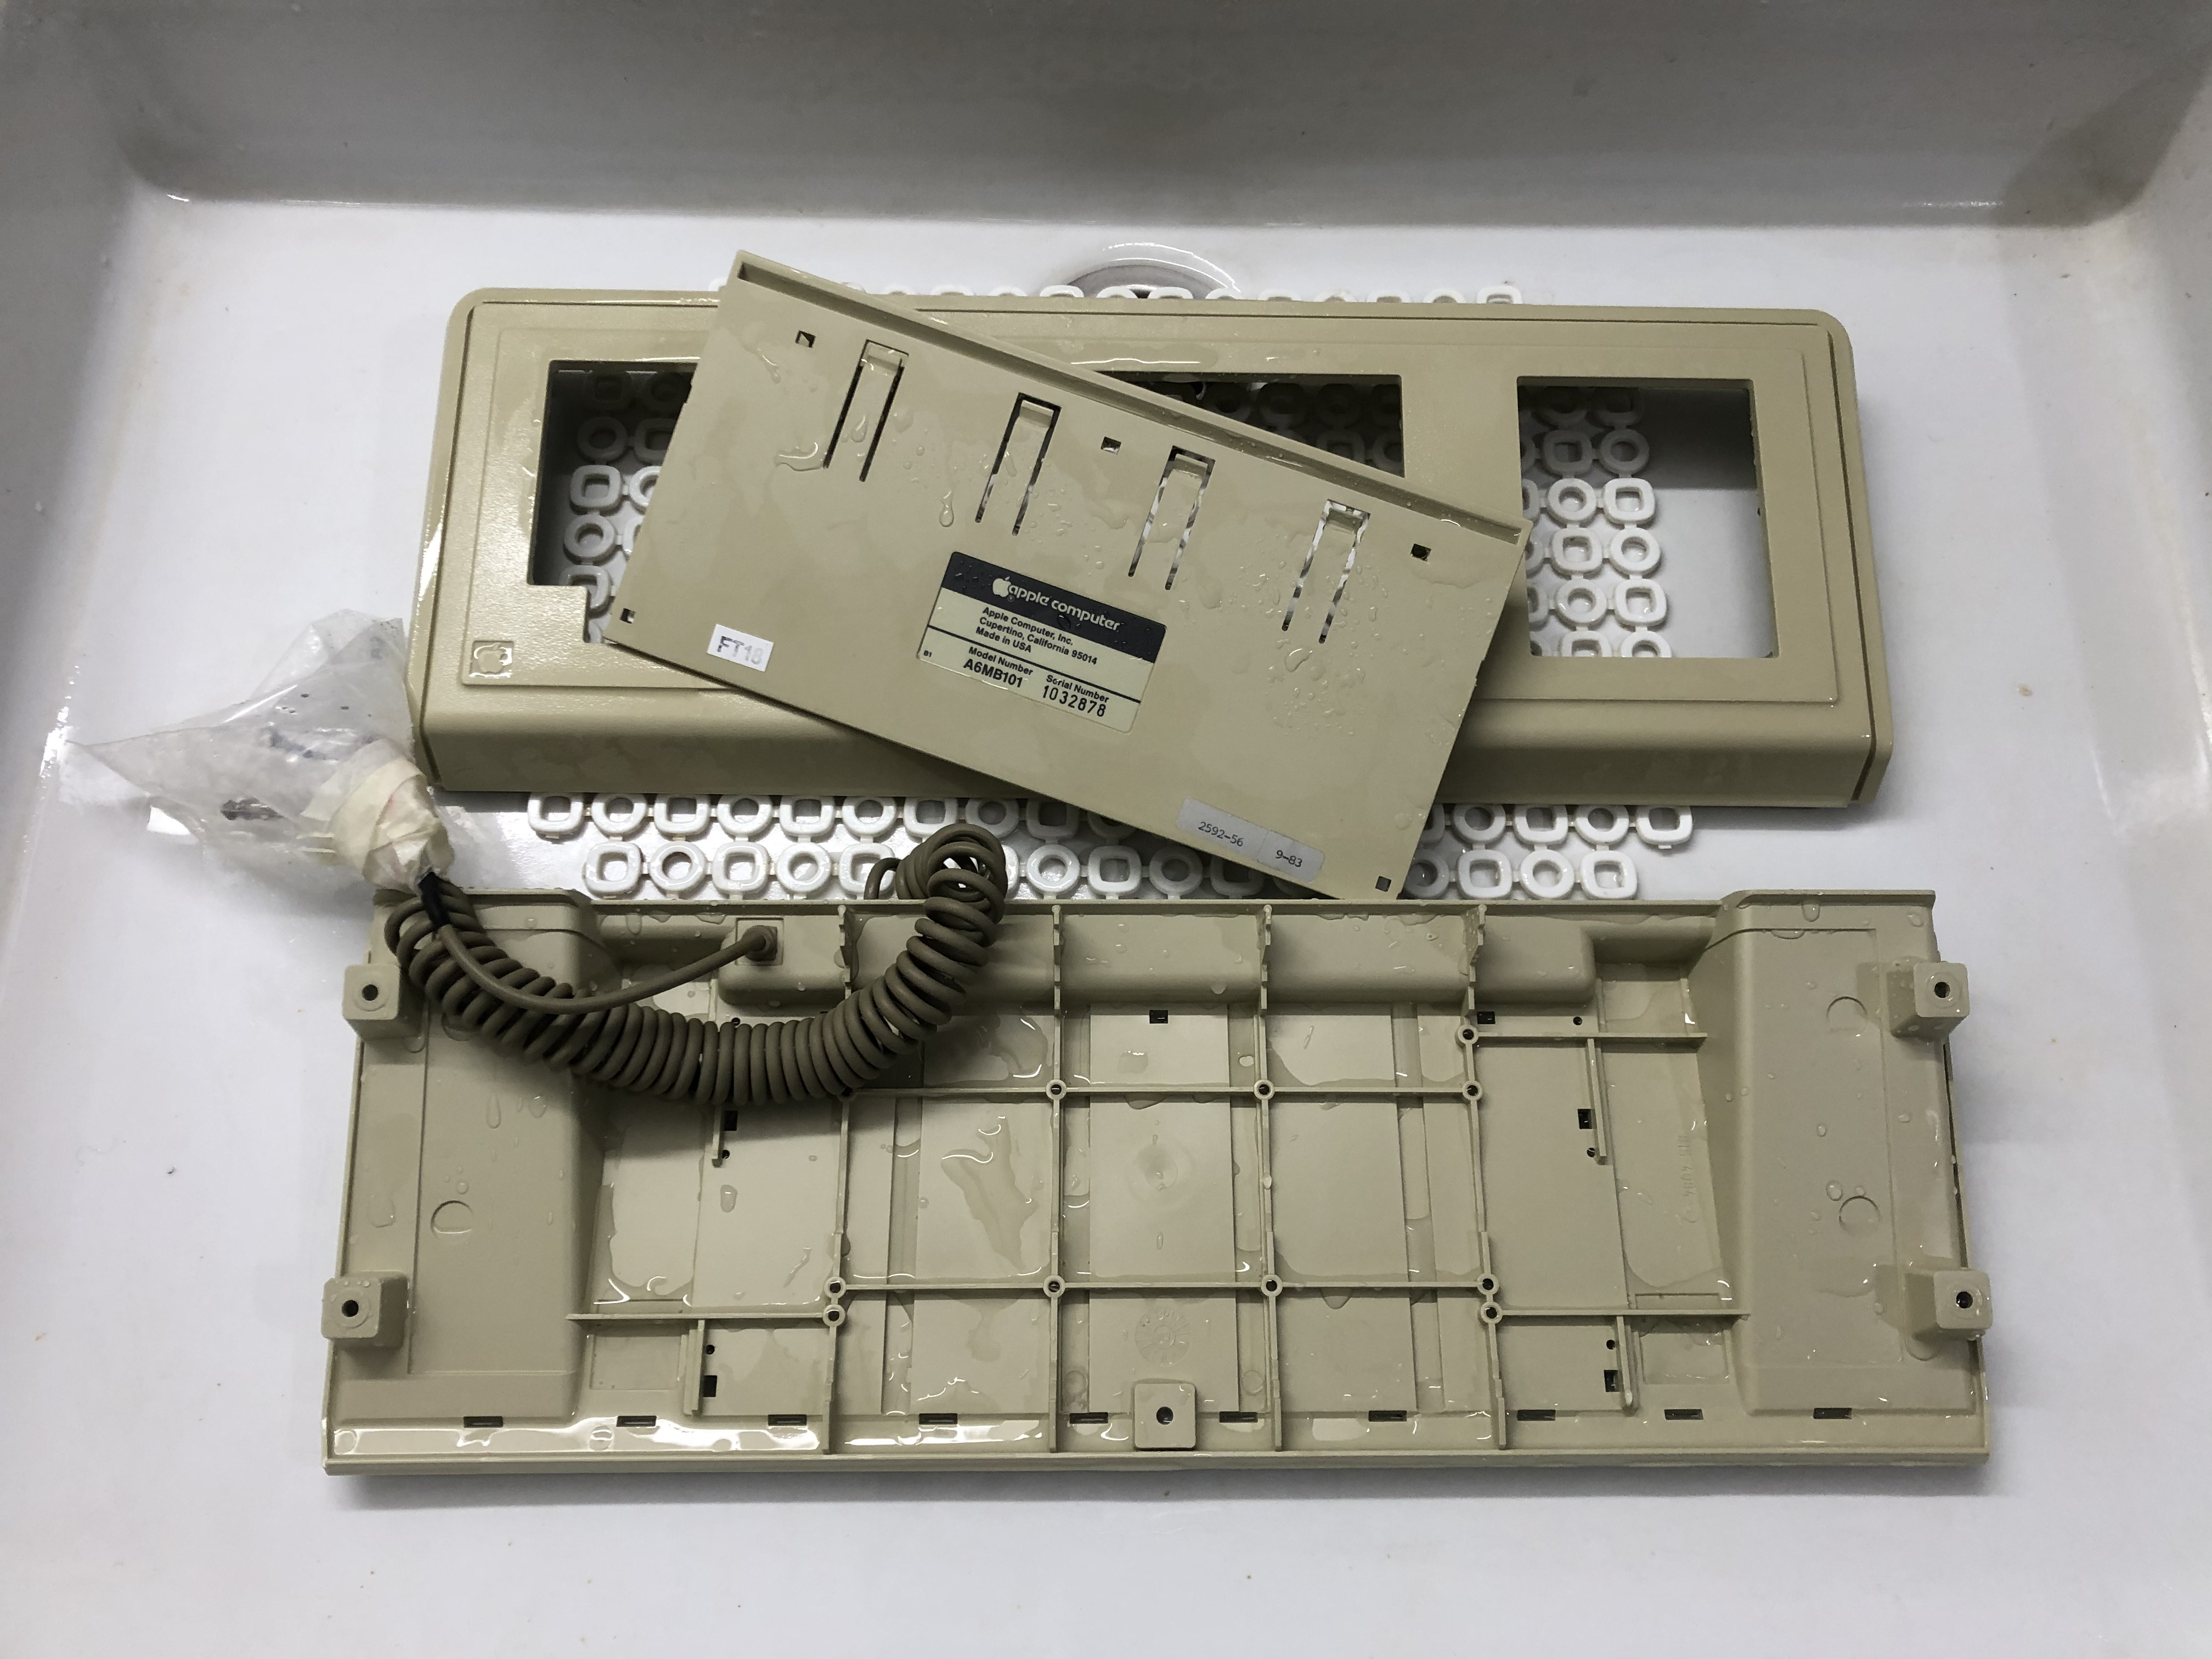
Let’s go for dismantling. Five screws to remove.

Separation of the lower and upper parts.
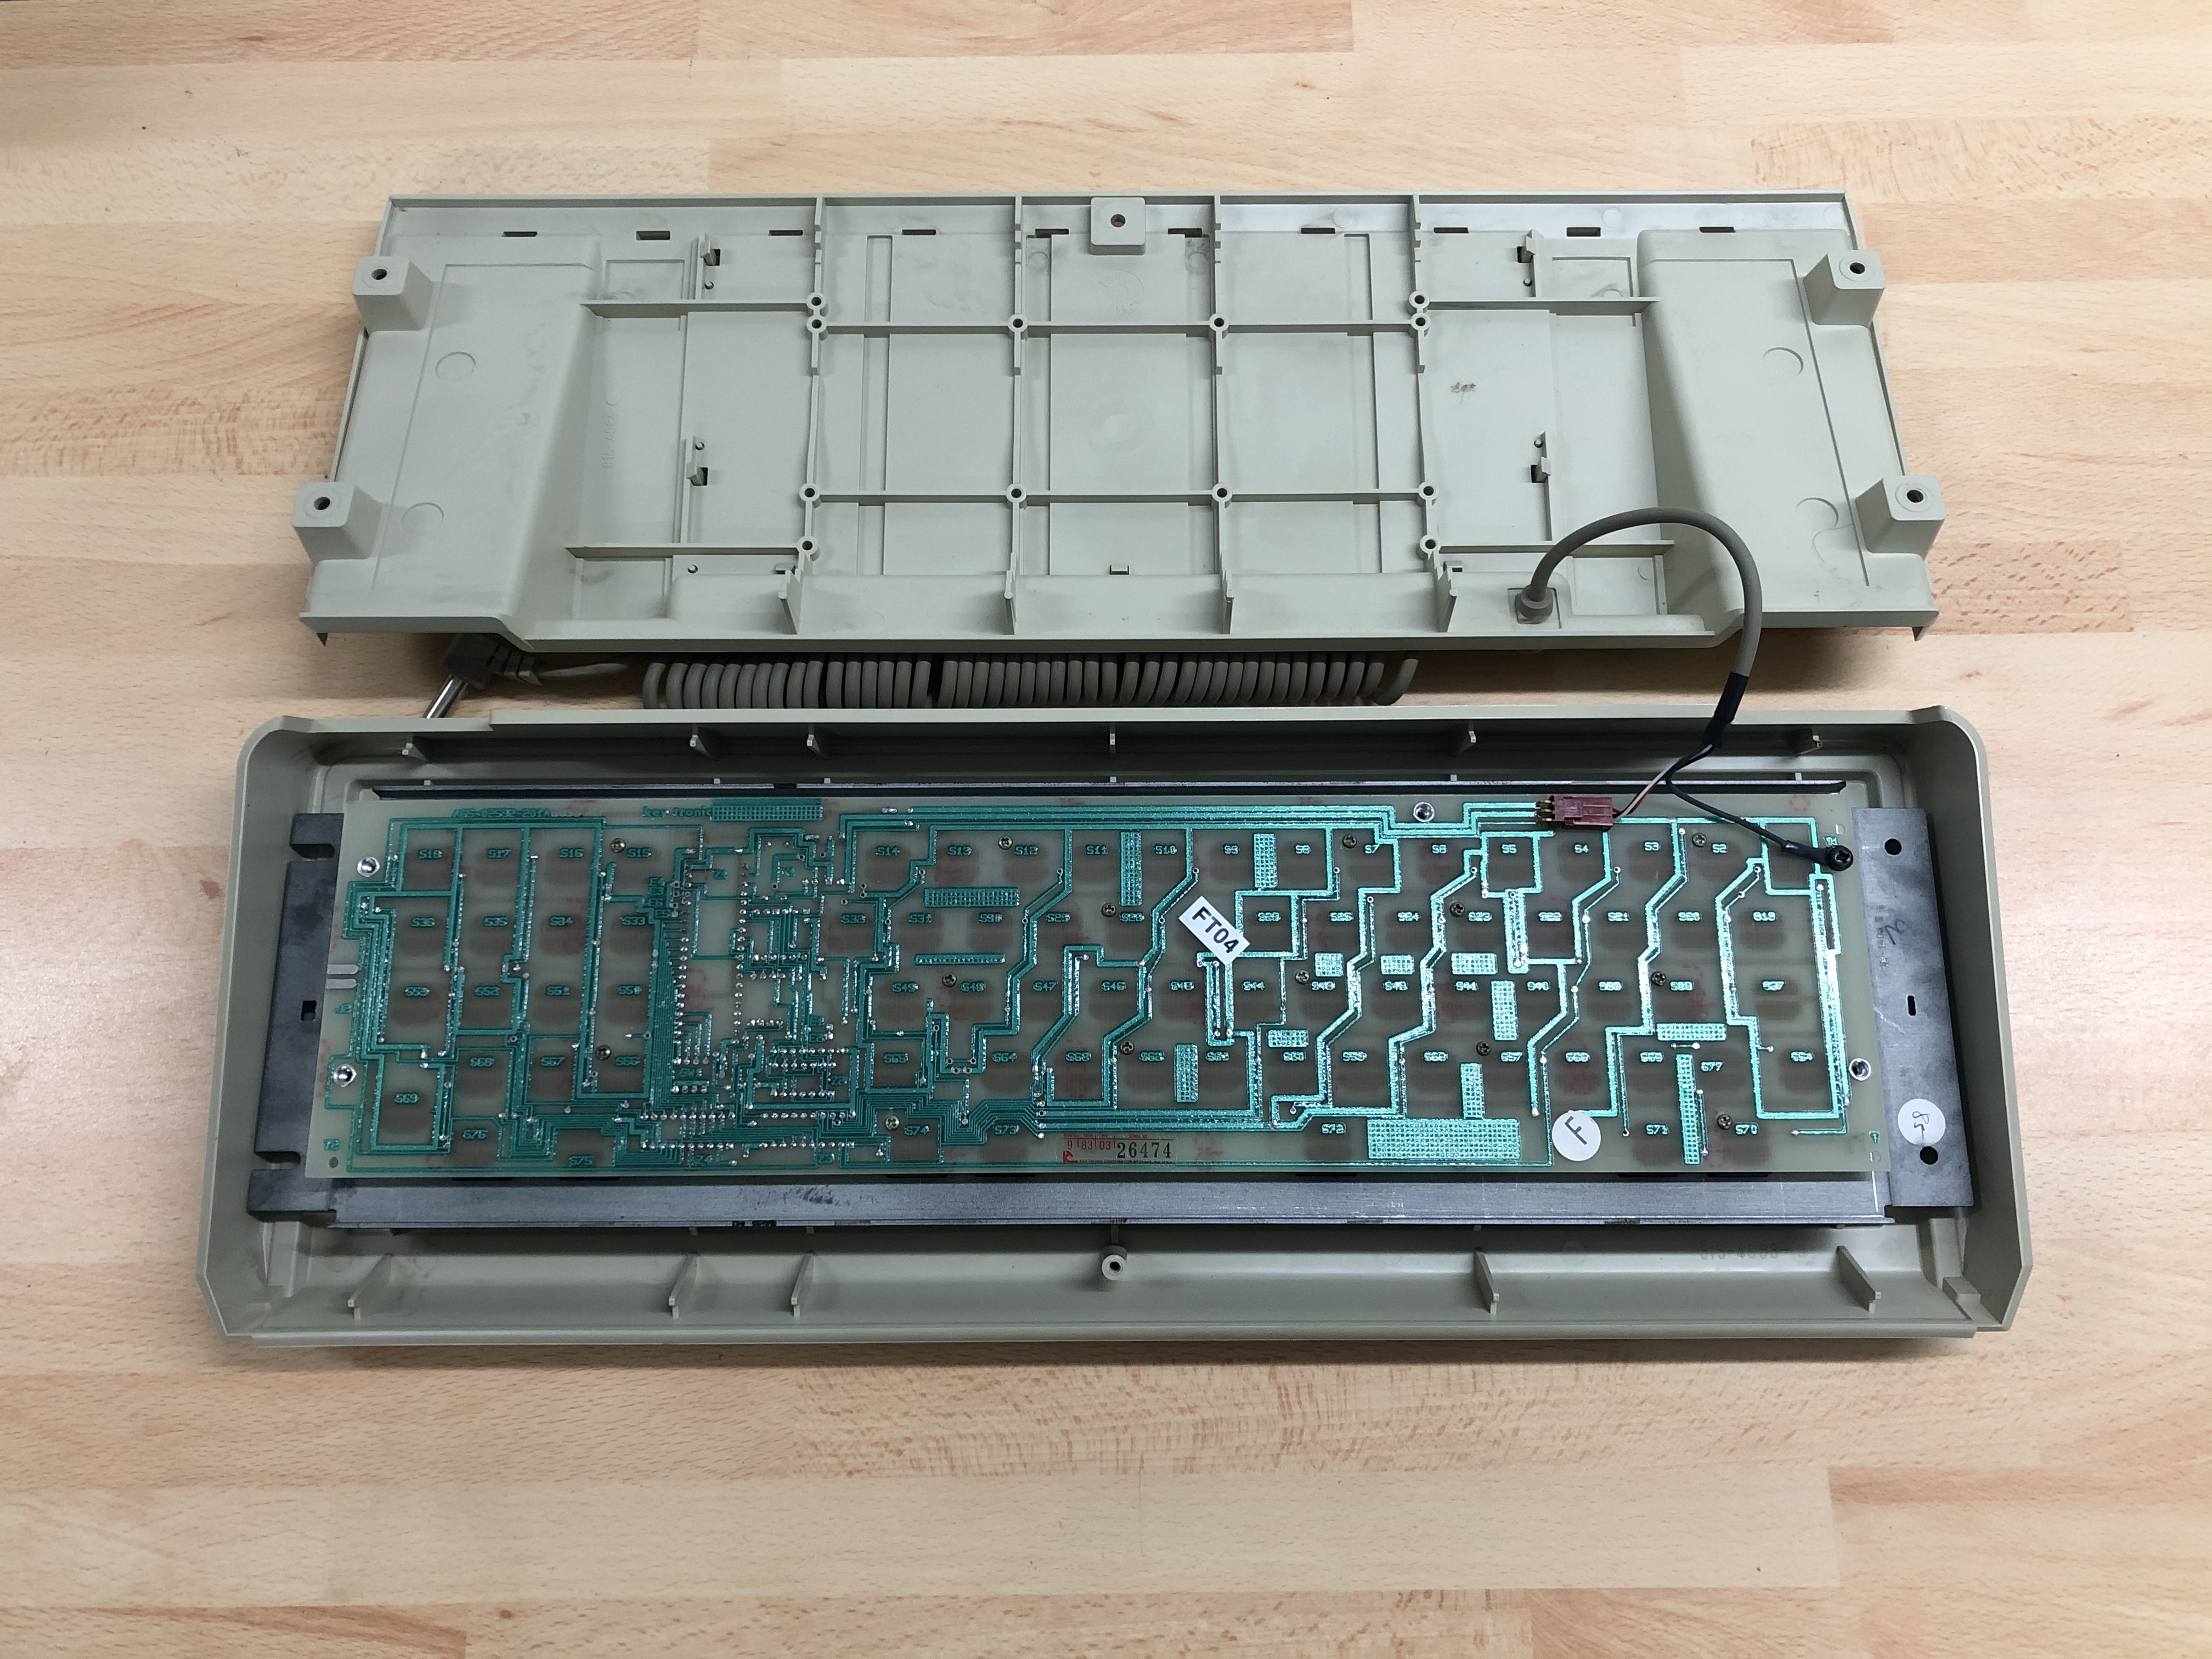
The part where the keys are located is held only by pressing. No screws.
On the other hand, a few screws have to be removed to separate the mechanical and electronic parts, as well as the wire of the jack connector.
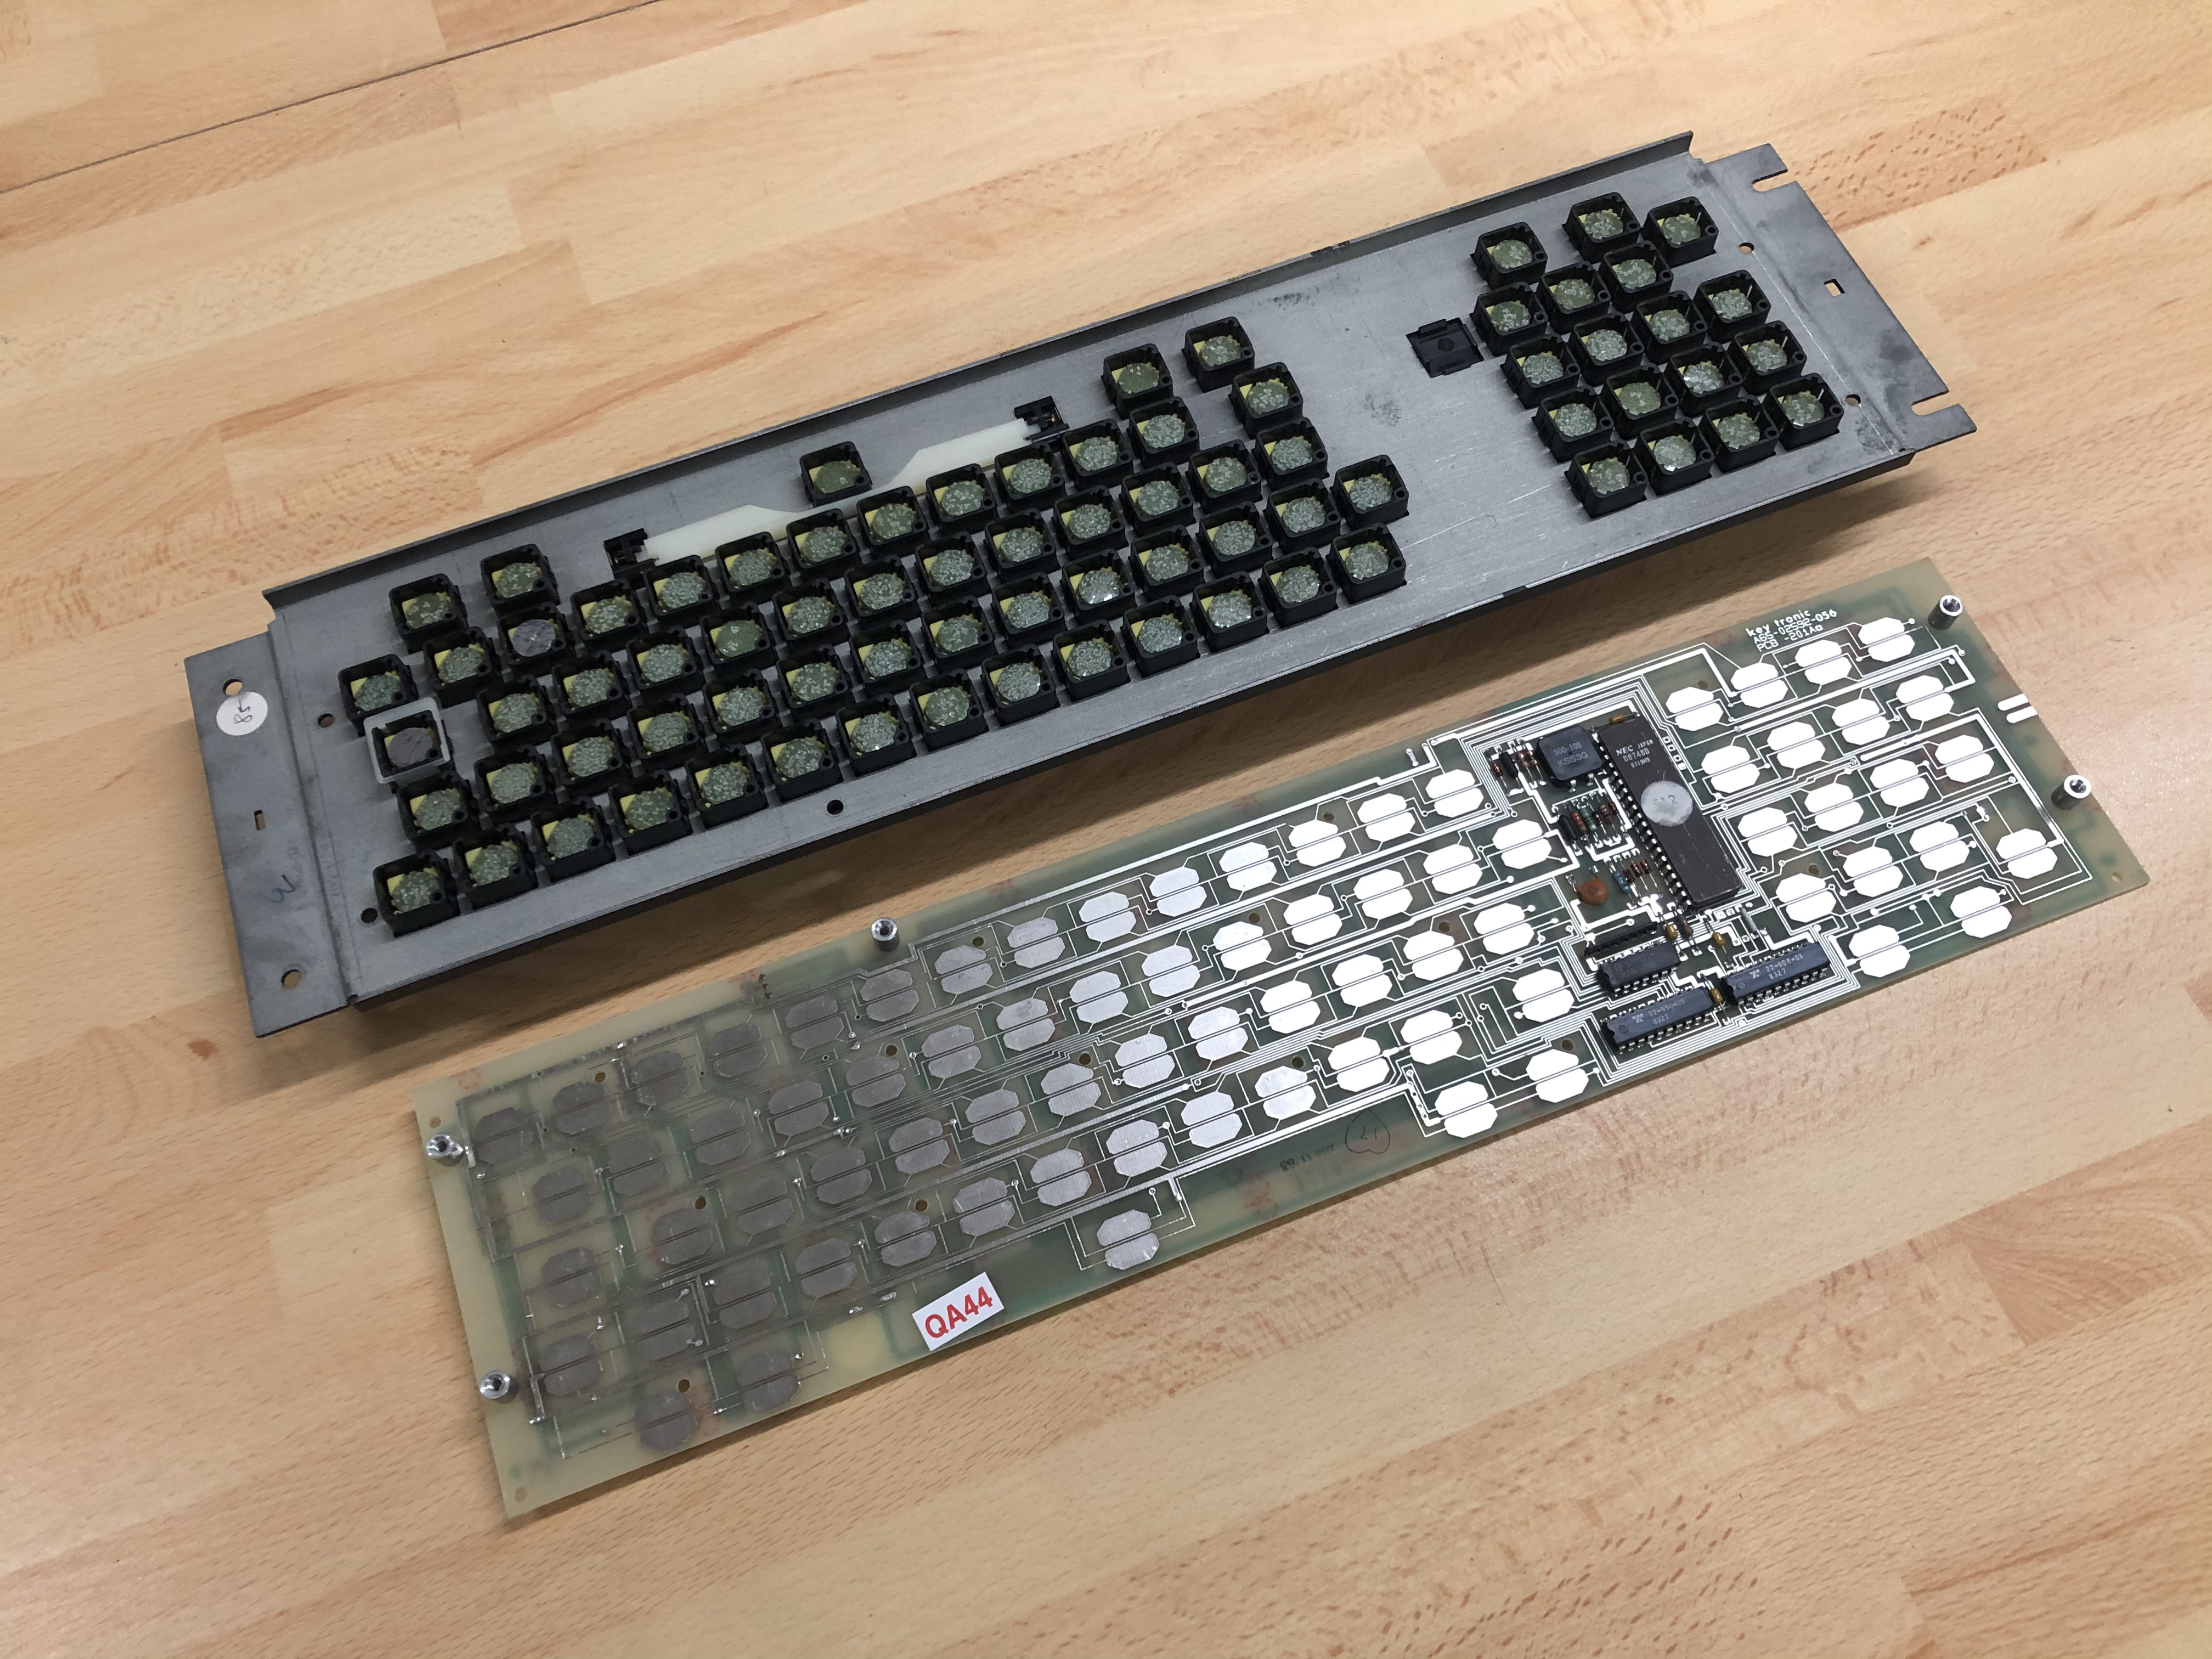
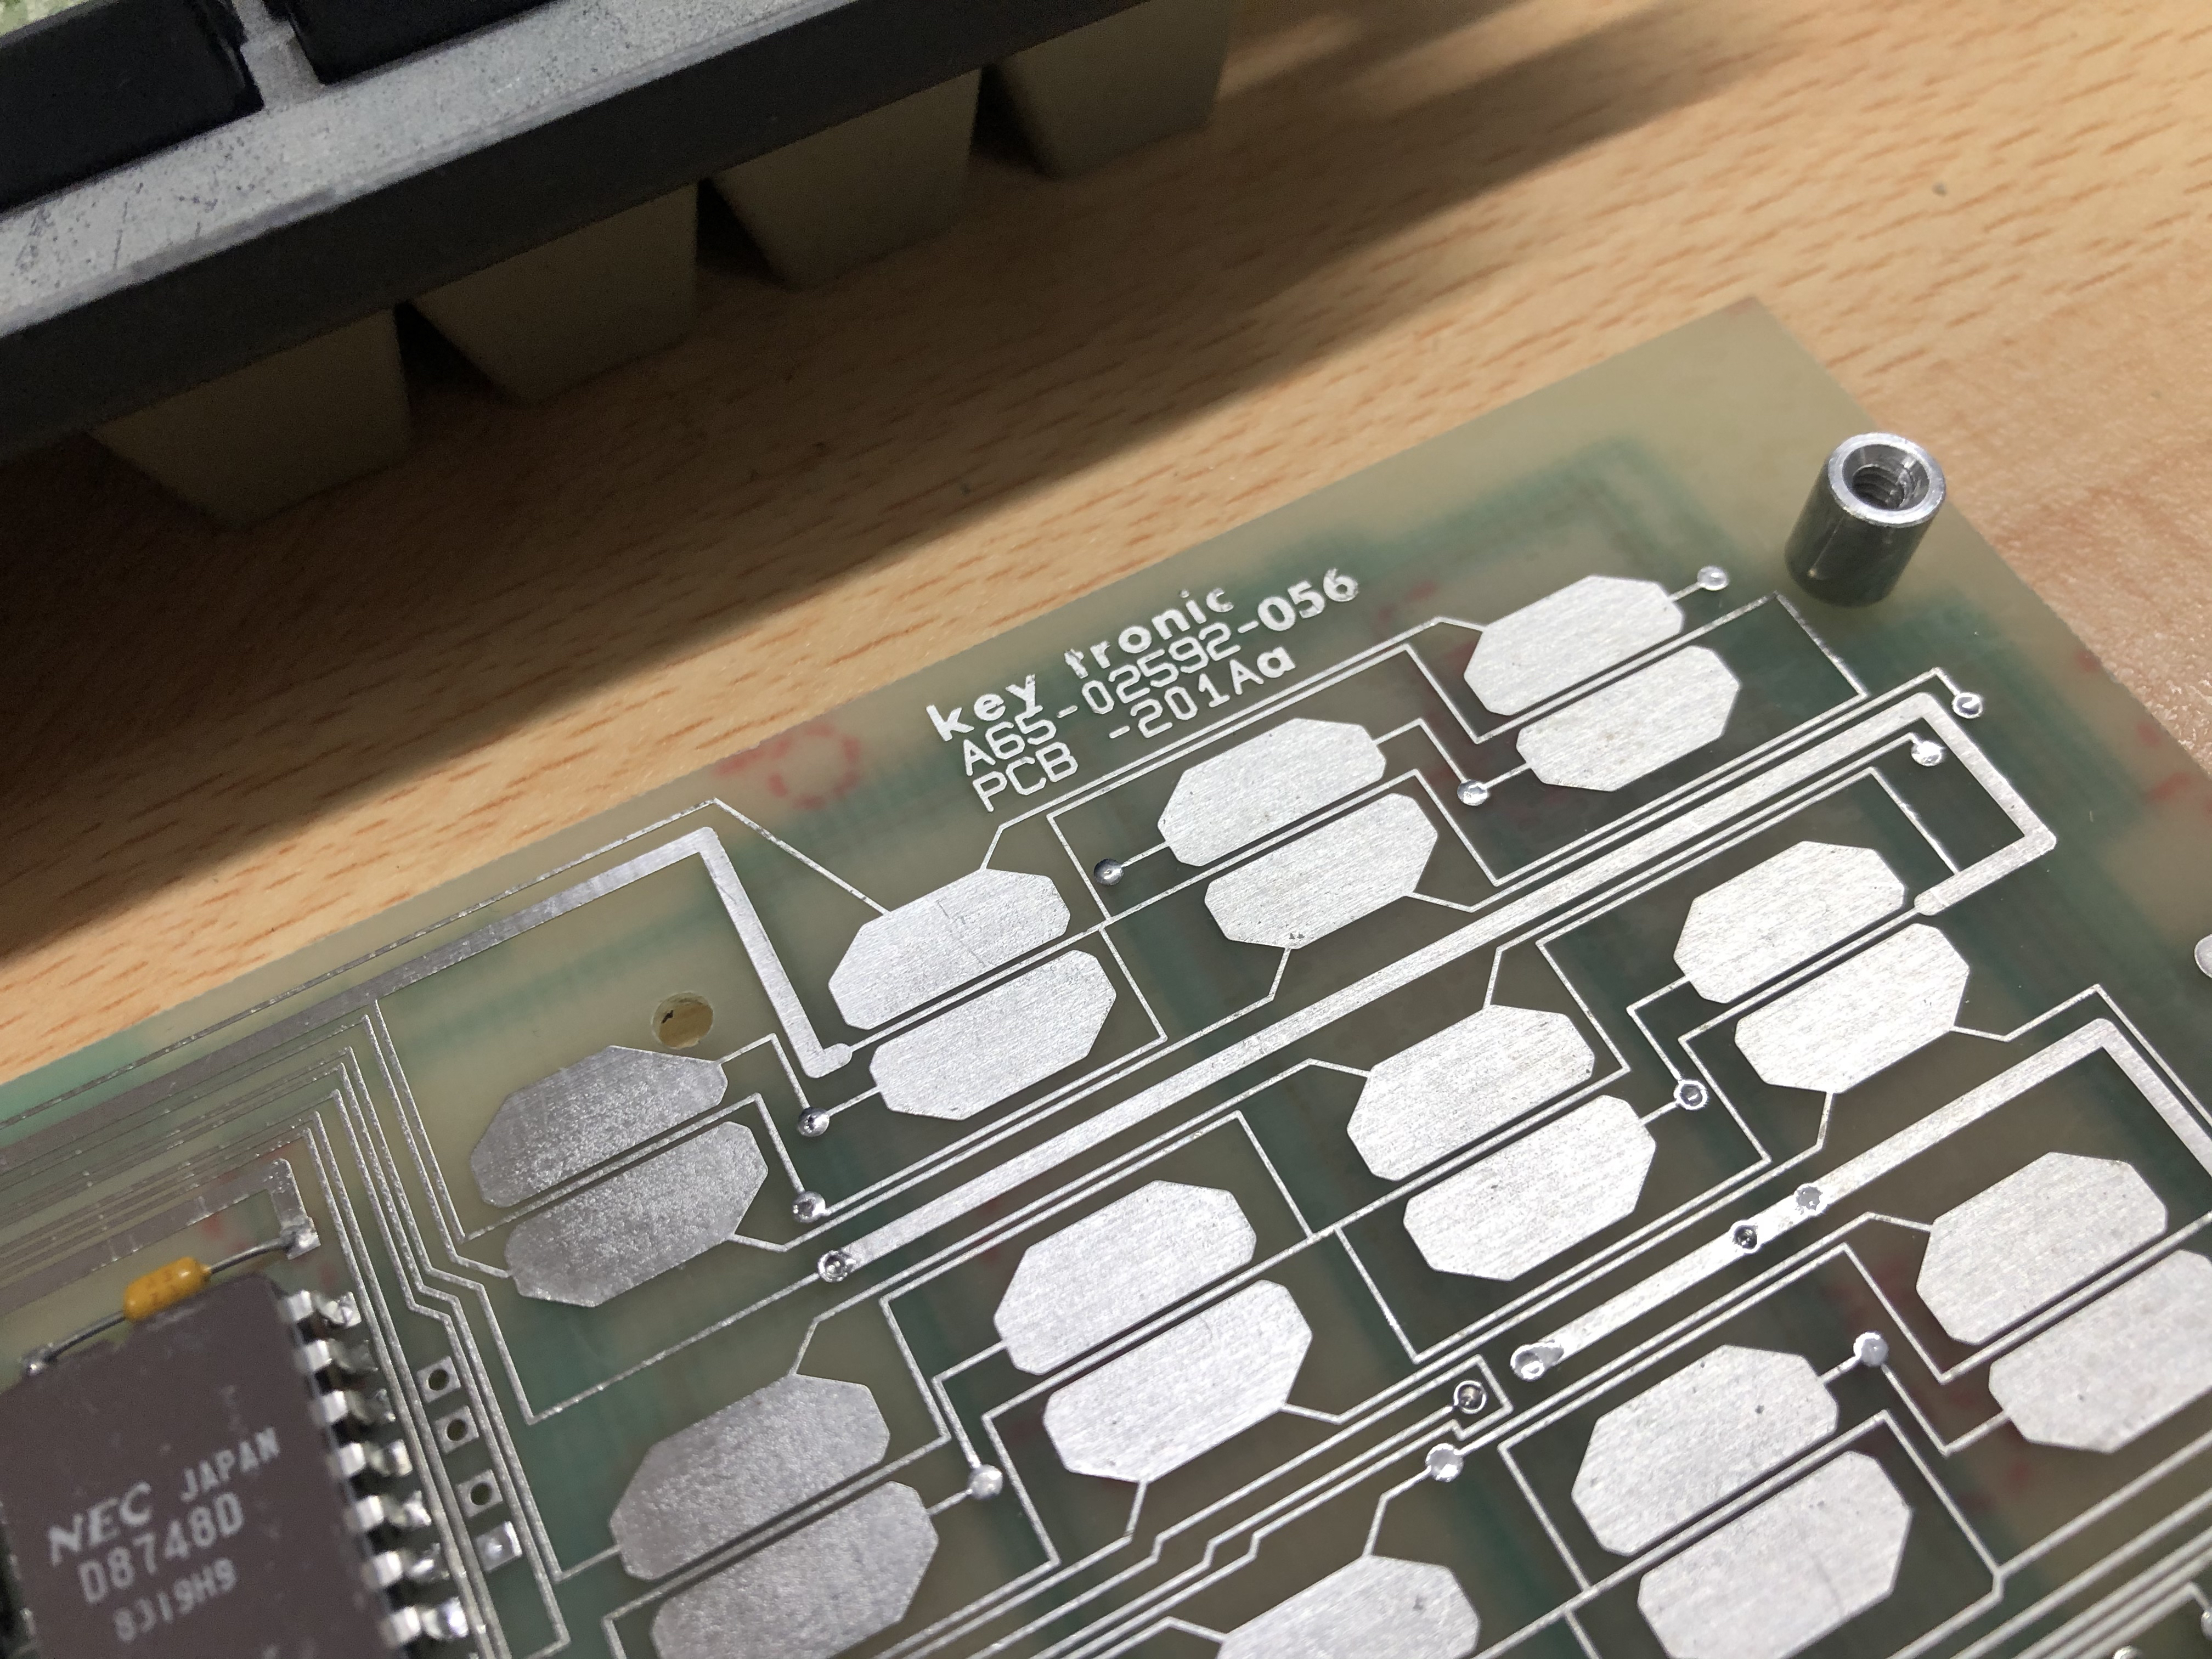
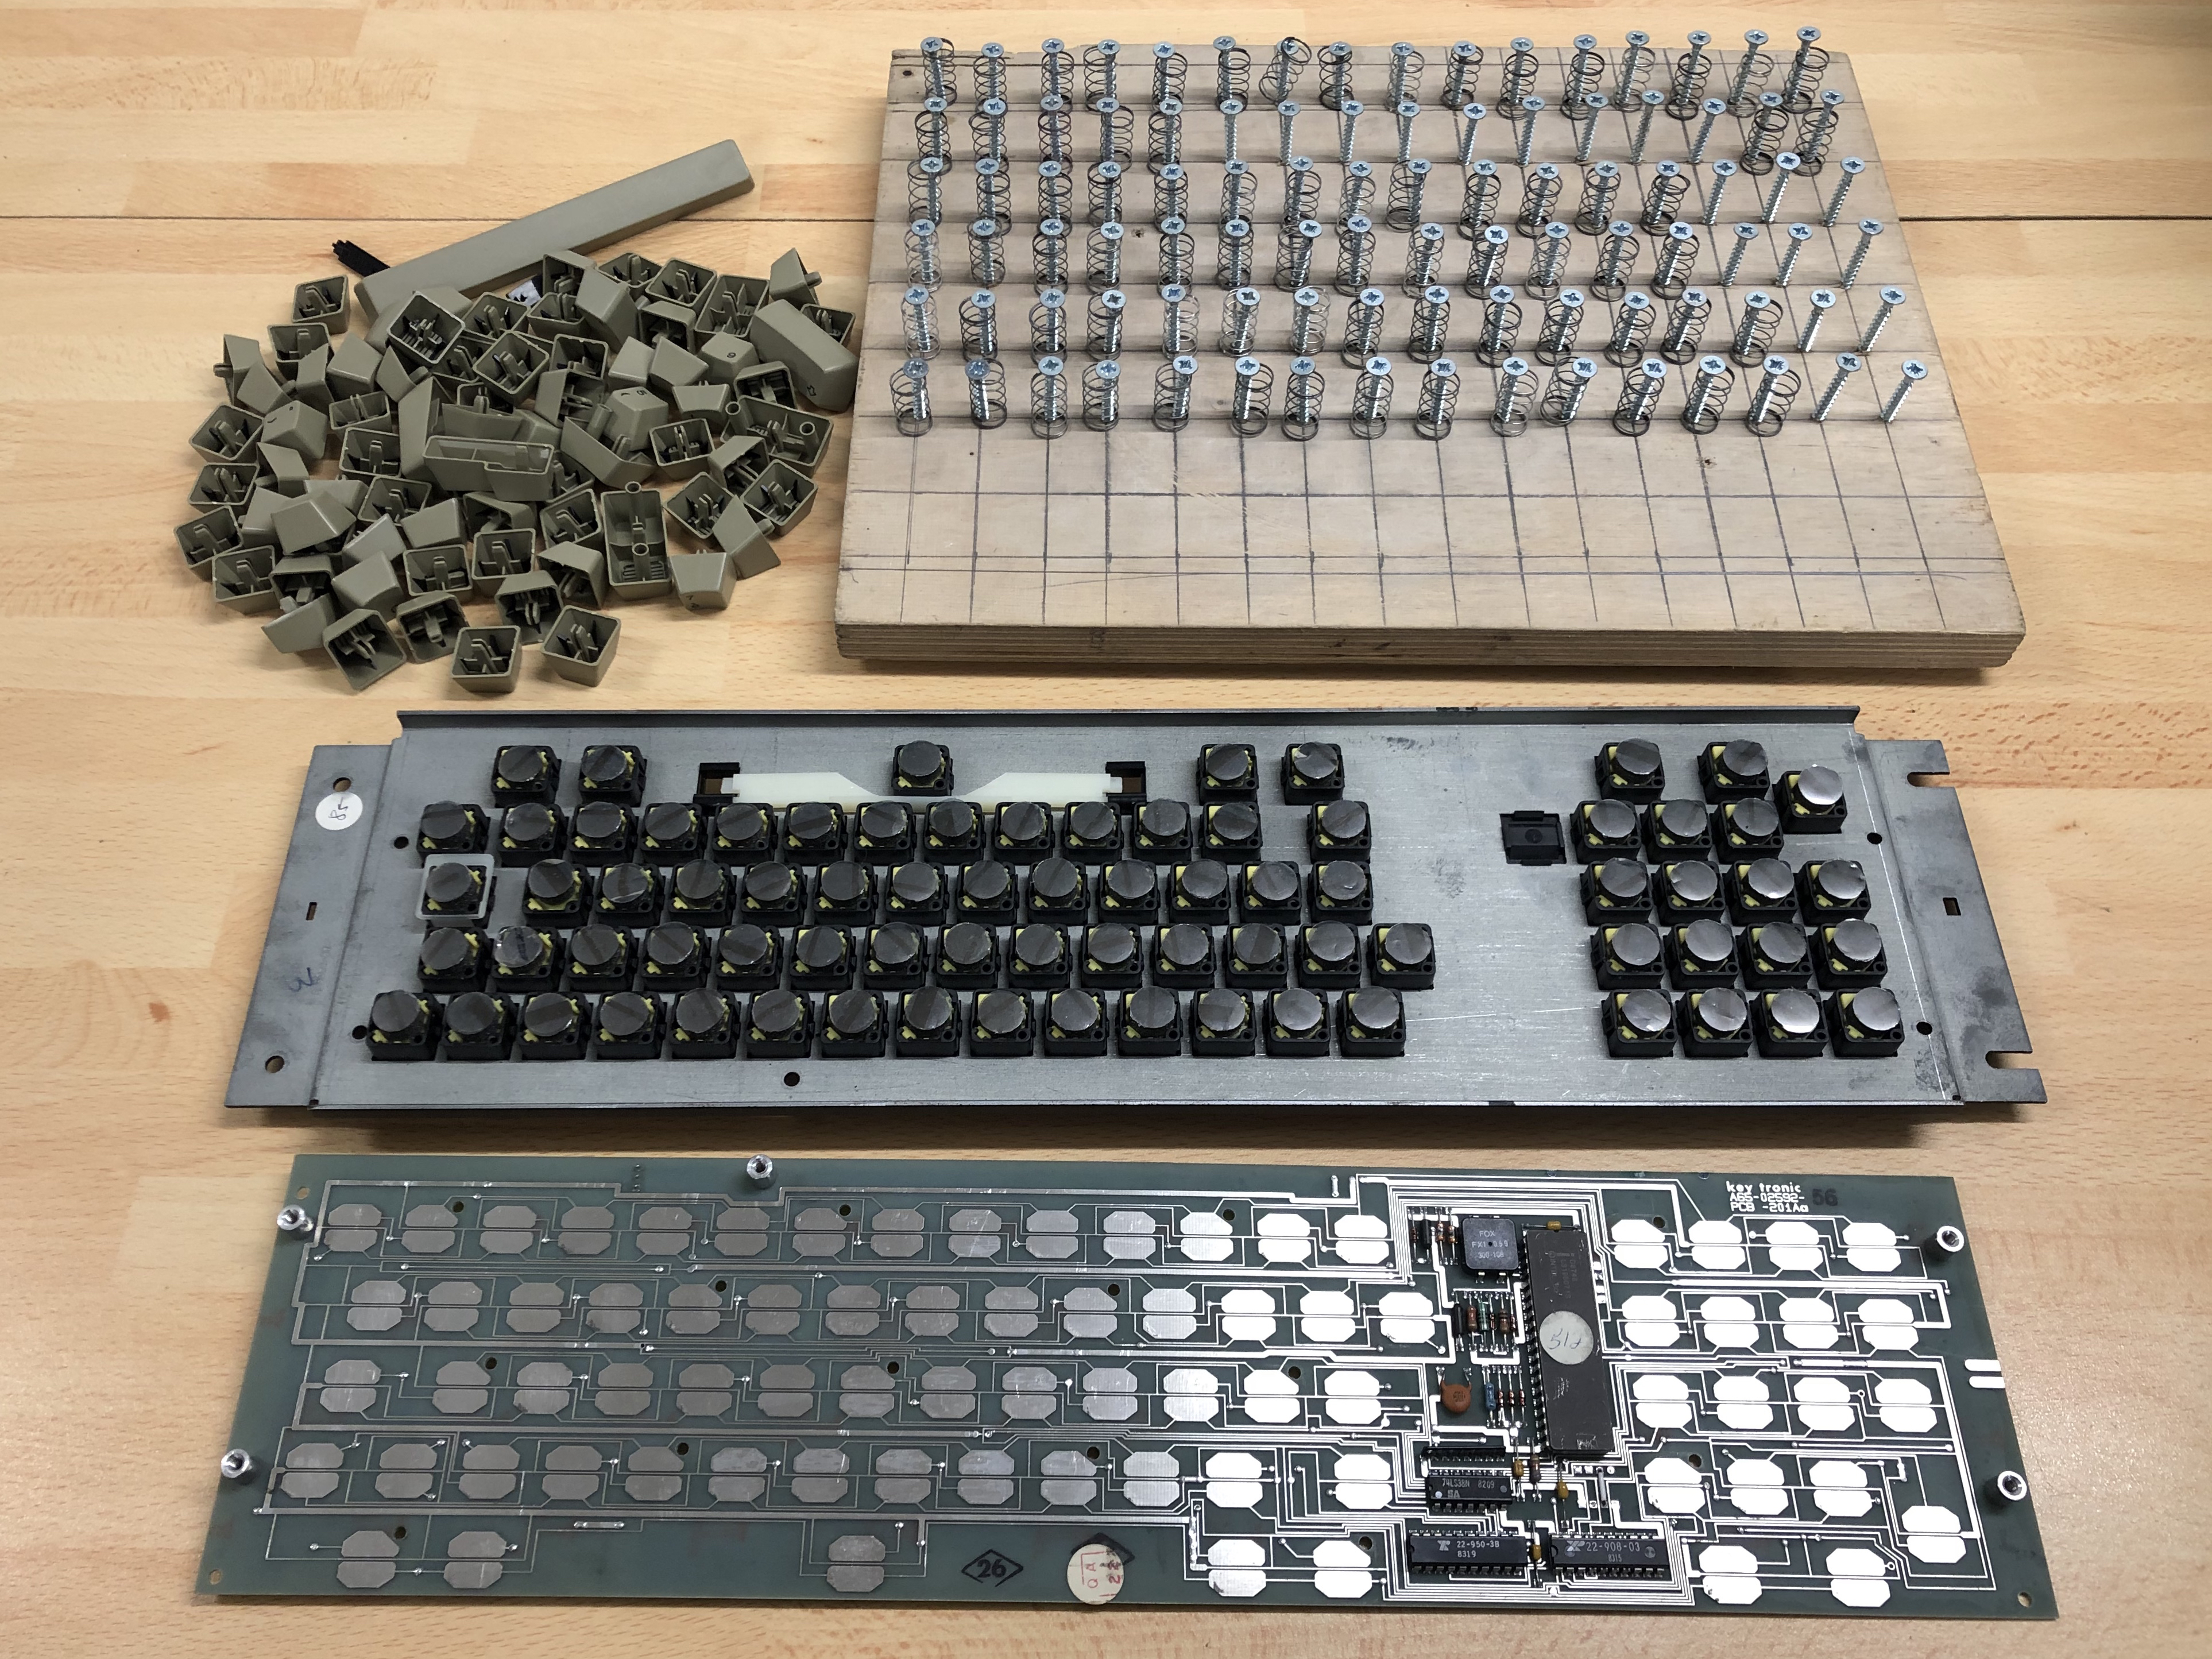
Key tronics is the manufacturer. References A65-0292-056 and PCB -201Aa
View of the foams. Apparently, two of them have been changed in the past. I took possession of this keyboard in 2002 and it’s not my repair. The problem was already there...
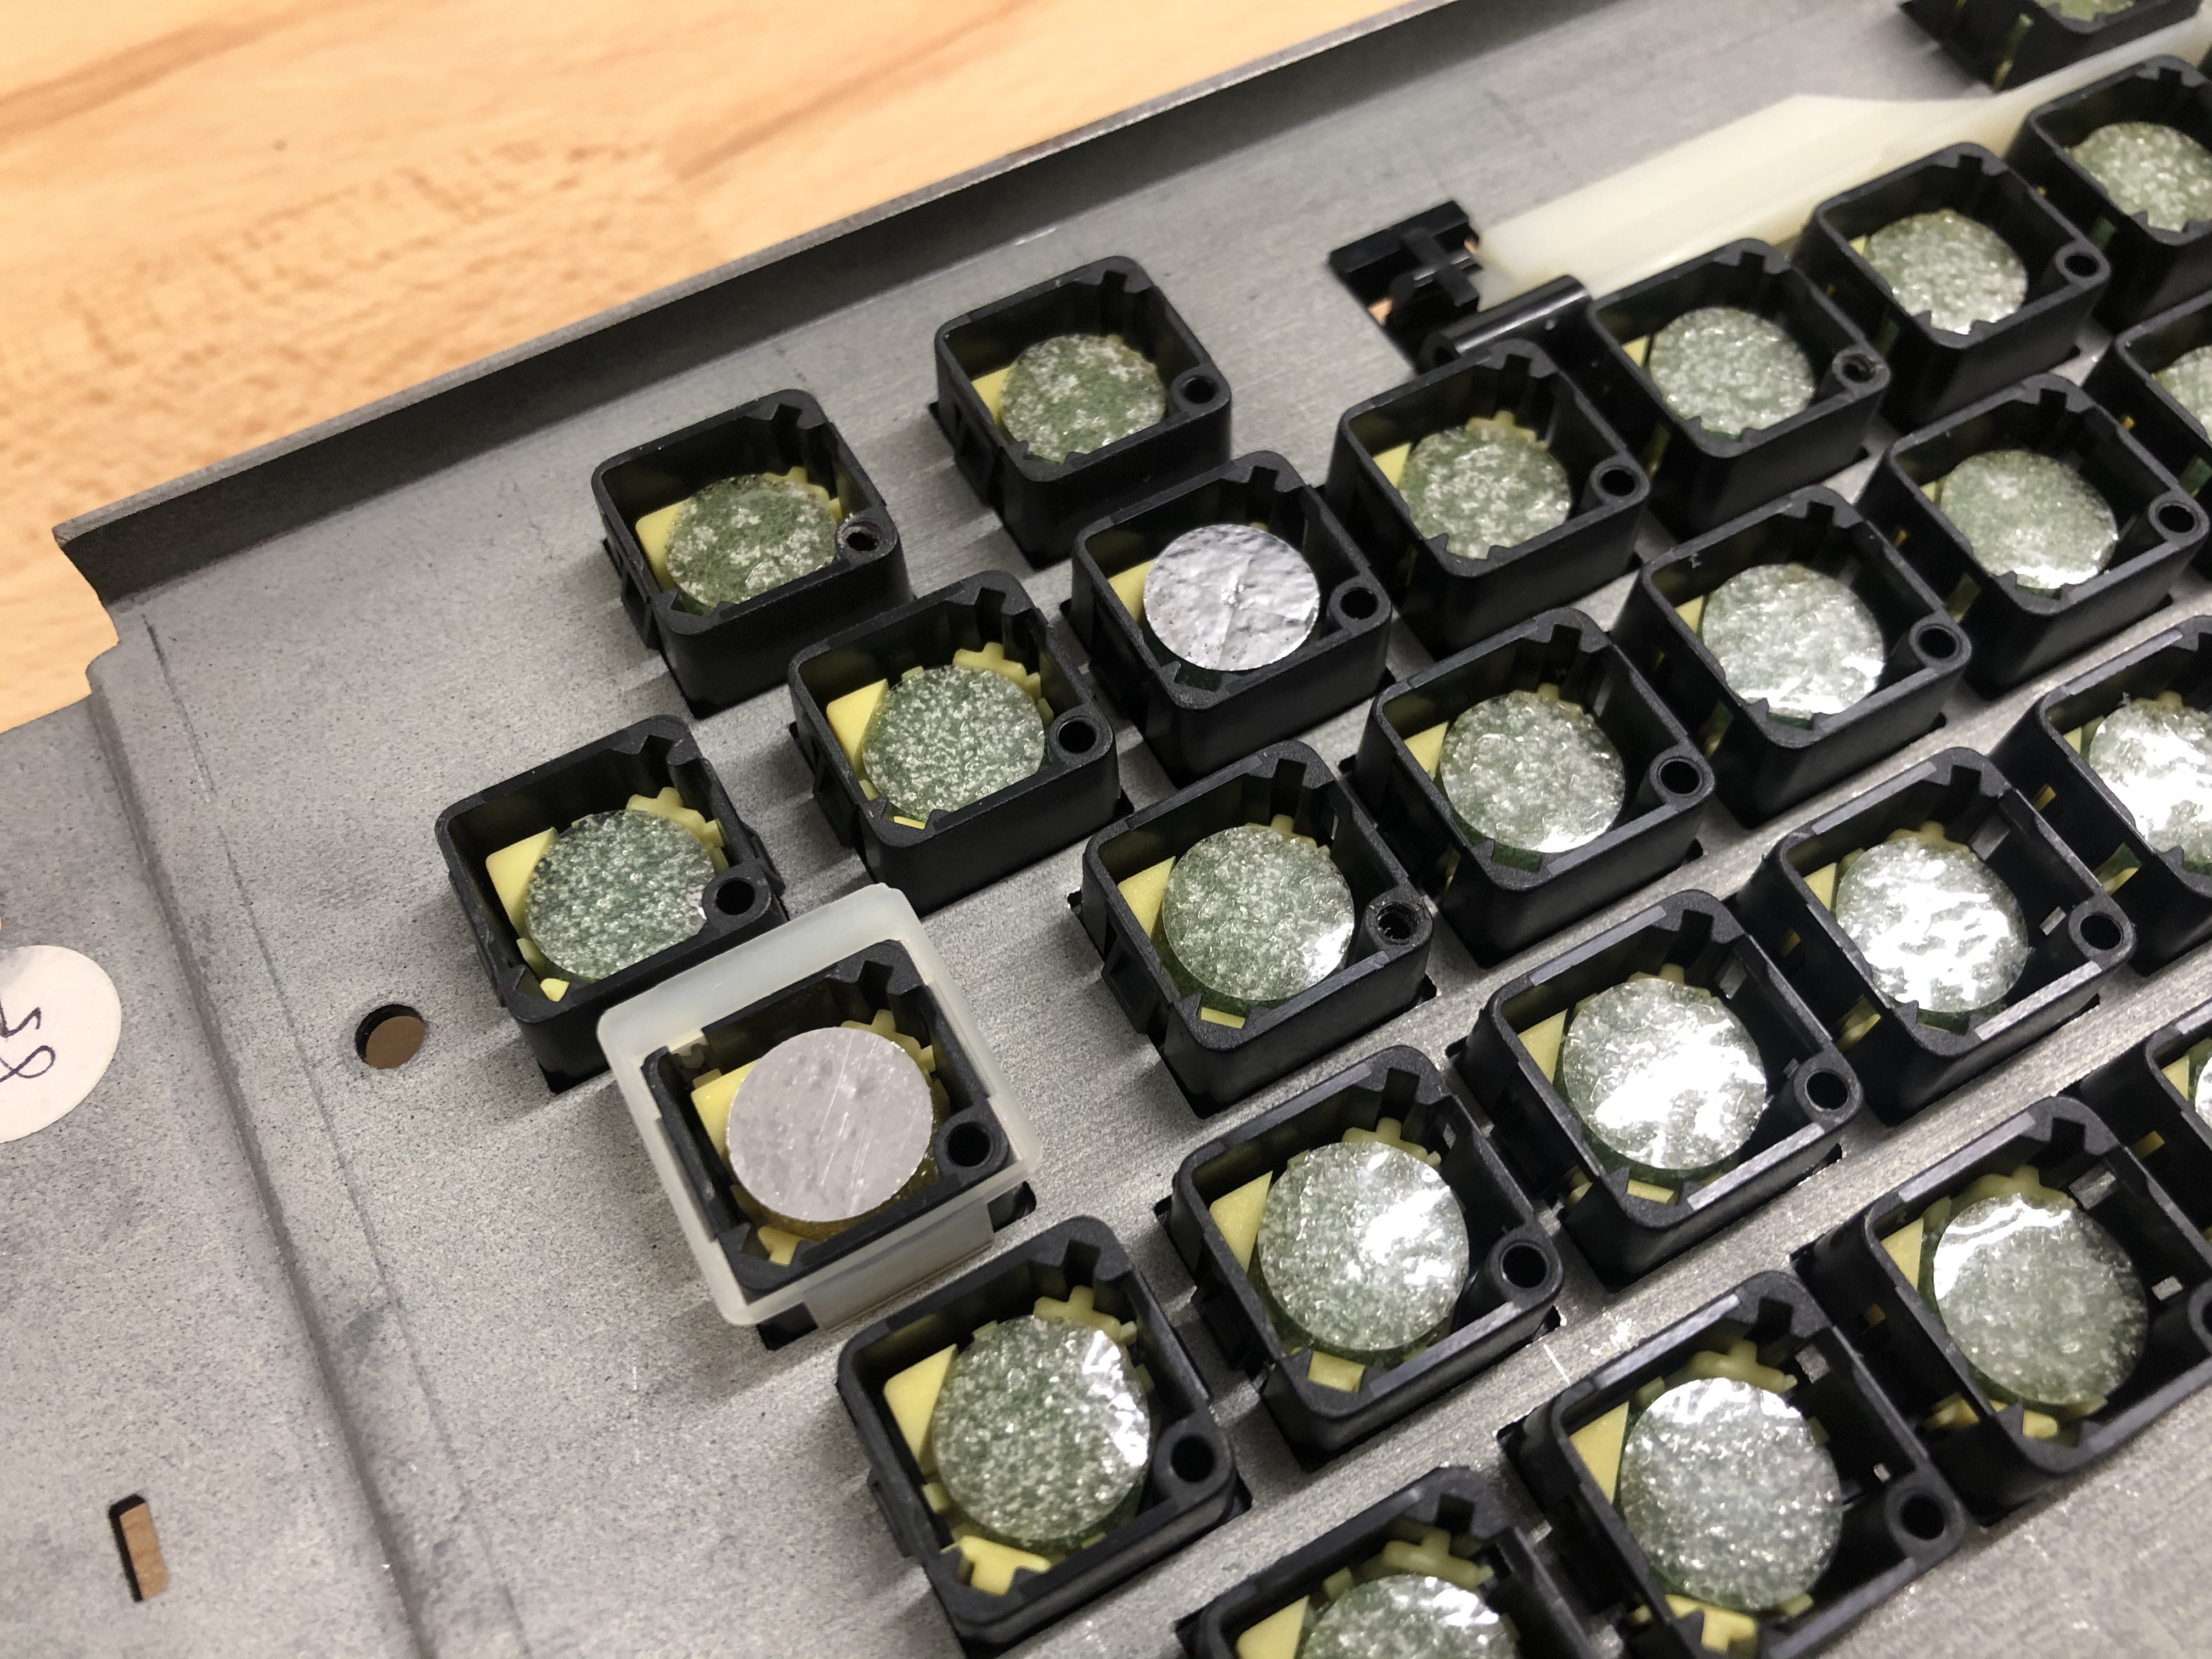
You have to take it all off. No more "metal" colour traces (it is not metal). No wonder no key works.

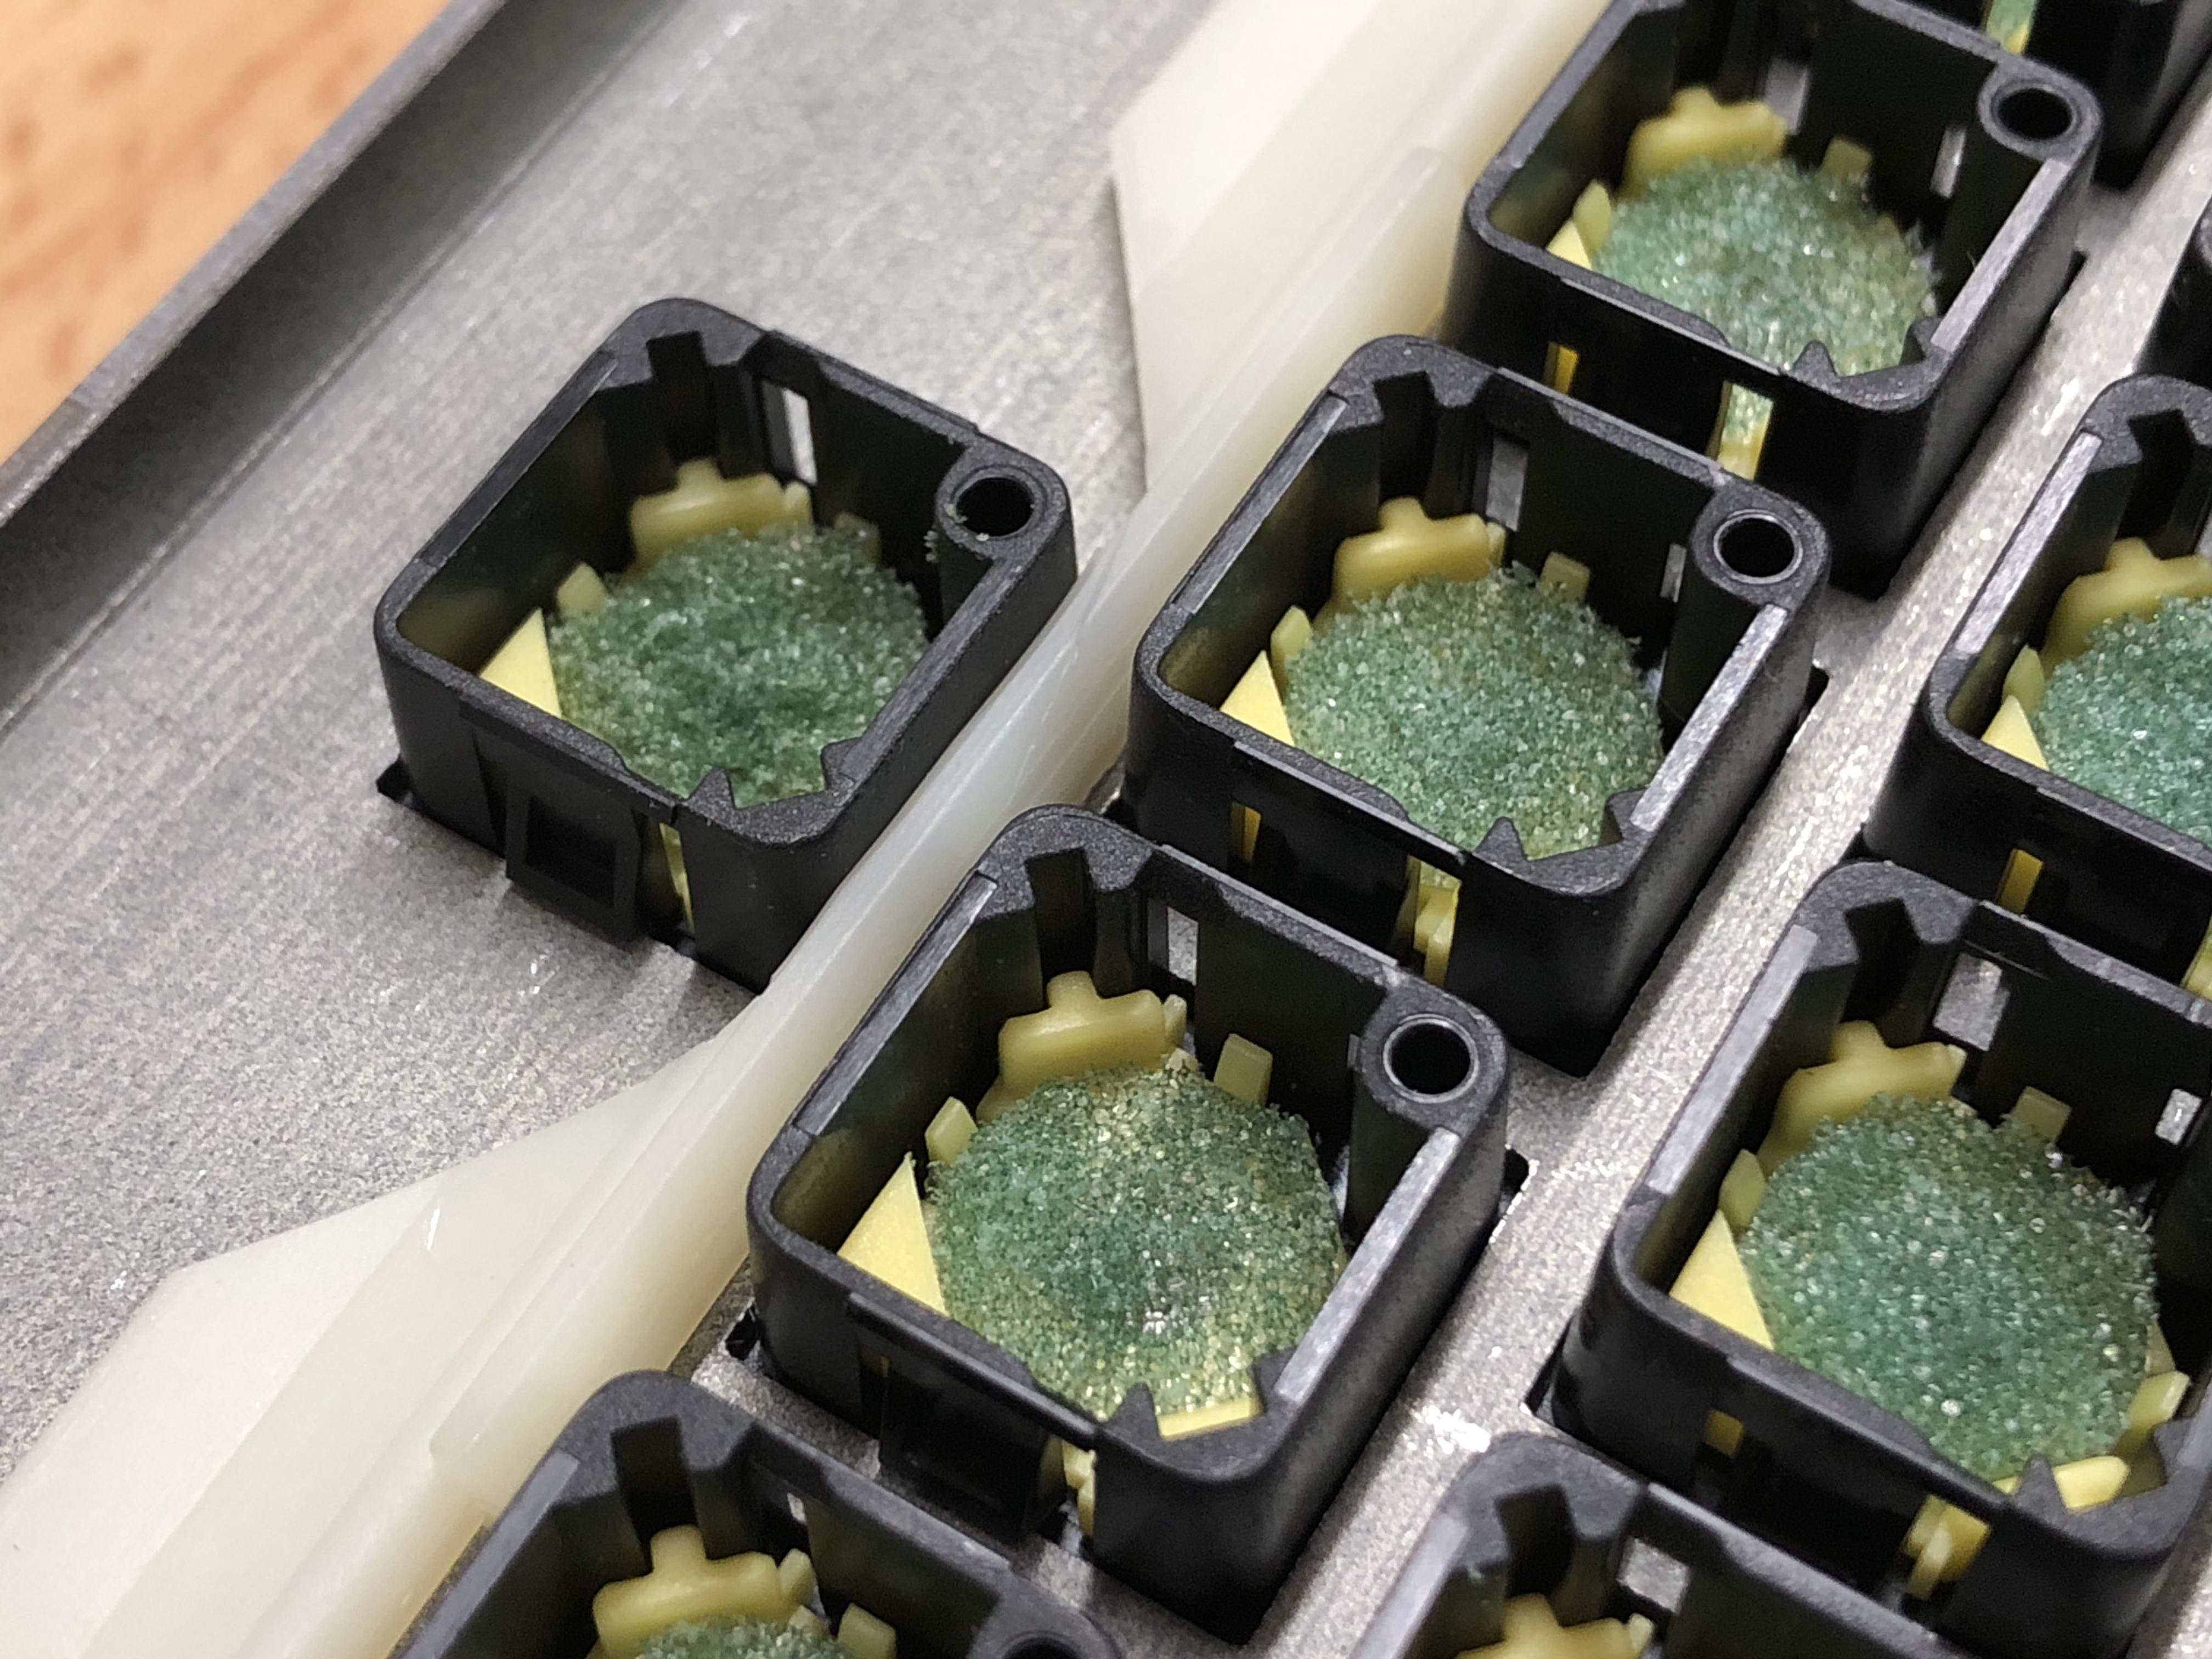
Cleaning with alcohol.
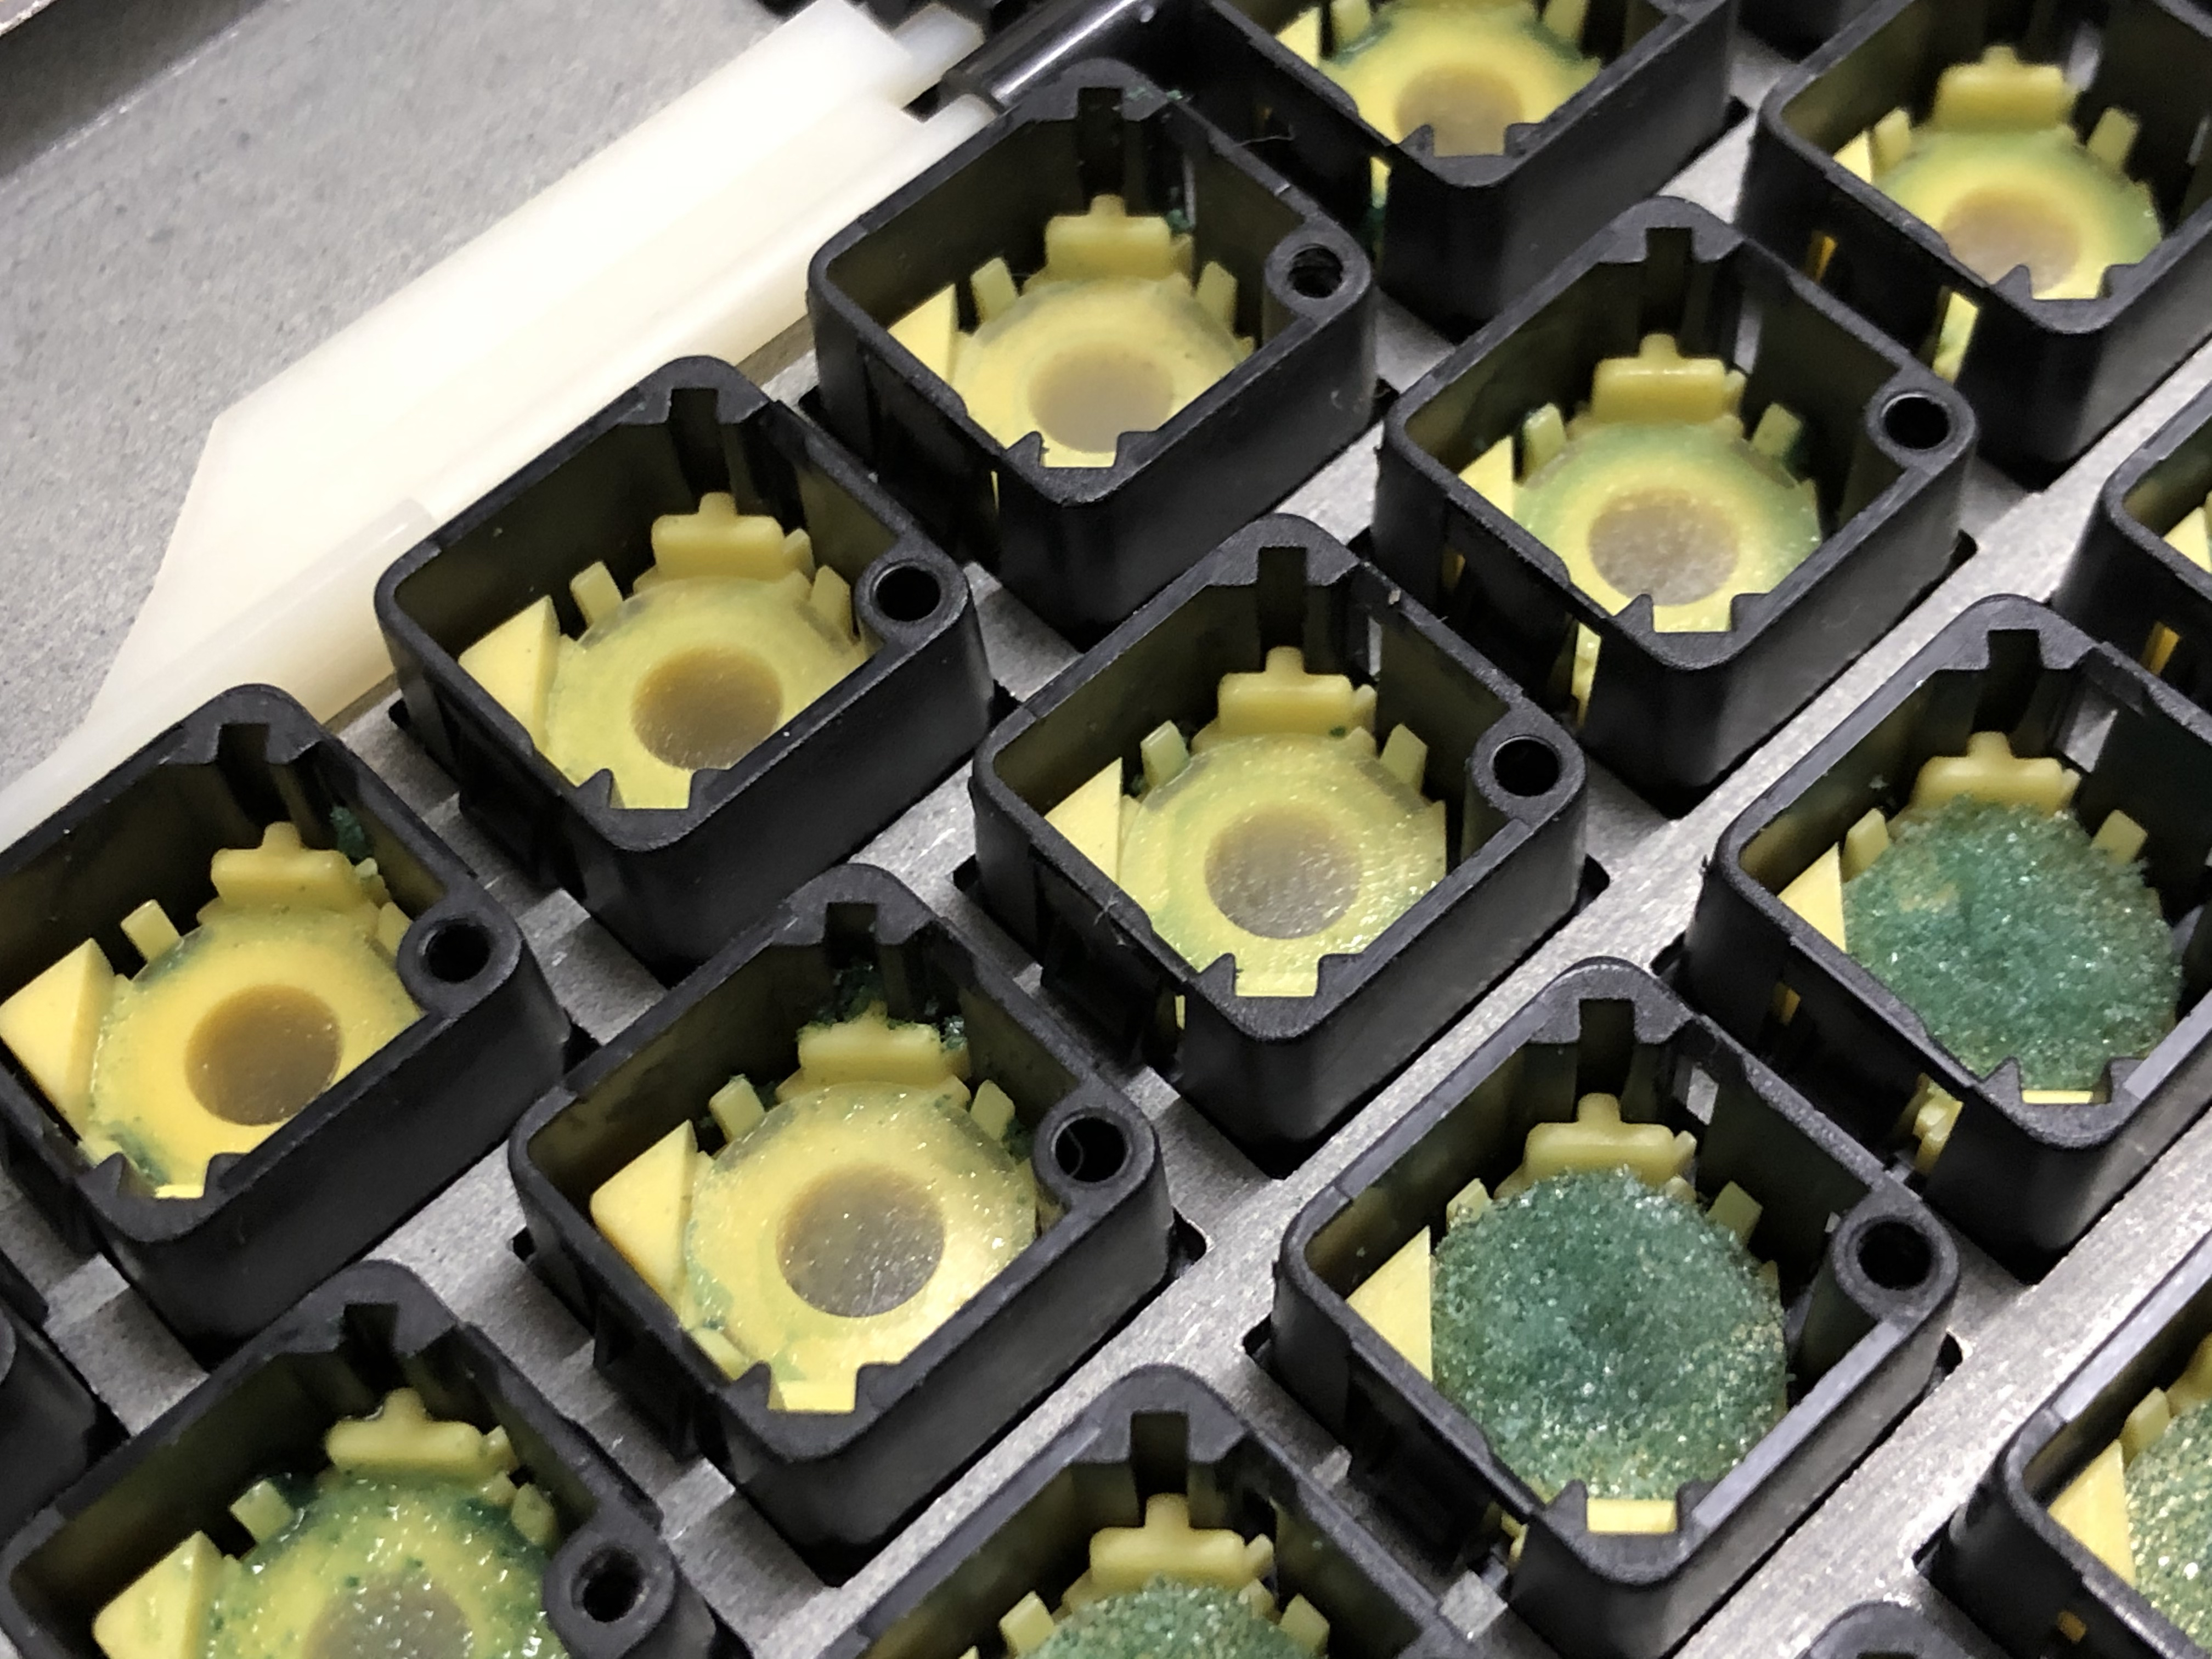

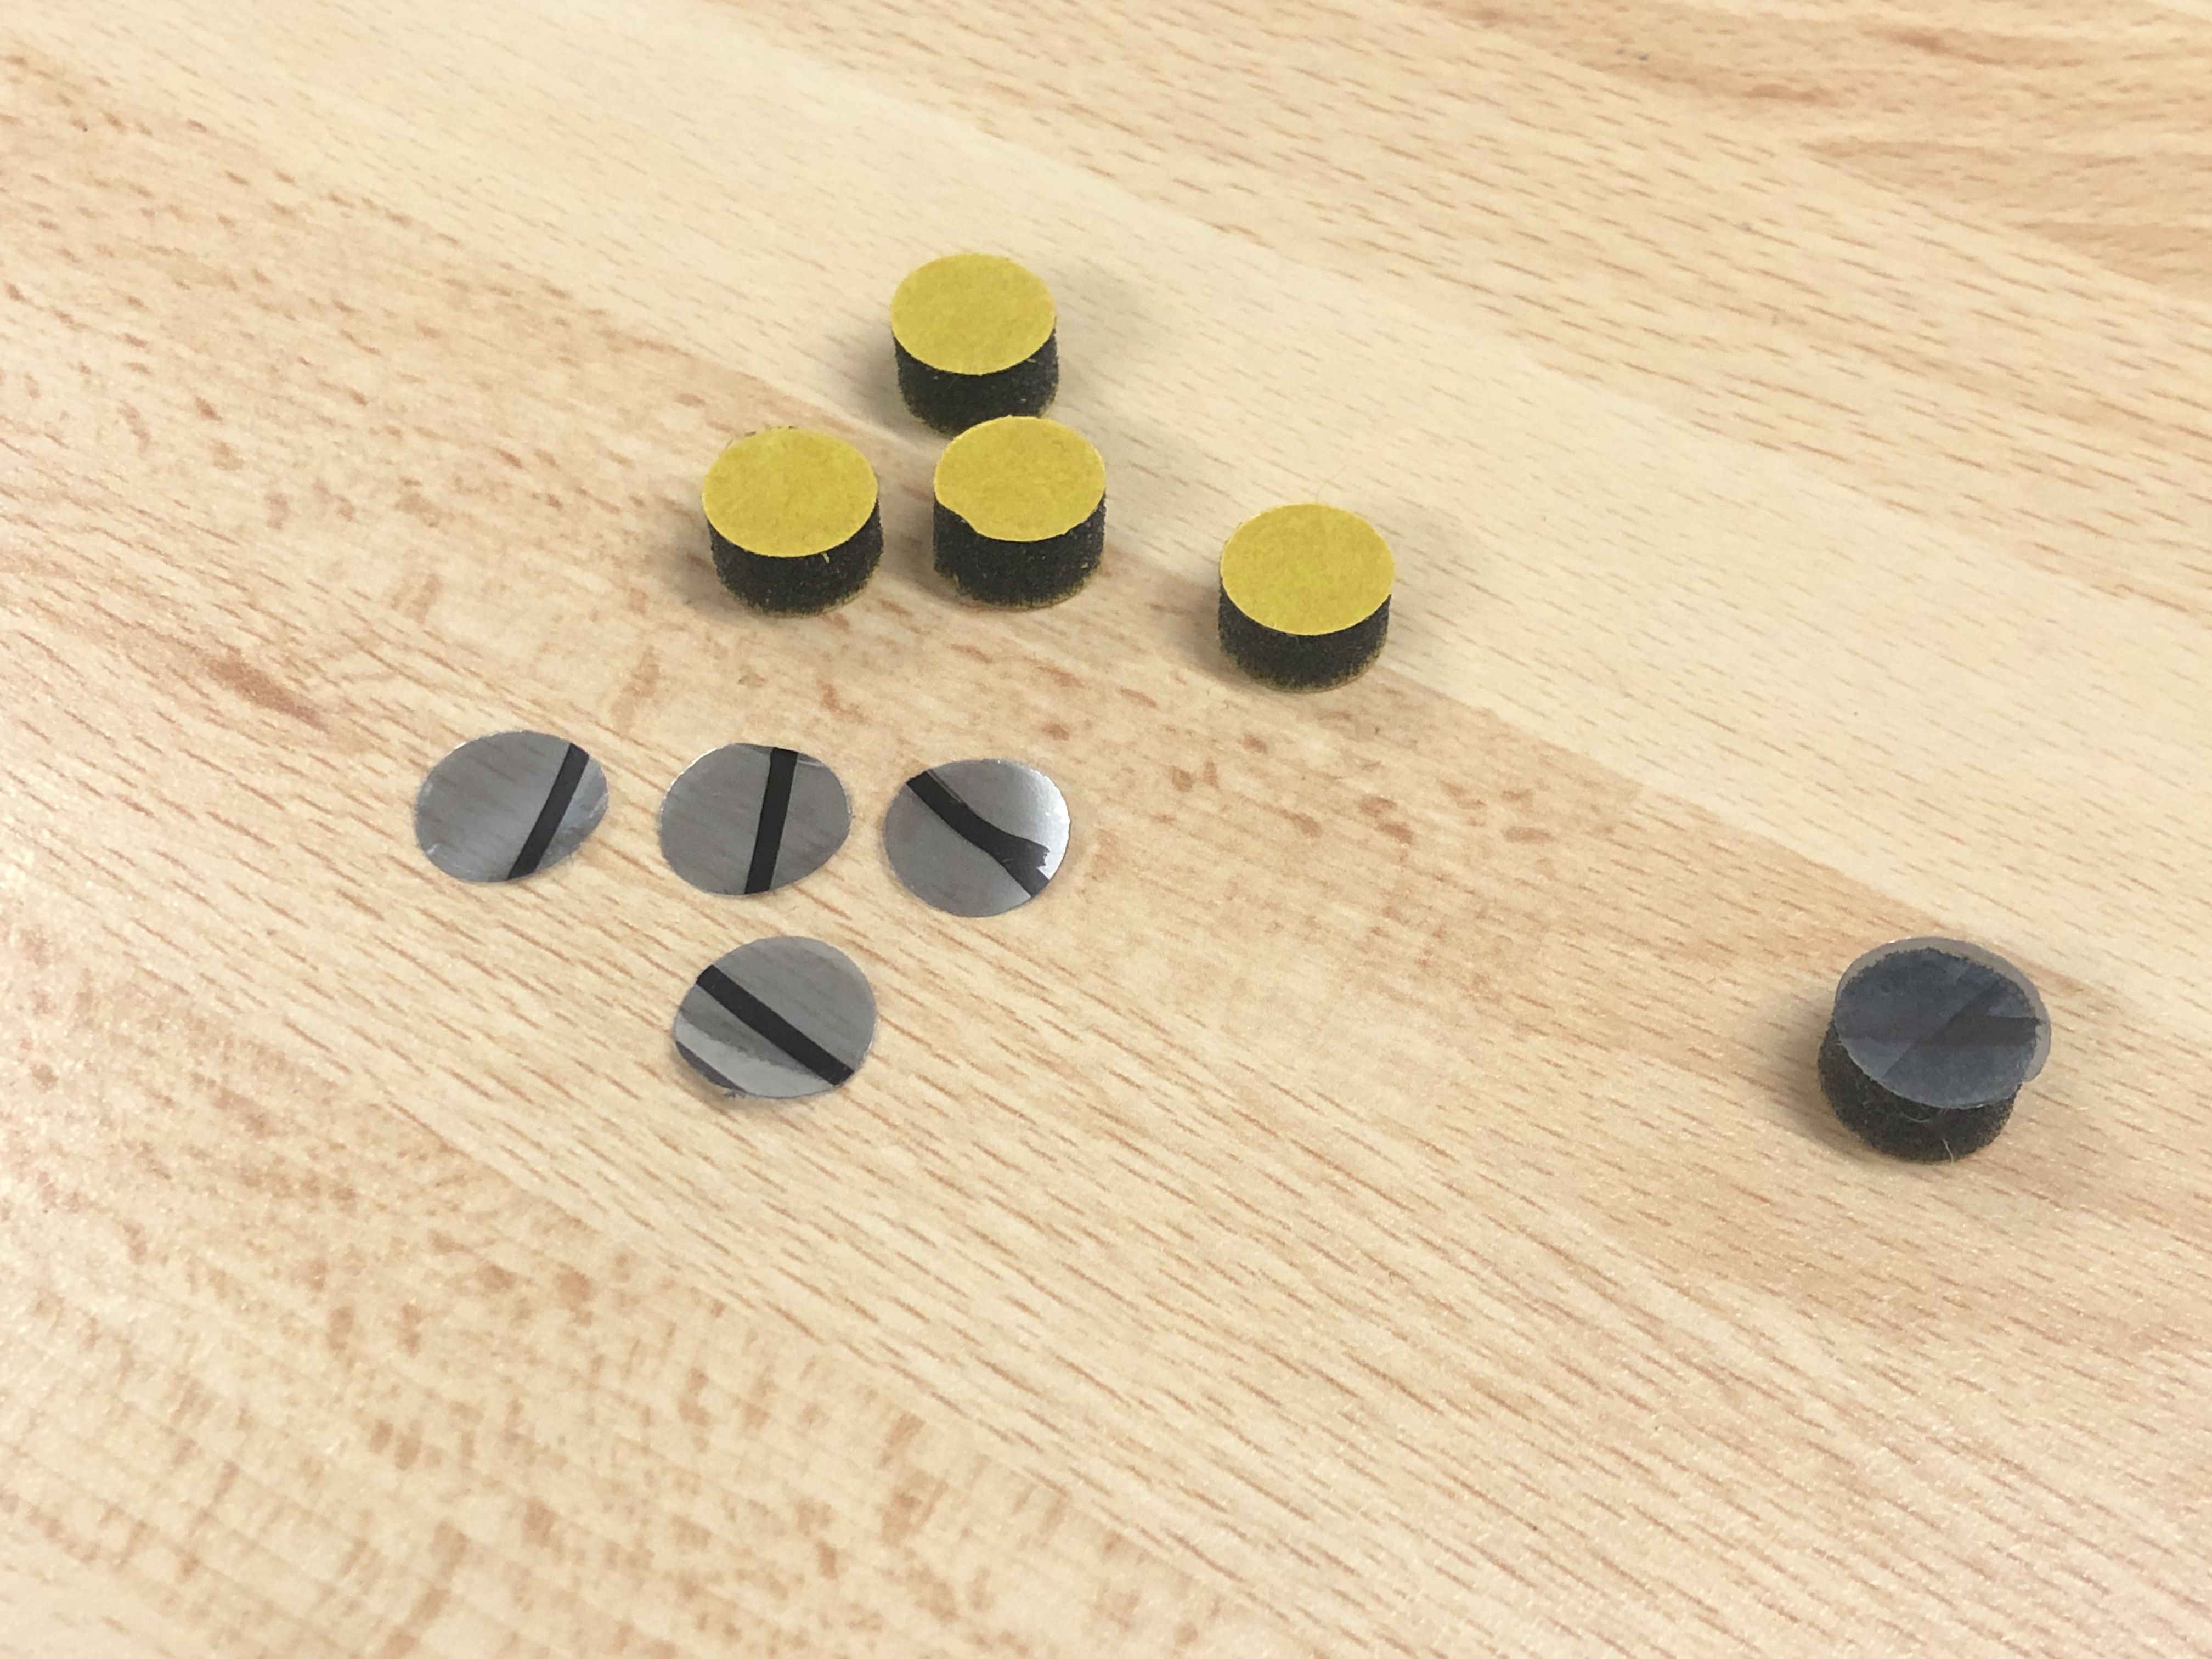
The part of the key that has decomposed consists of :
I ordered foams directly with double-sided adhesive on both sides, but they didn’t have the Mylar part. I couldn’t retrieve it either, too complicated to keep it in shape, and too time-consuming to clean, not to mention that I didn’t know if the capacitive operation was still working. I preferred to redo the Mylar discs directly.
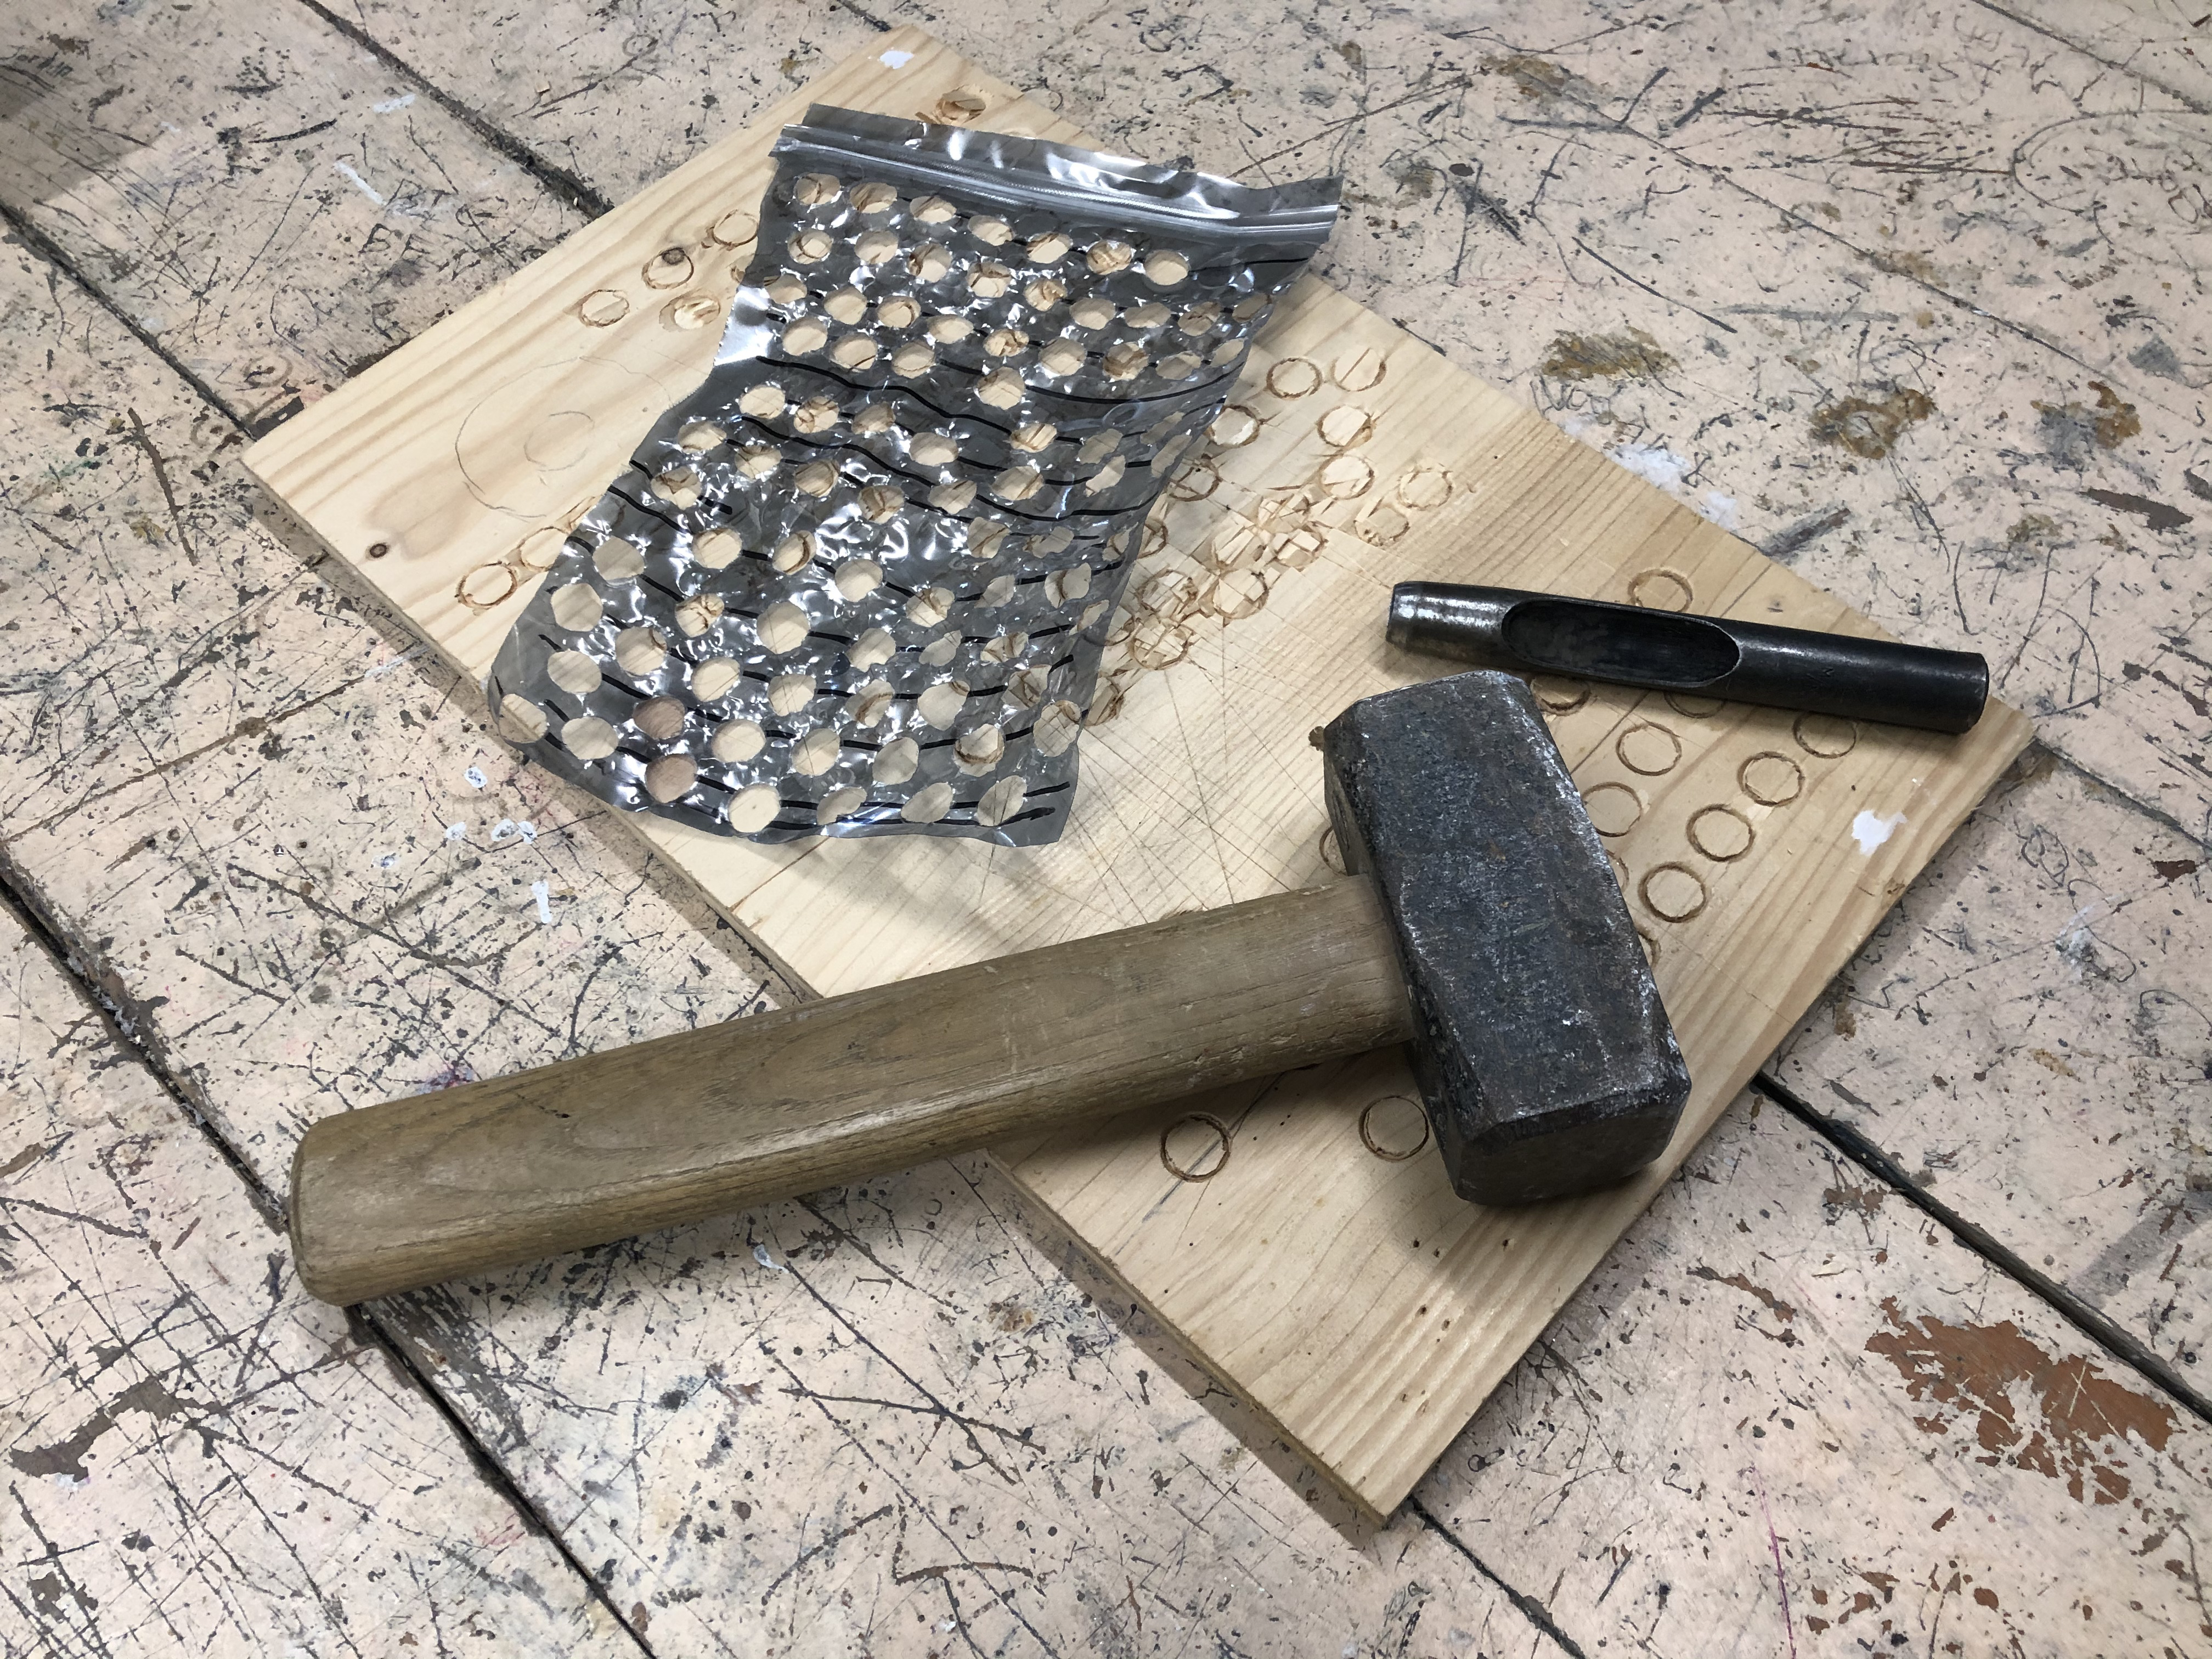
The tools used.
In the photo below, the foams with the adhesive and its yellow protection still in place, the freshly cut Mylar discs, and a reconstituted foam ready to be glued.
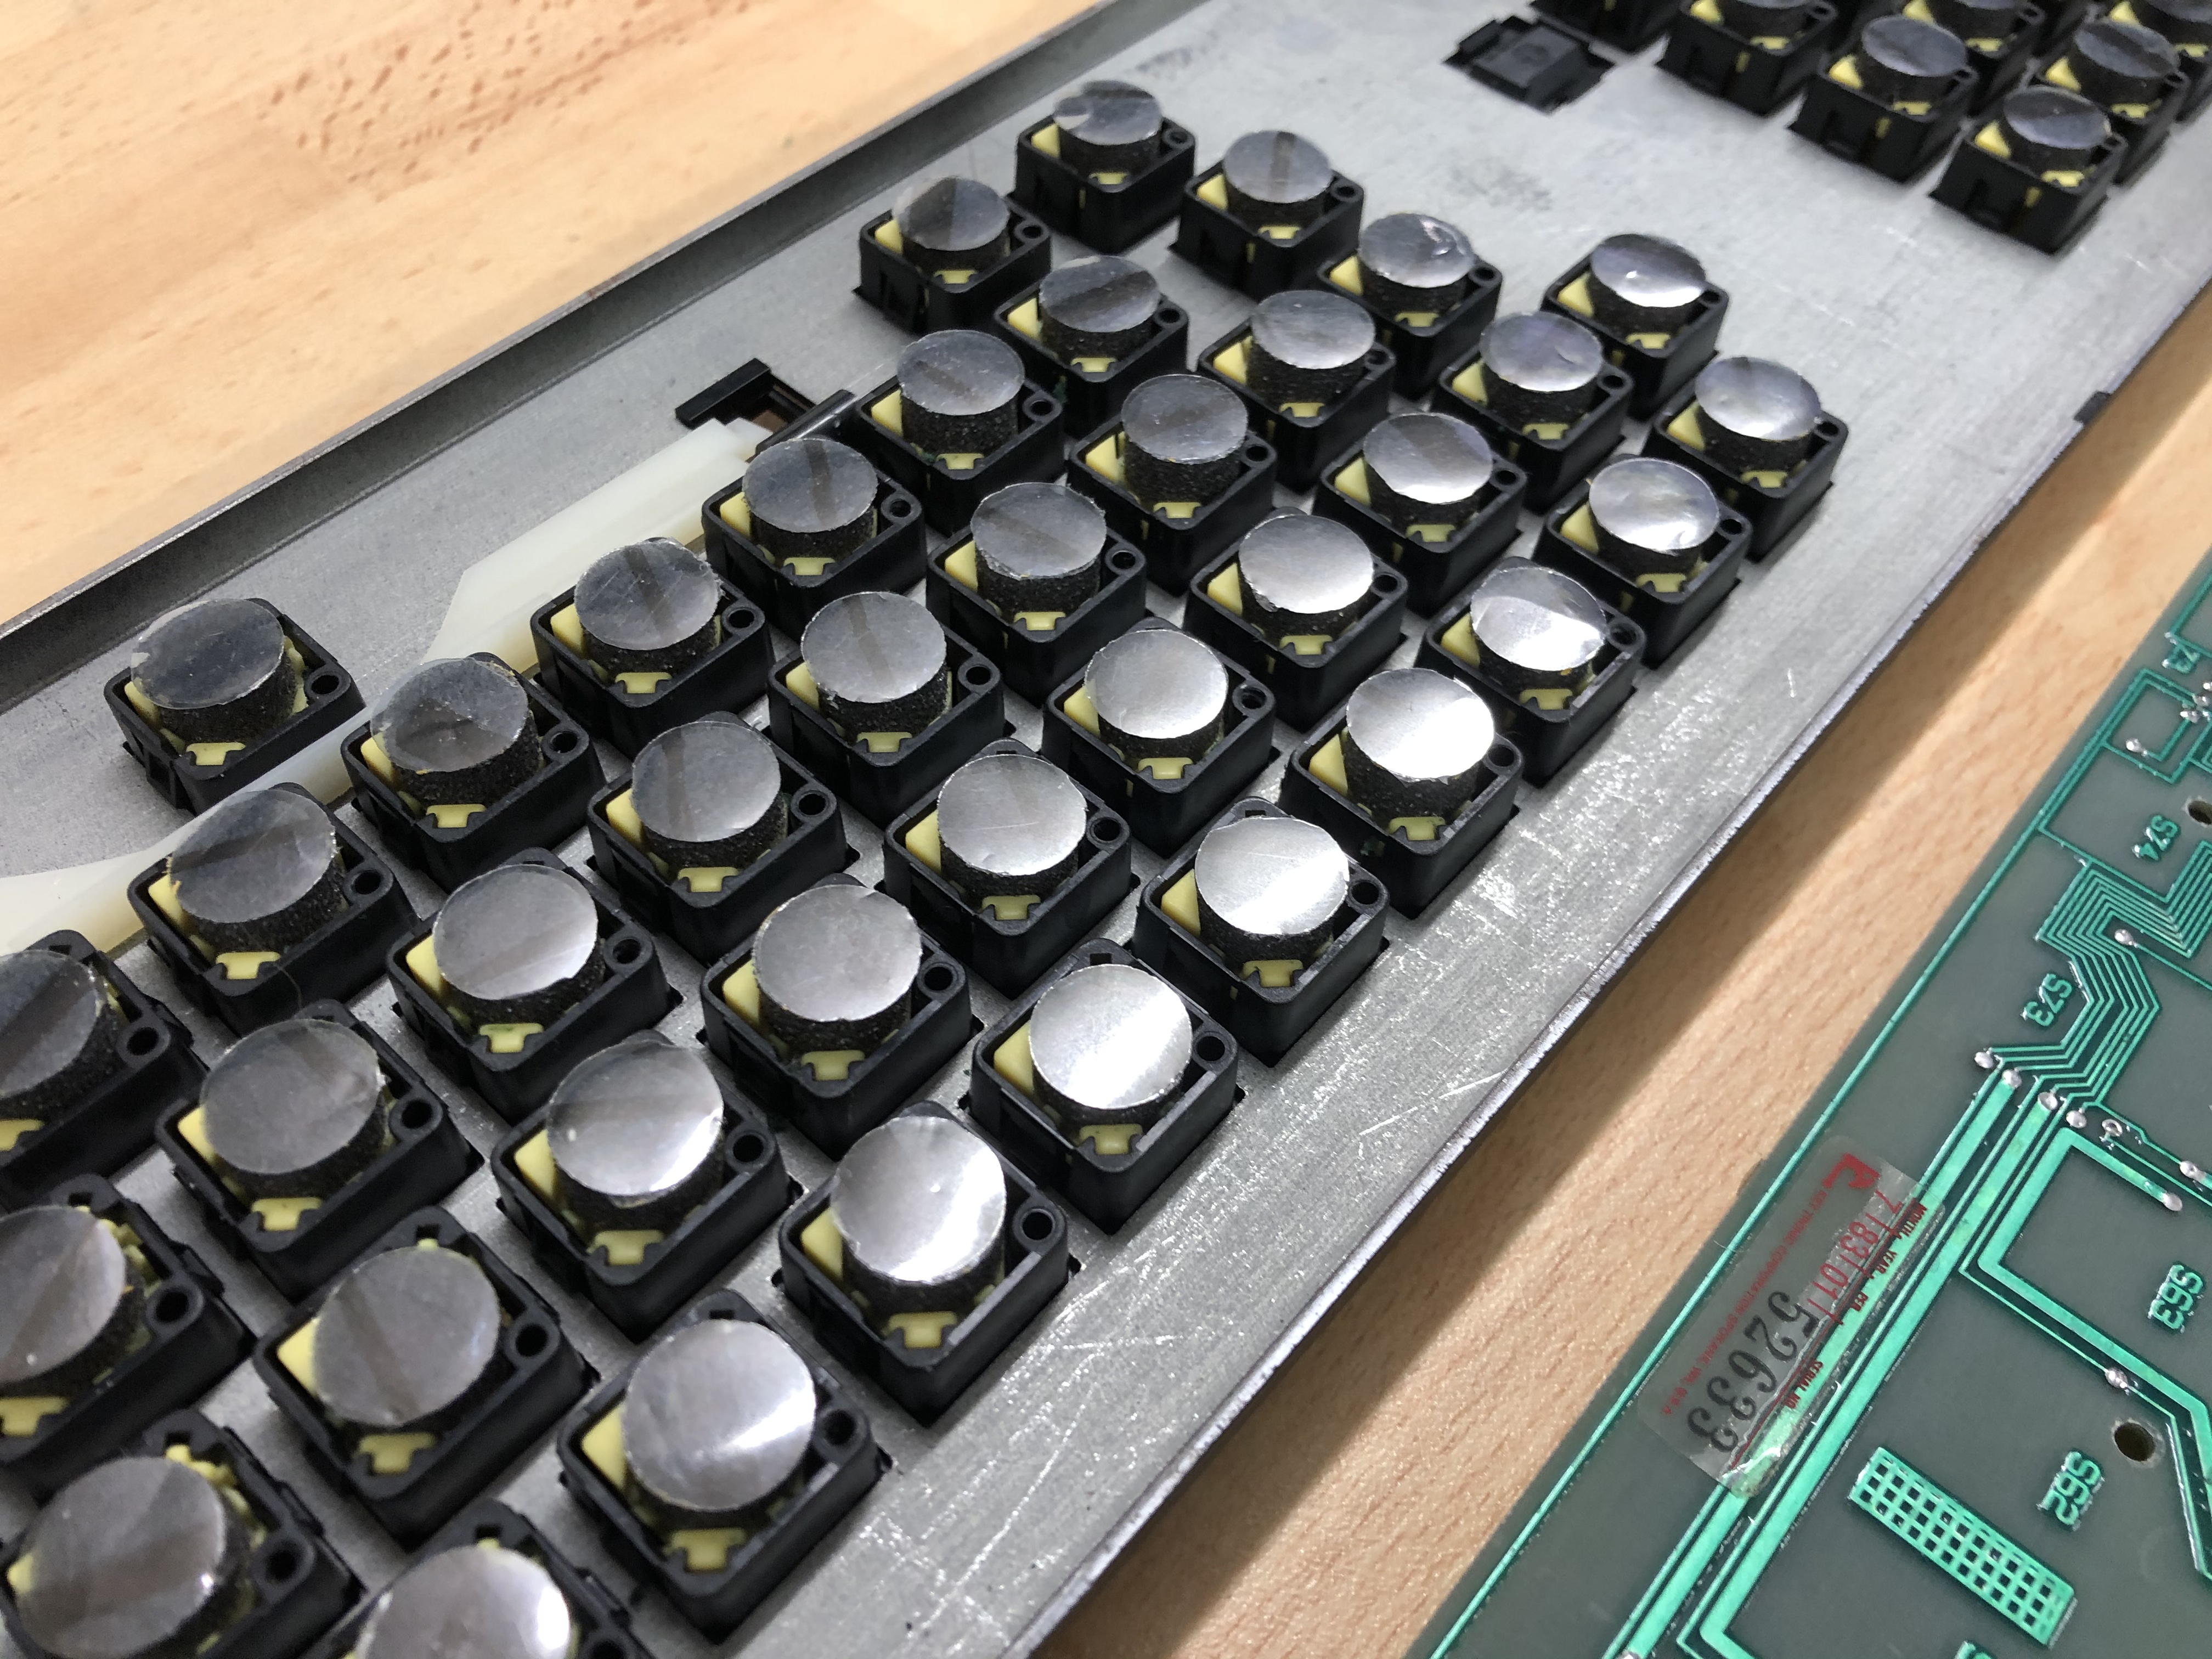
Installation of the new foams.
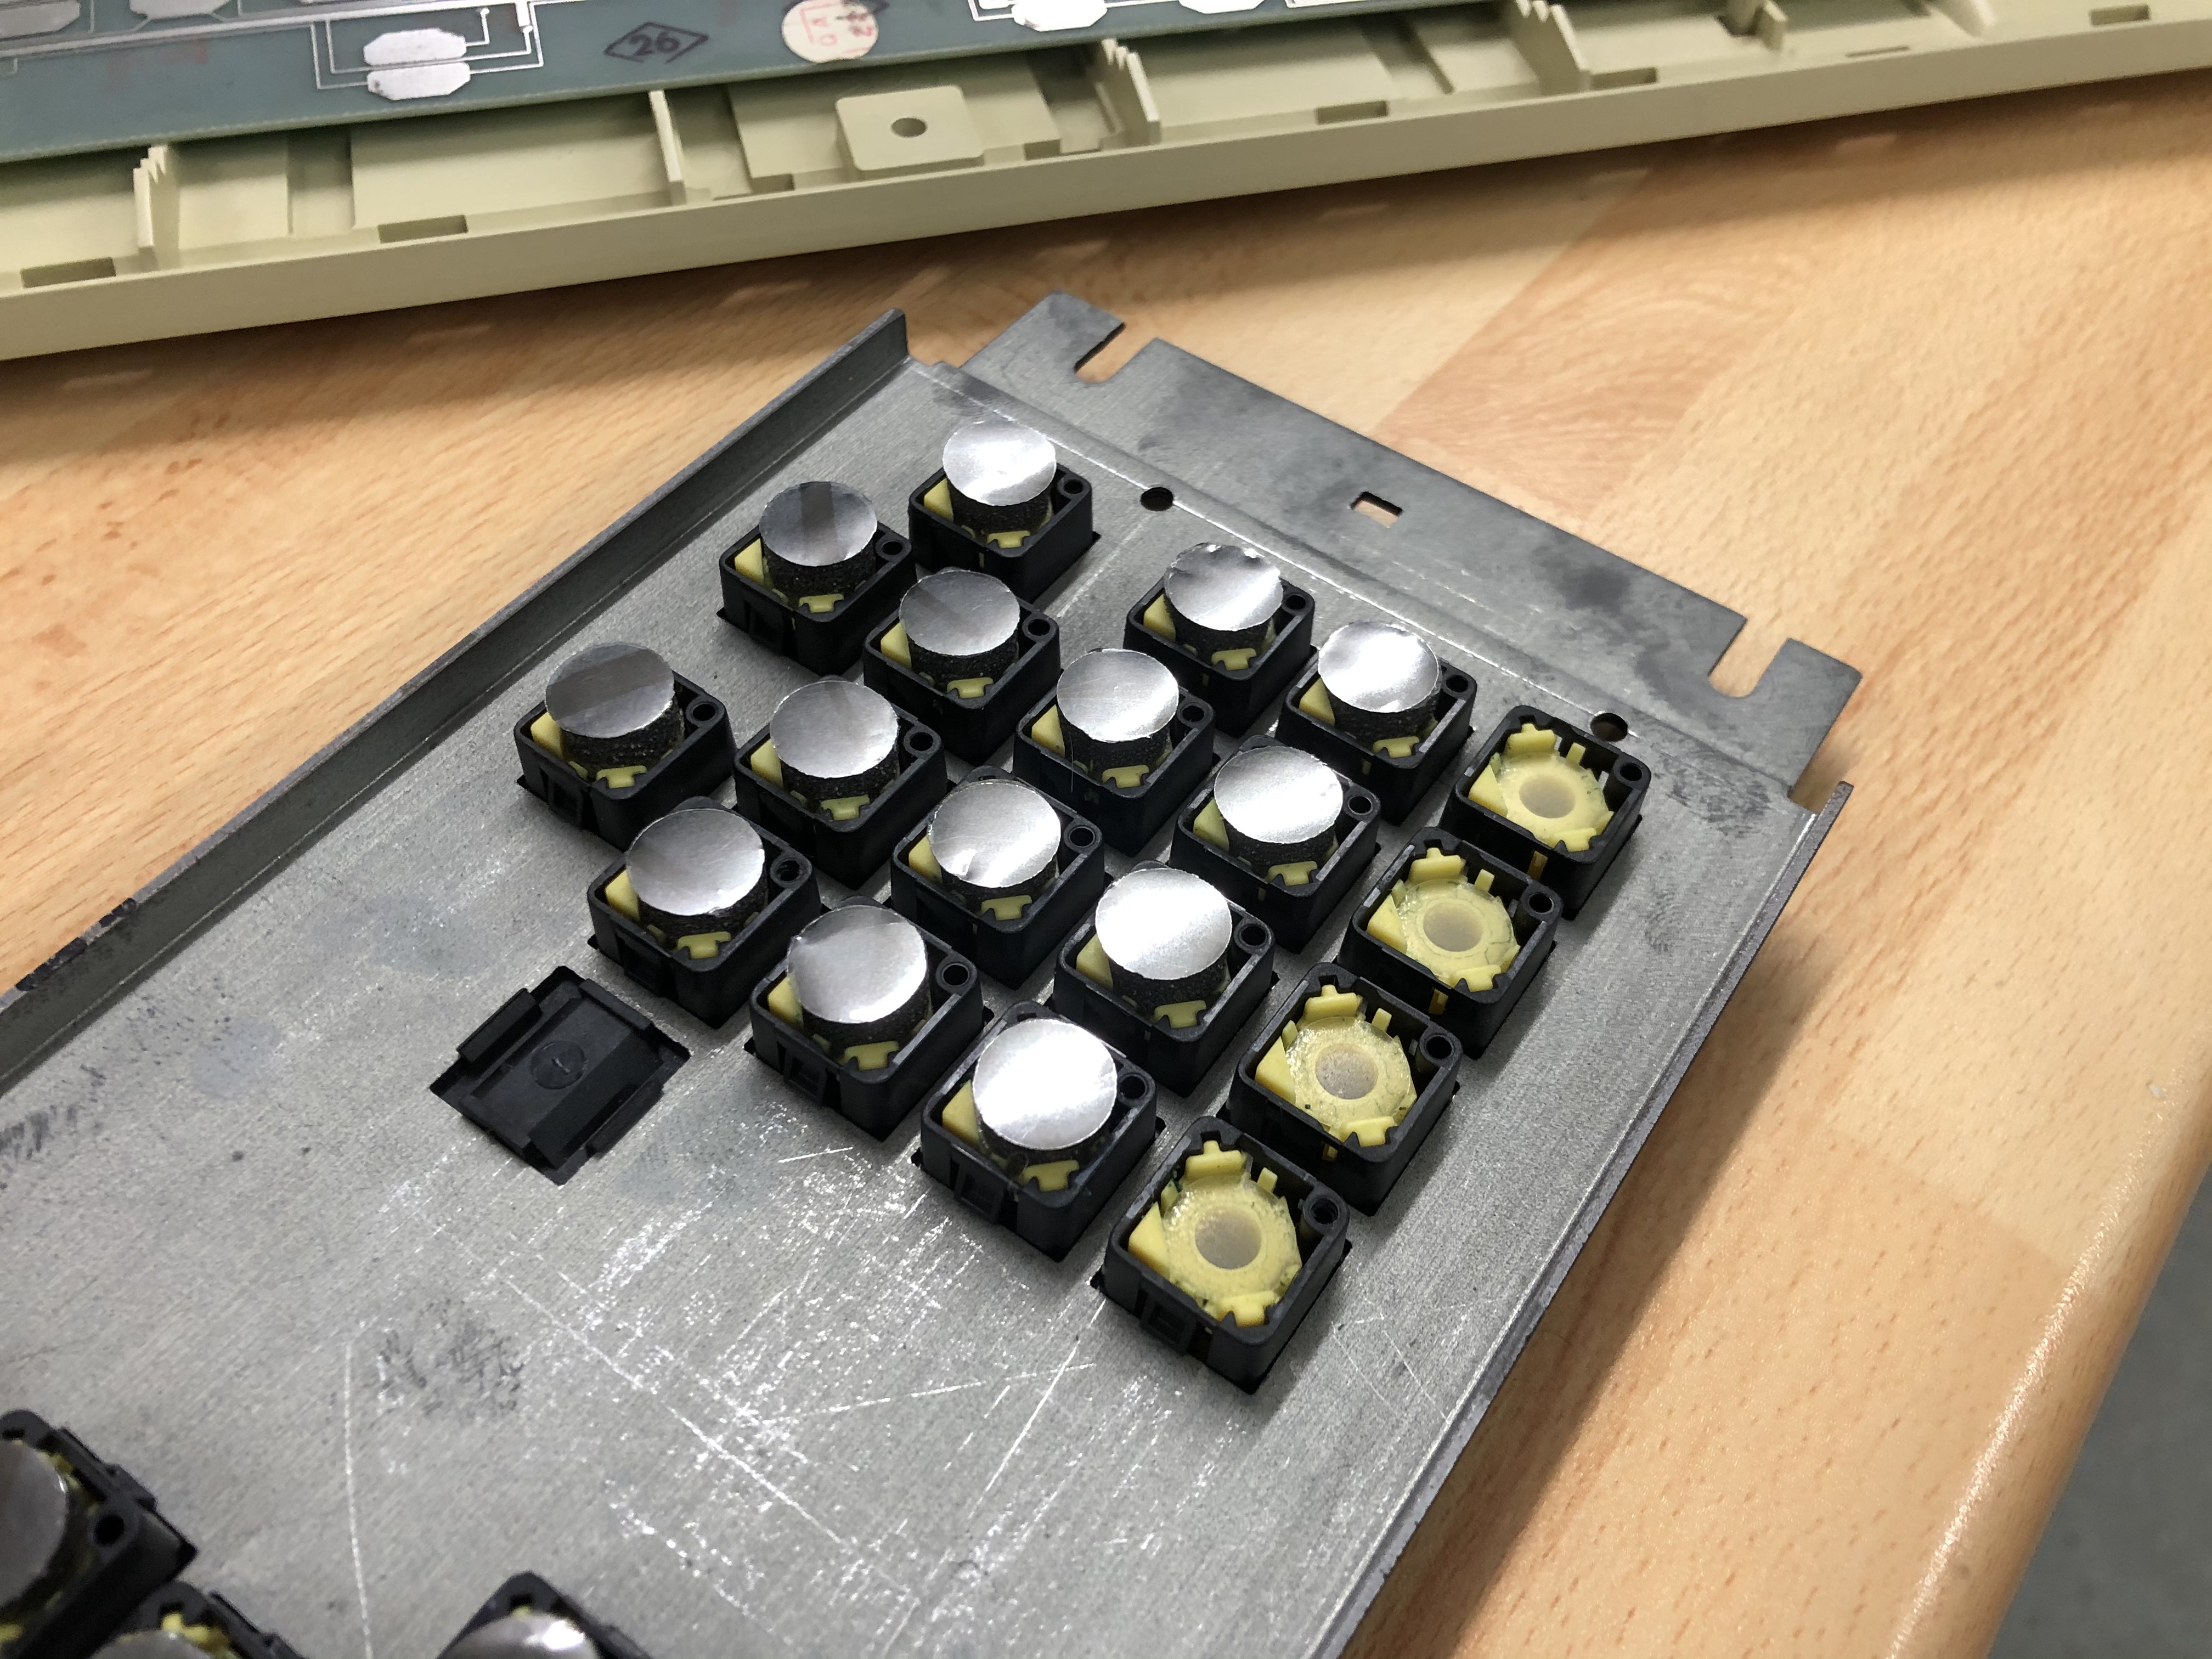
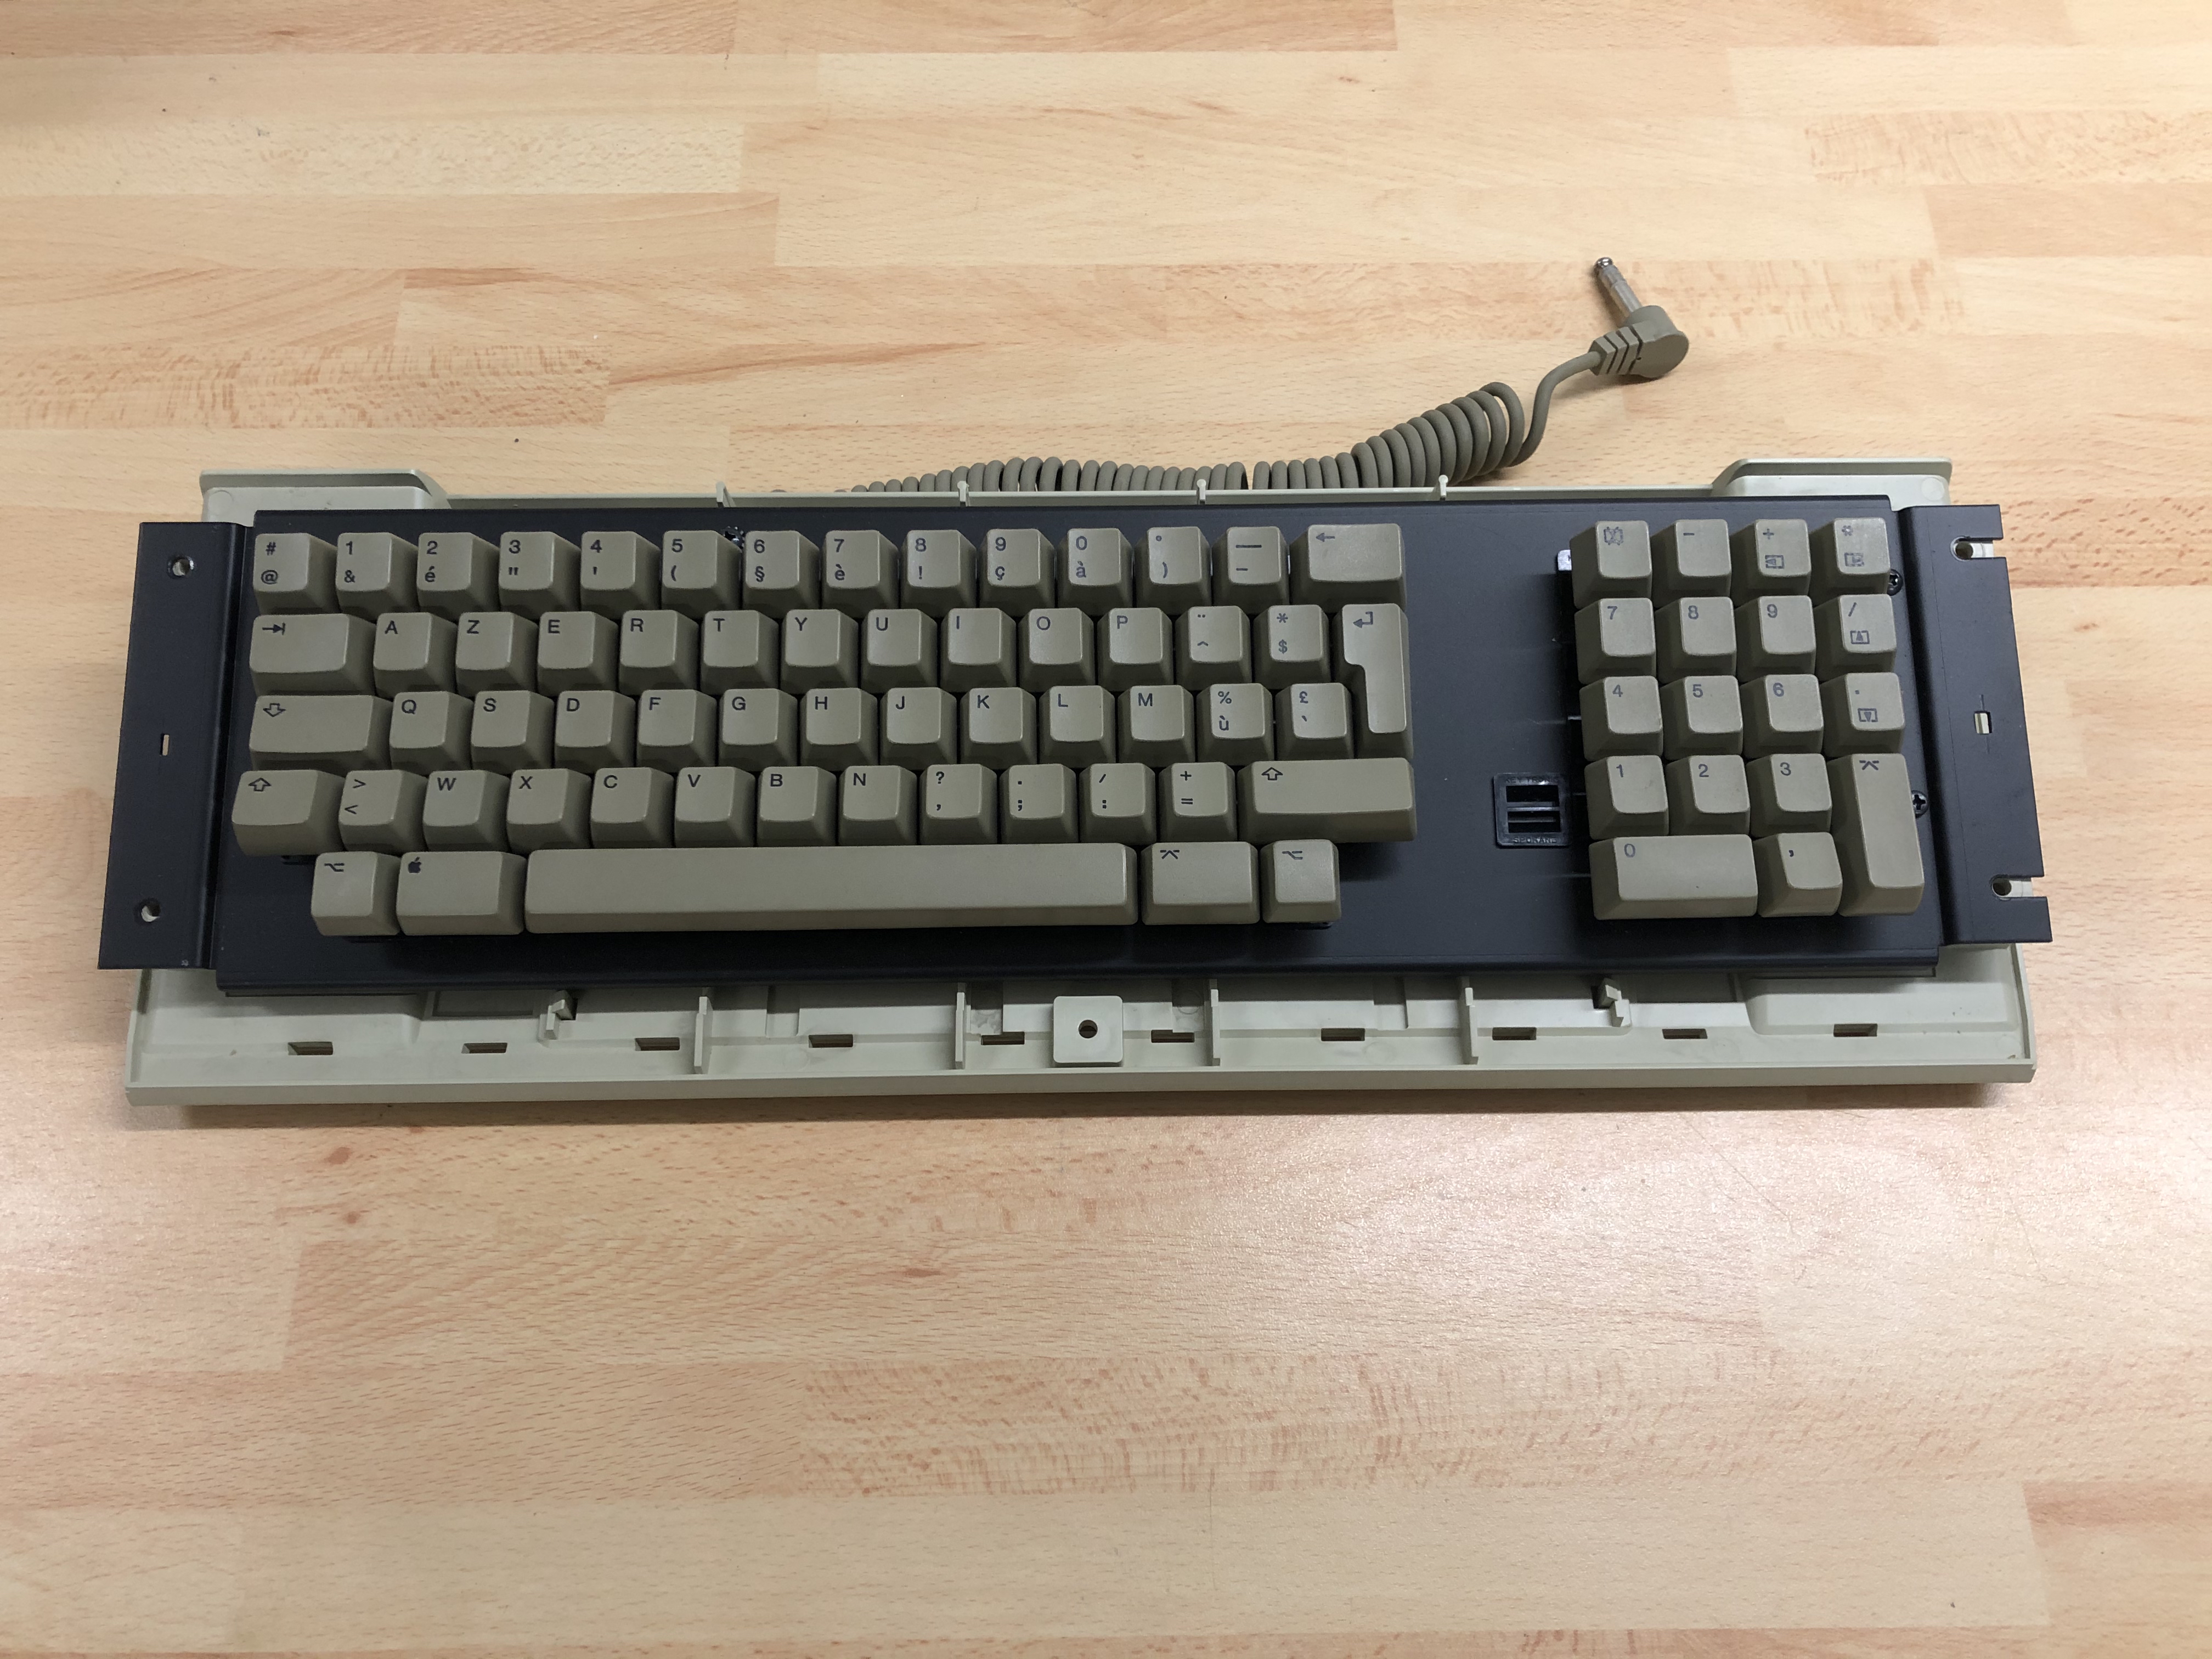
After a few quick tries on the already reconstructed keys, the whole keyboard has to be finished .
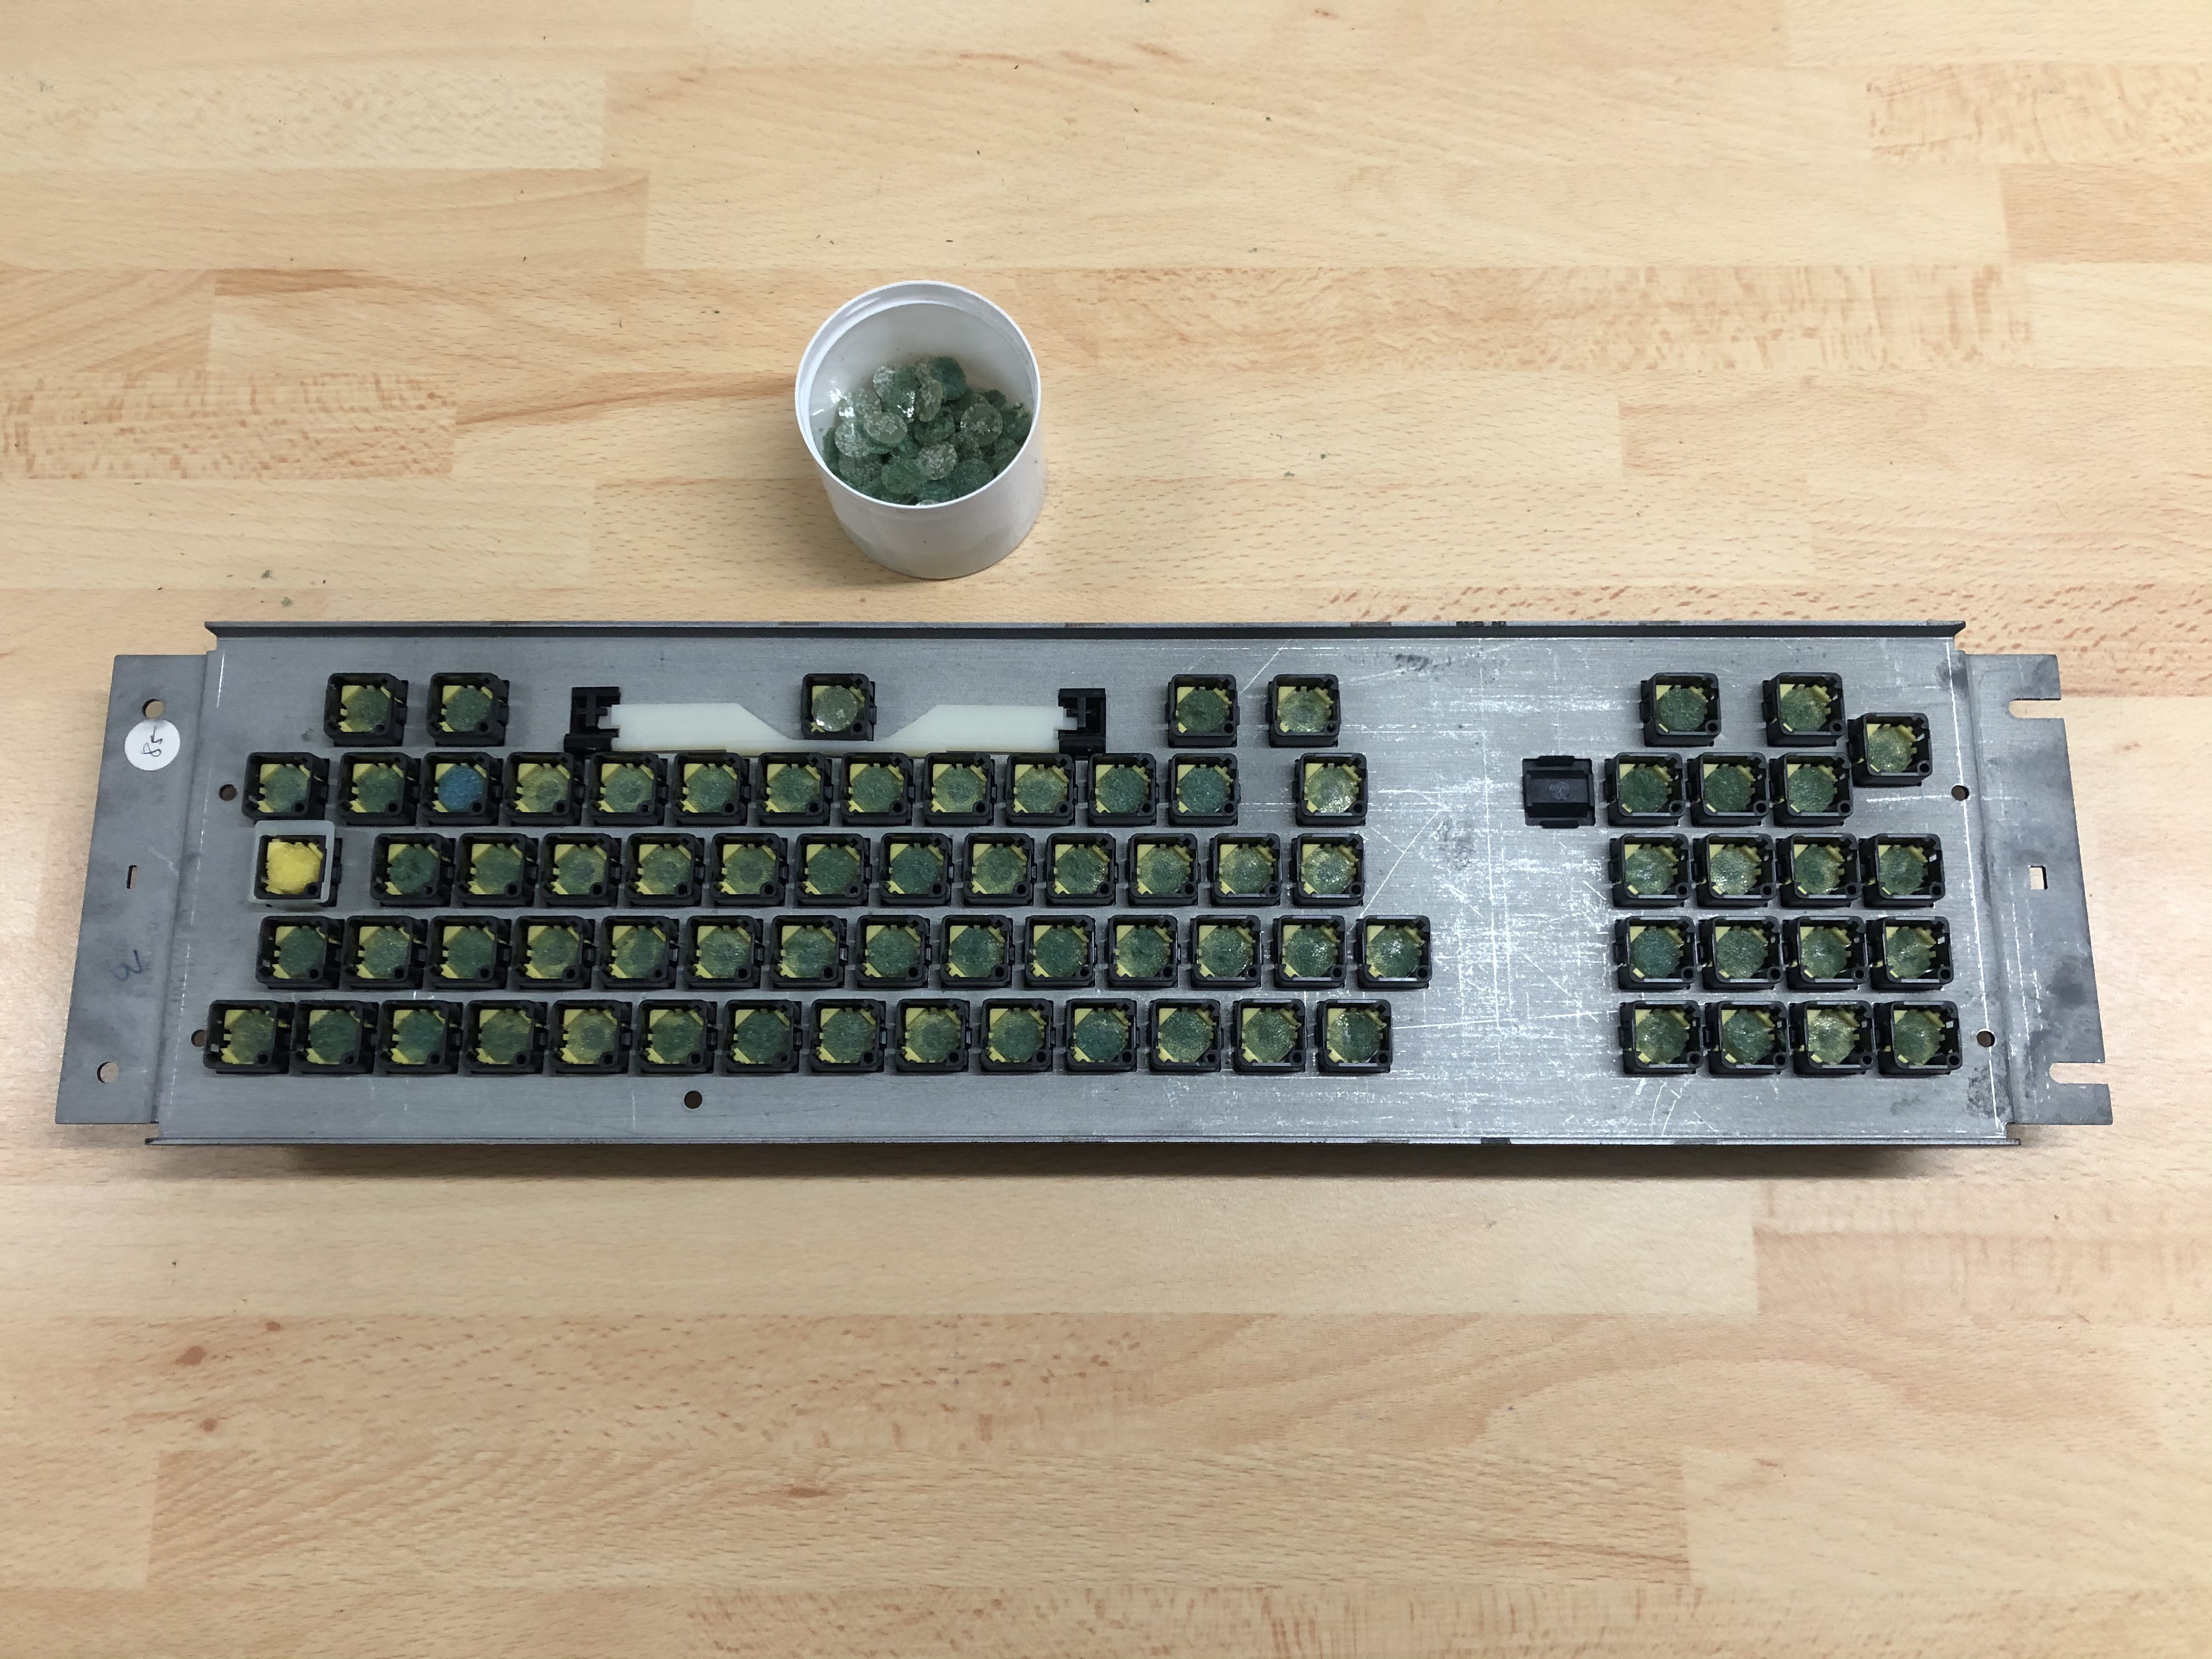
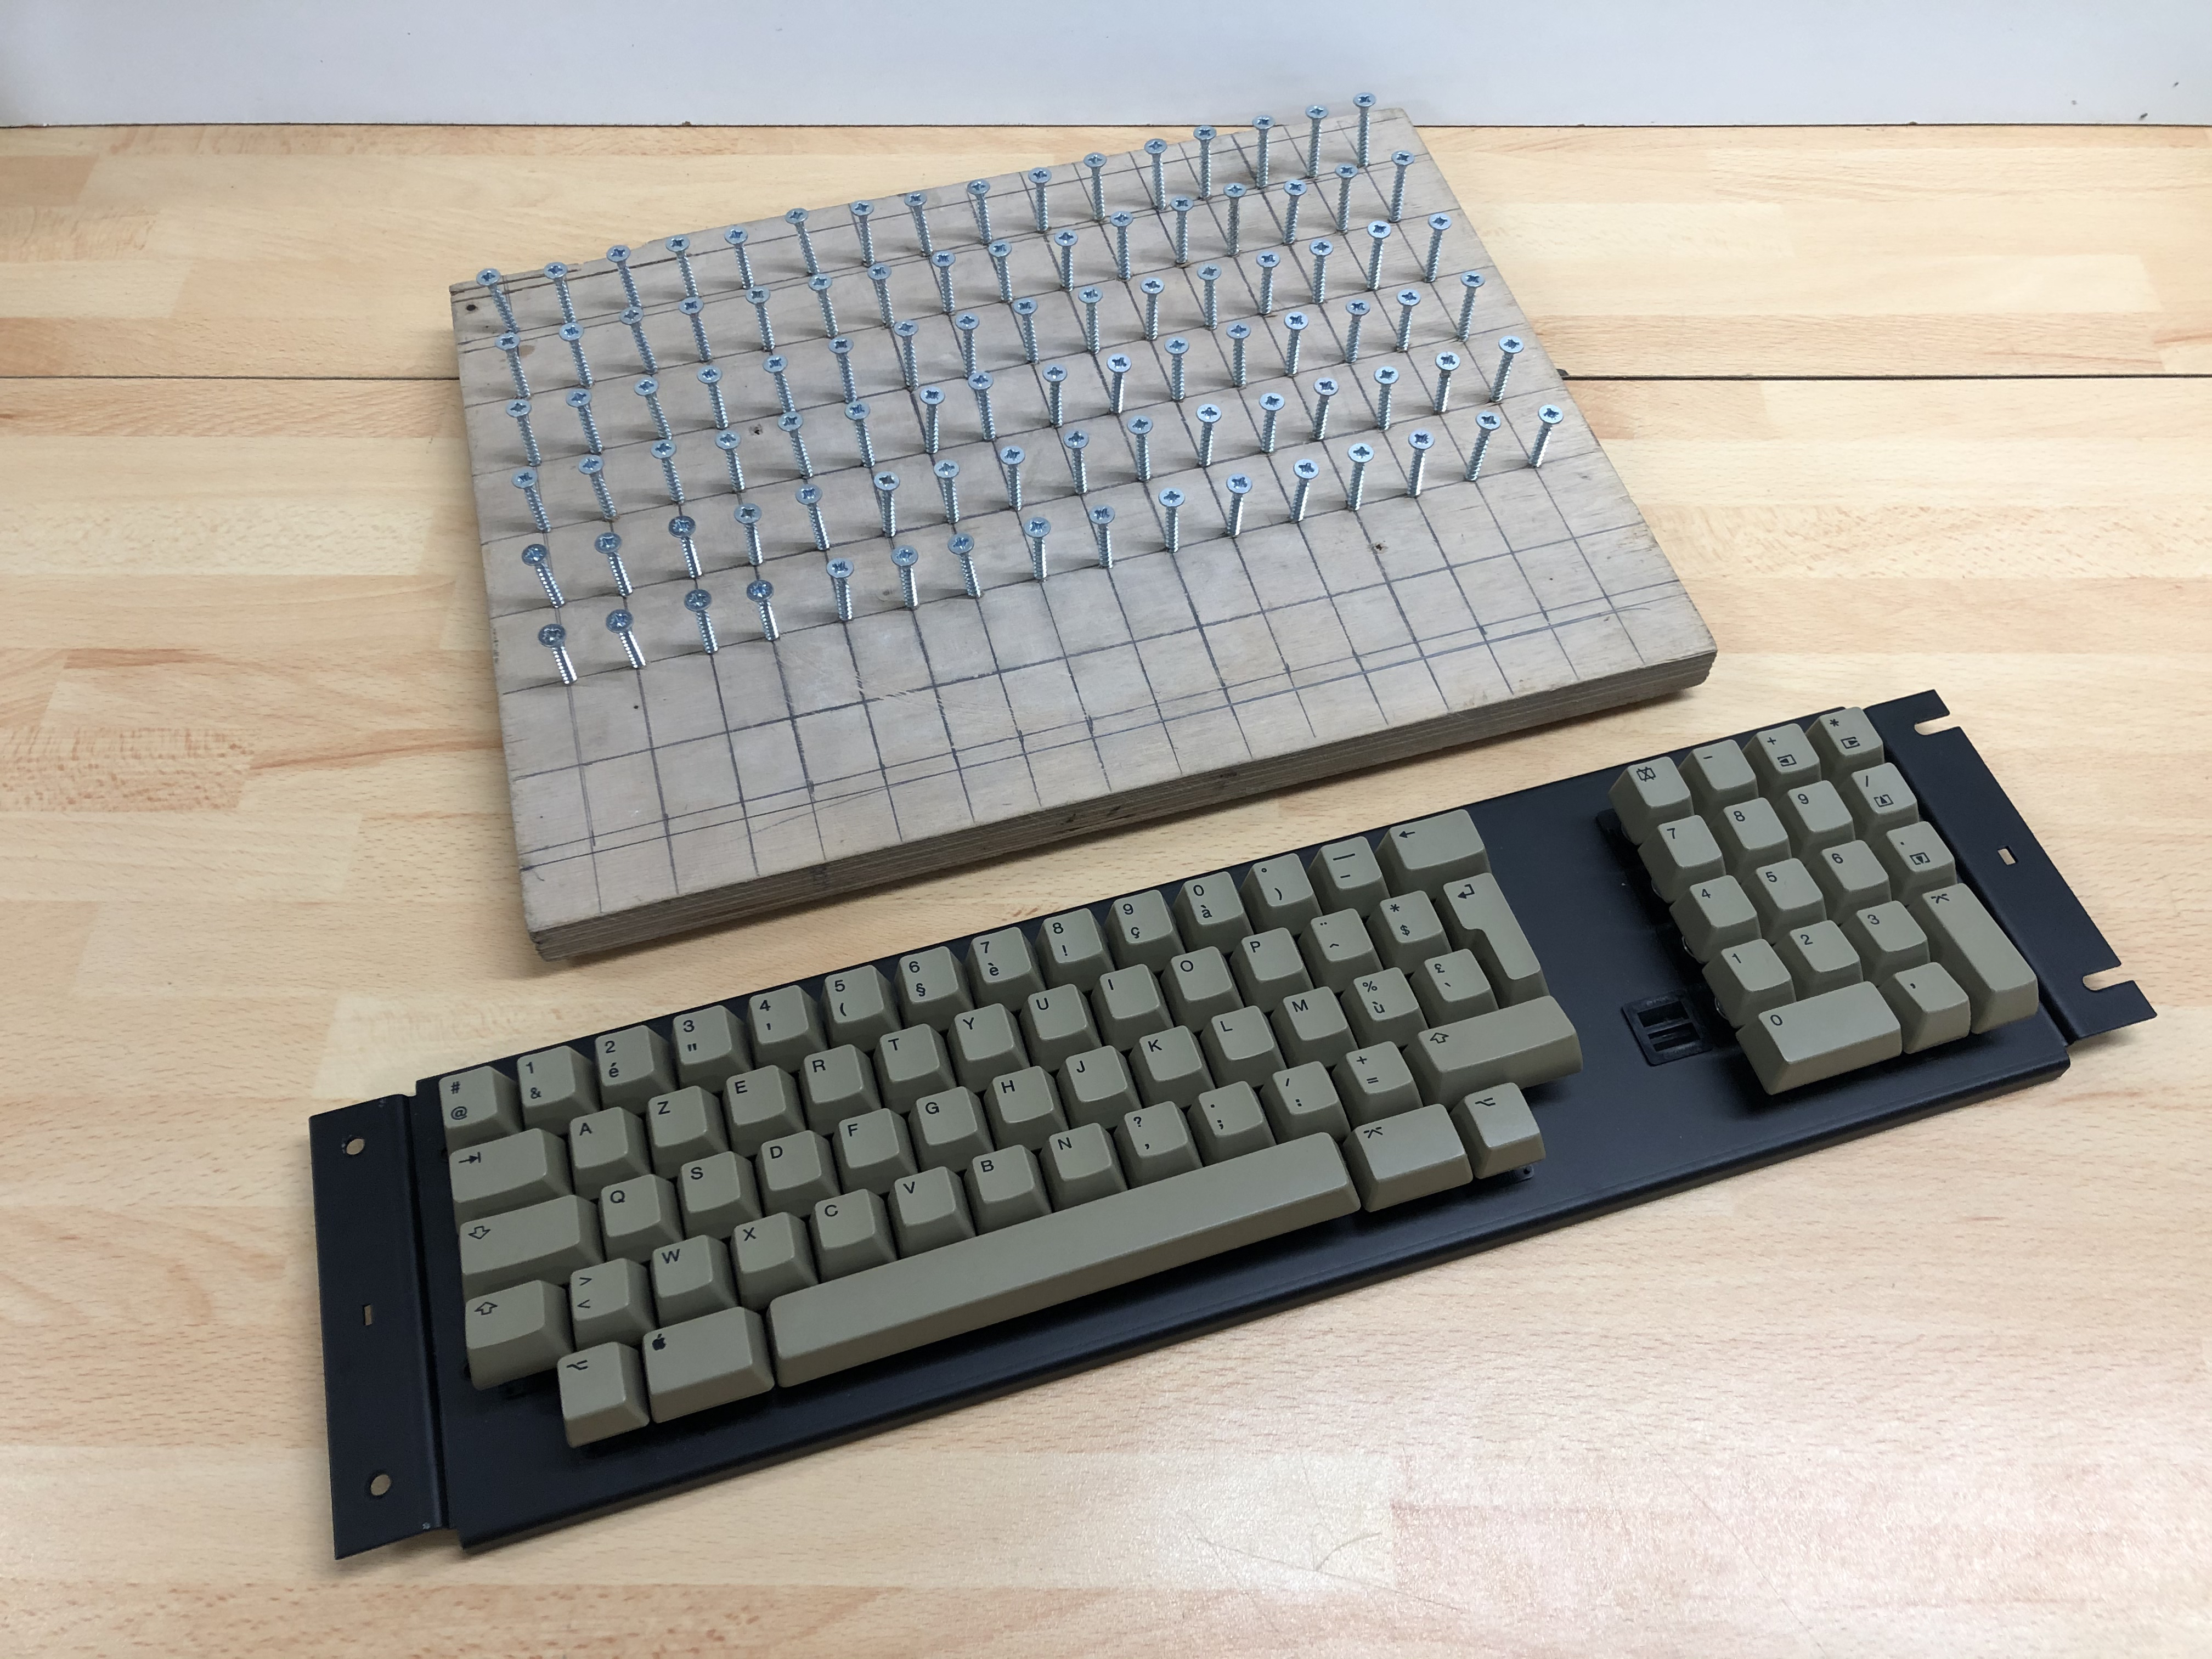
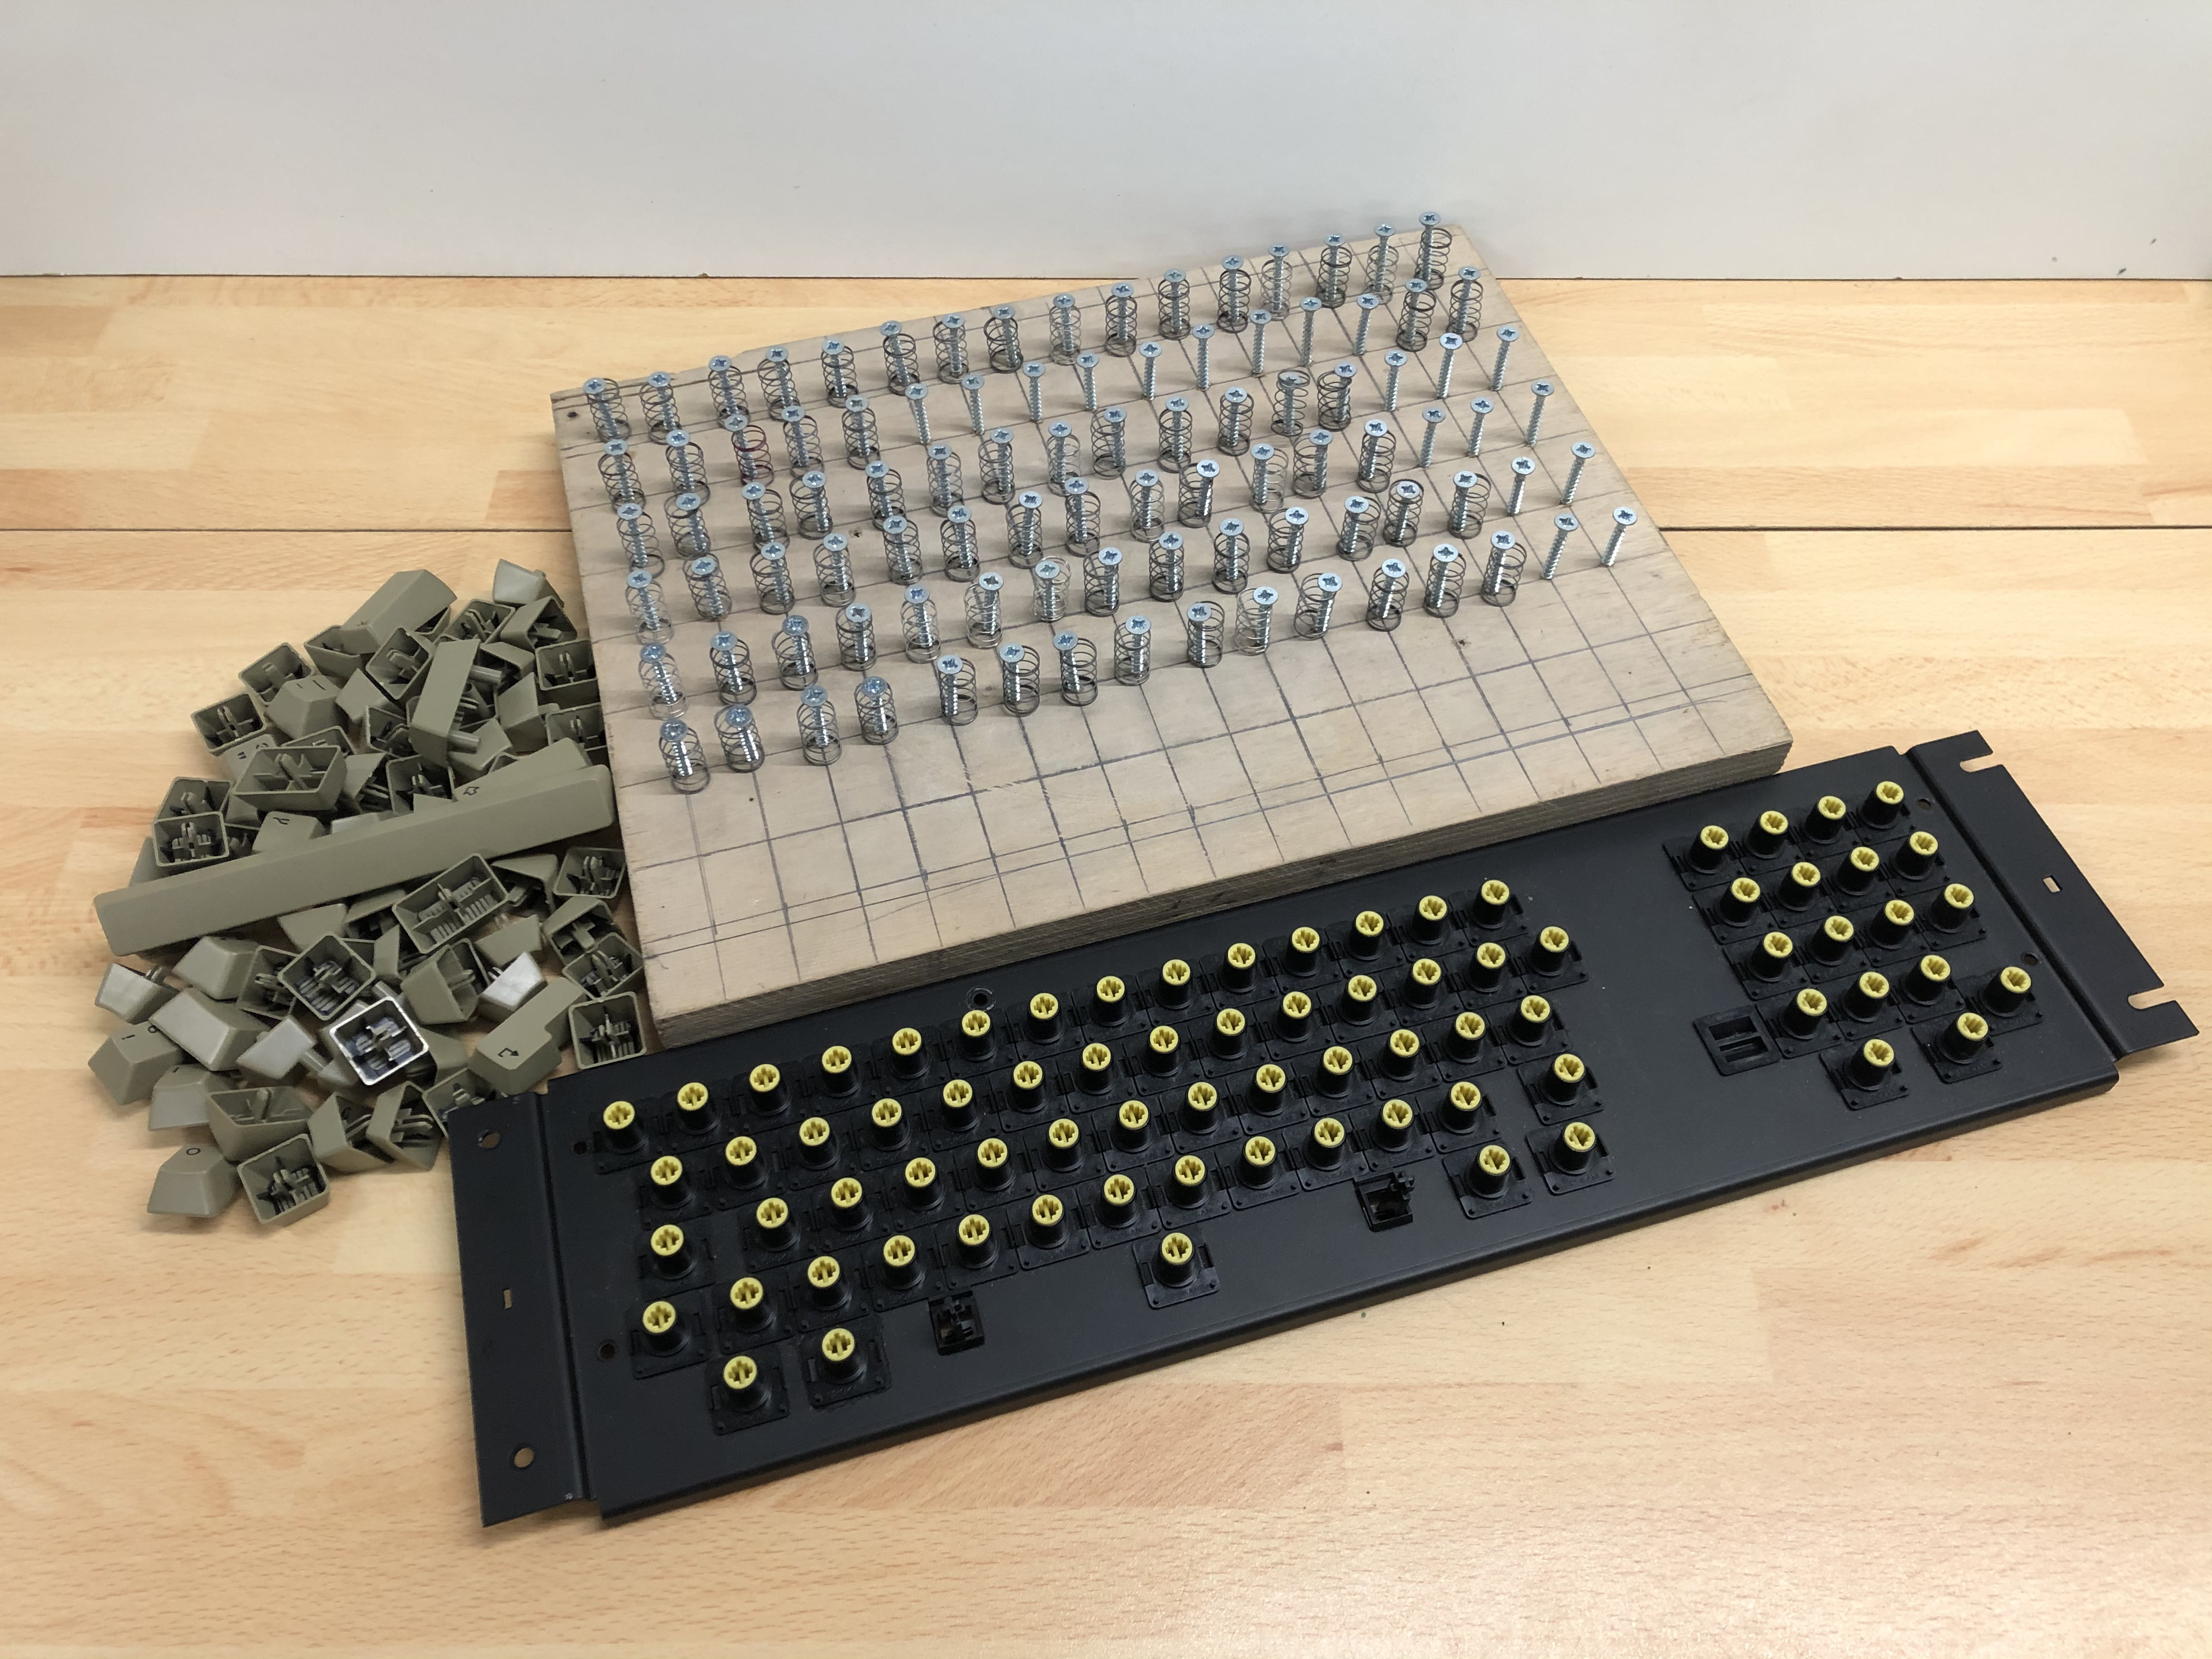
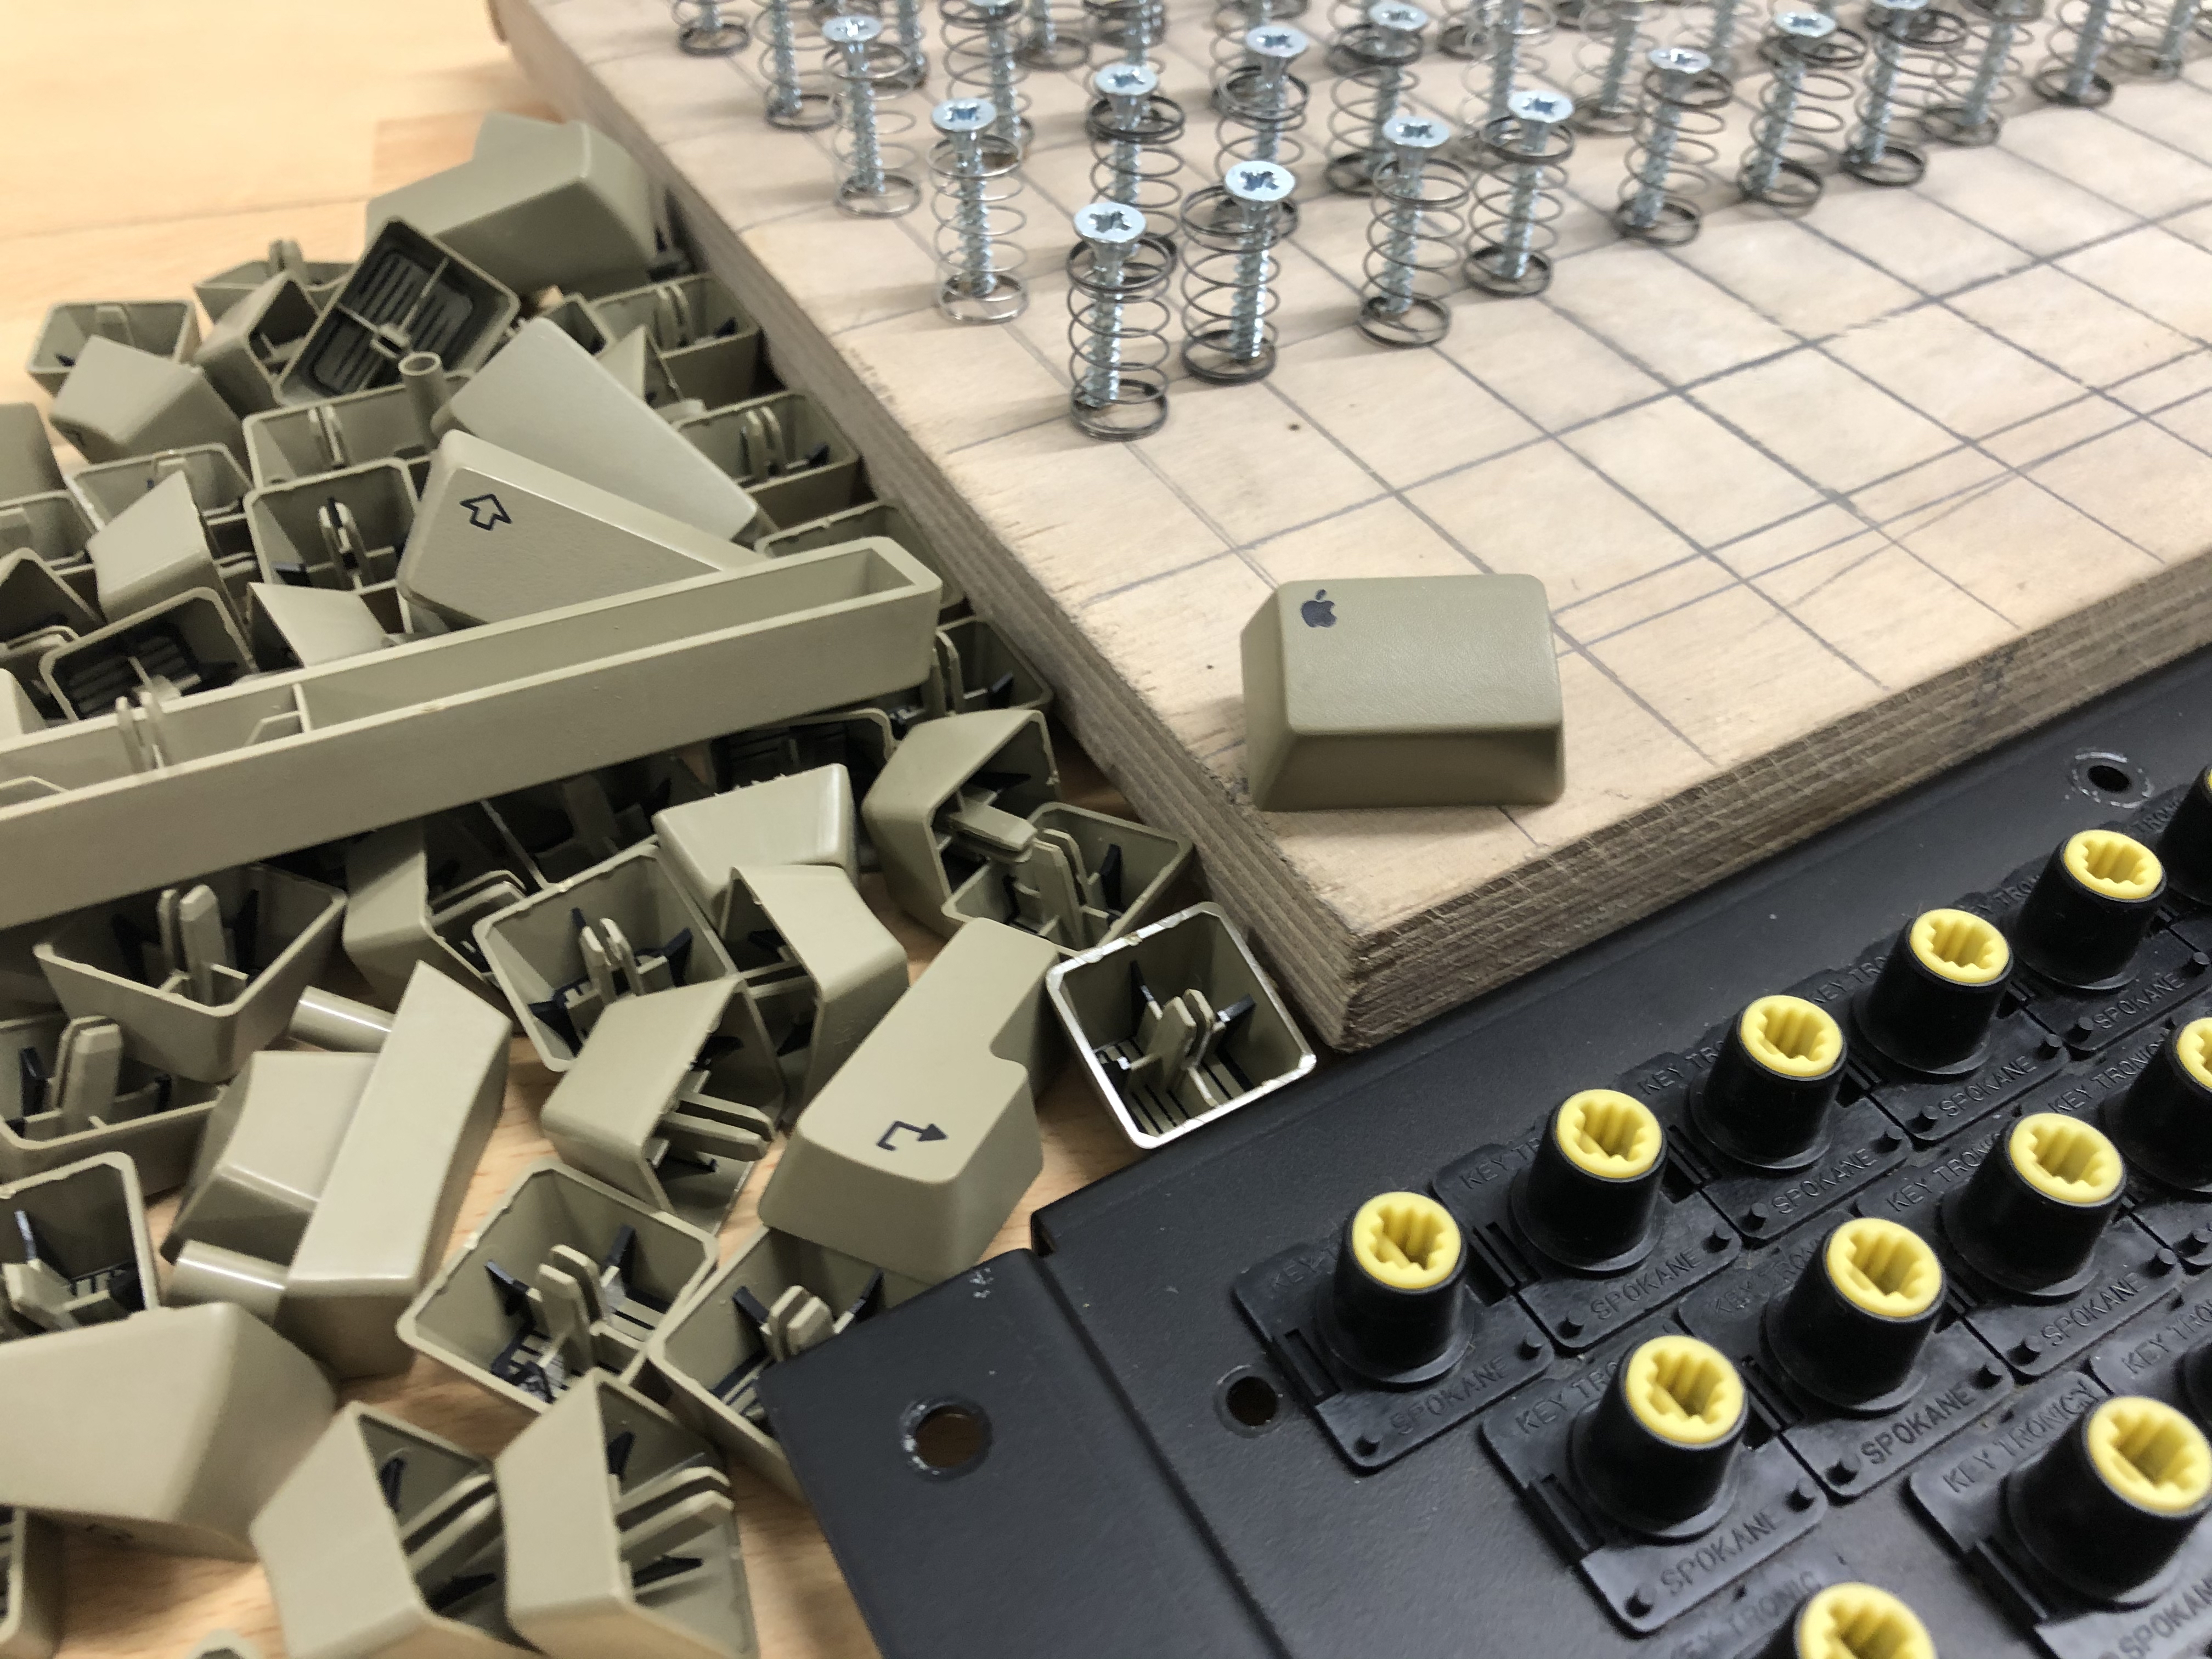
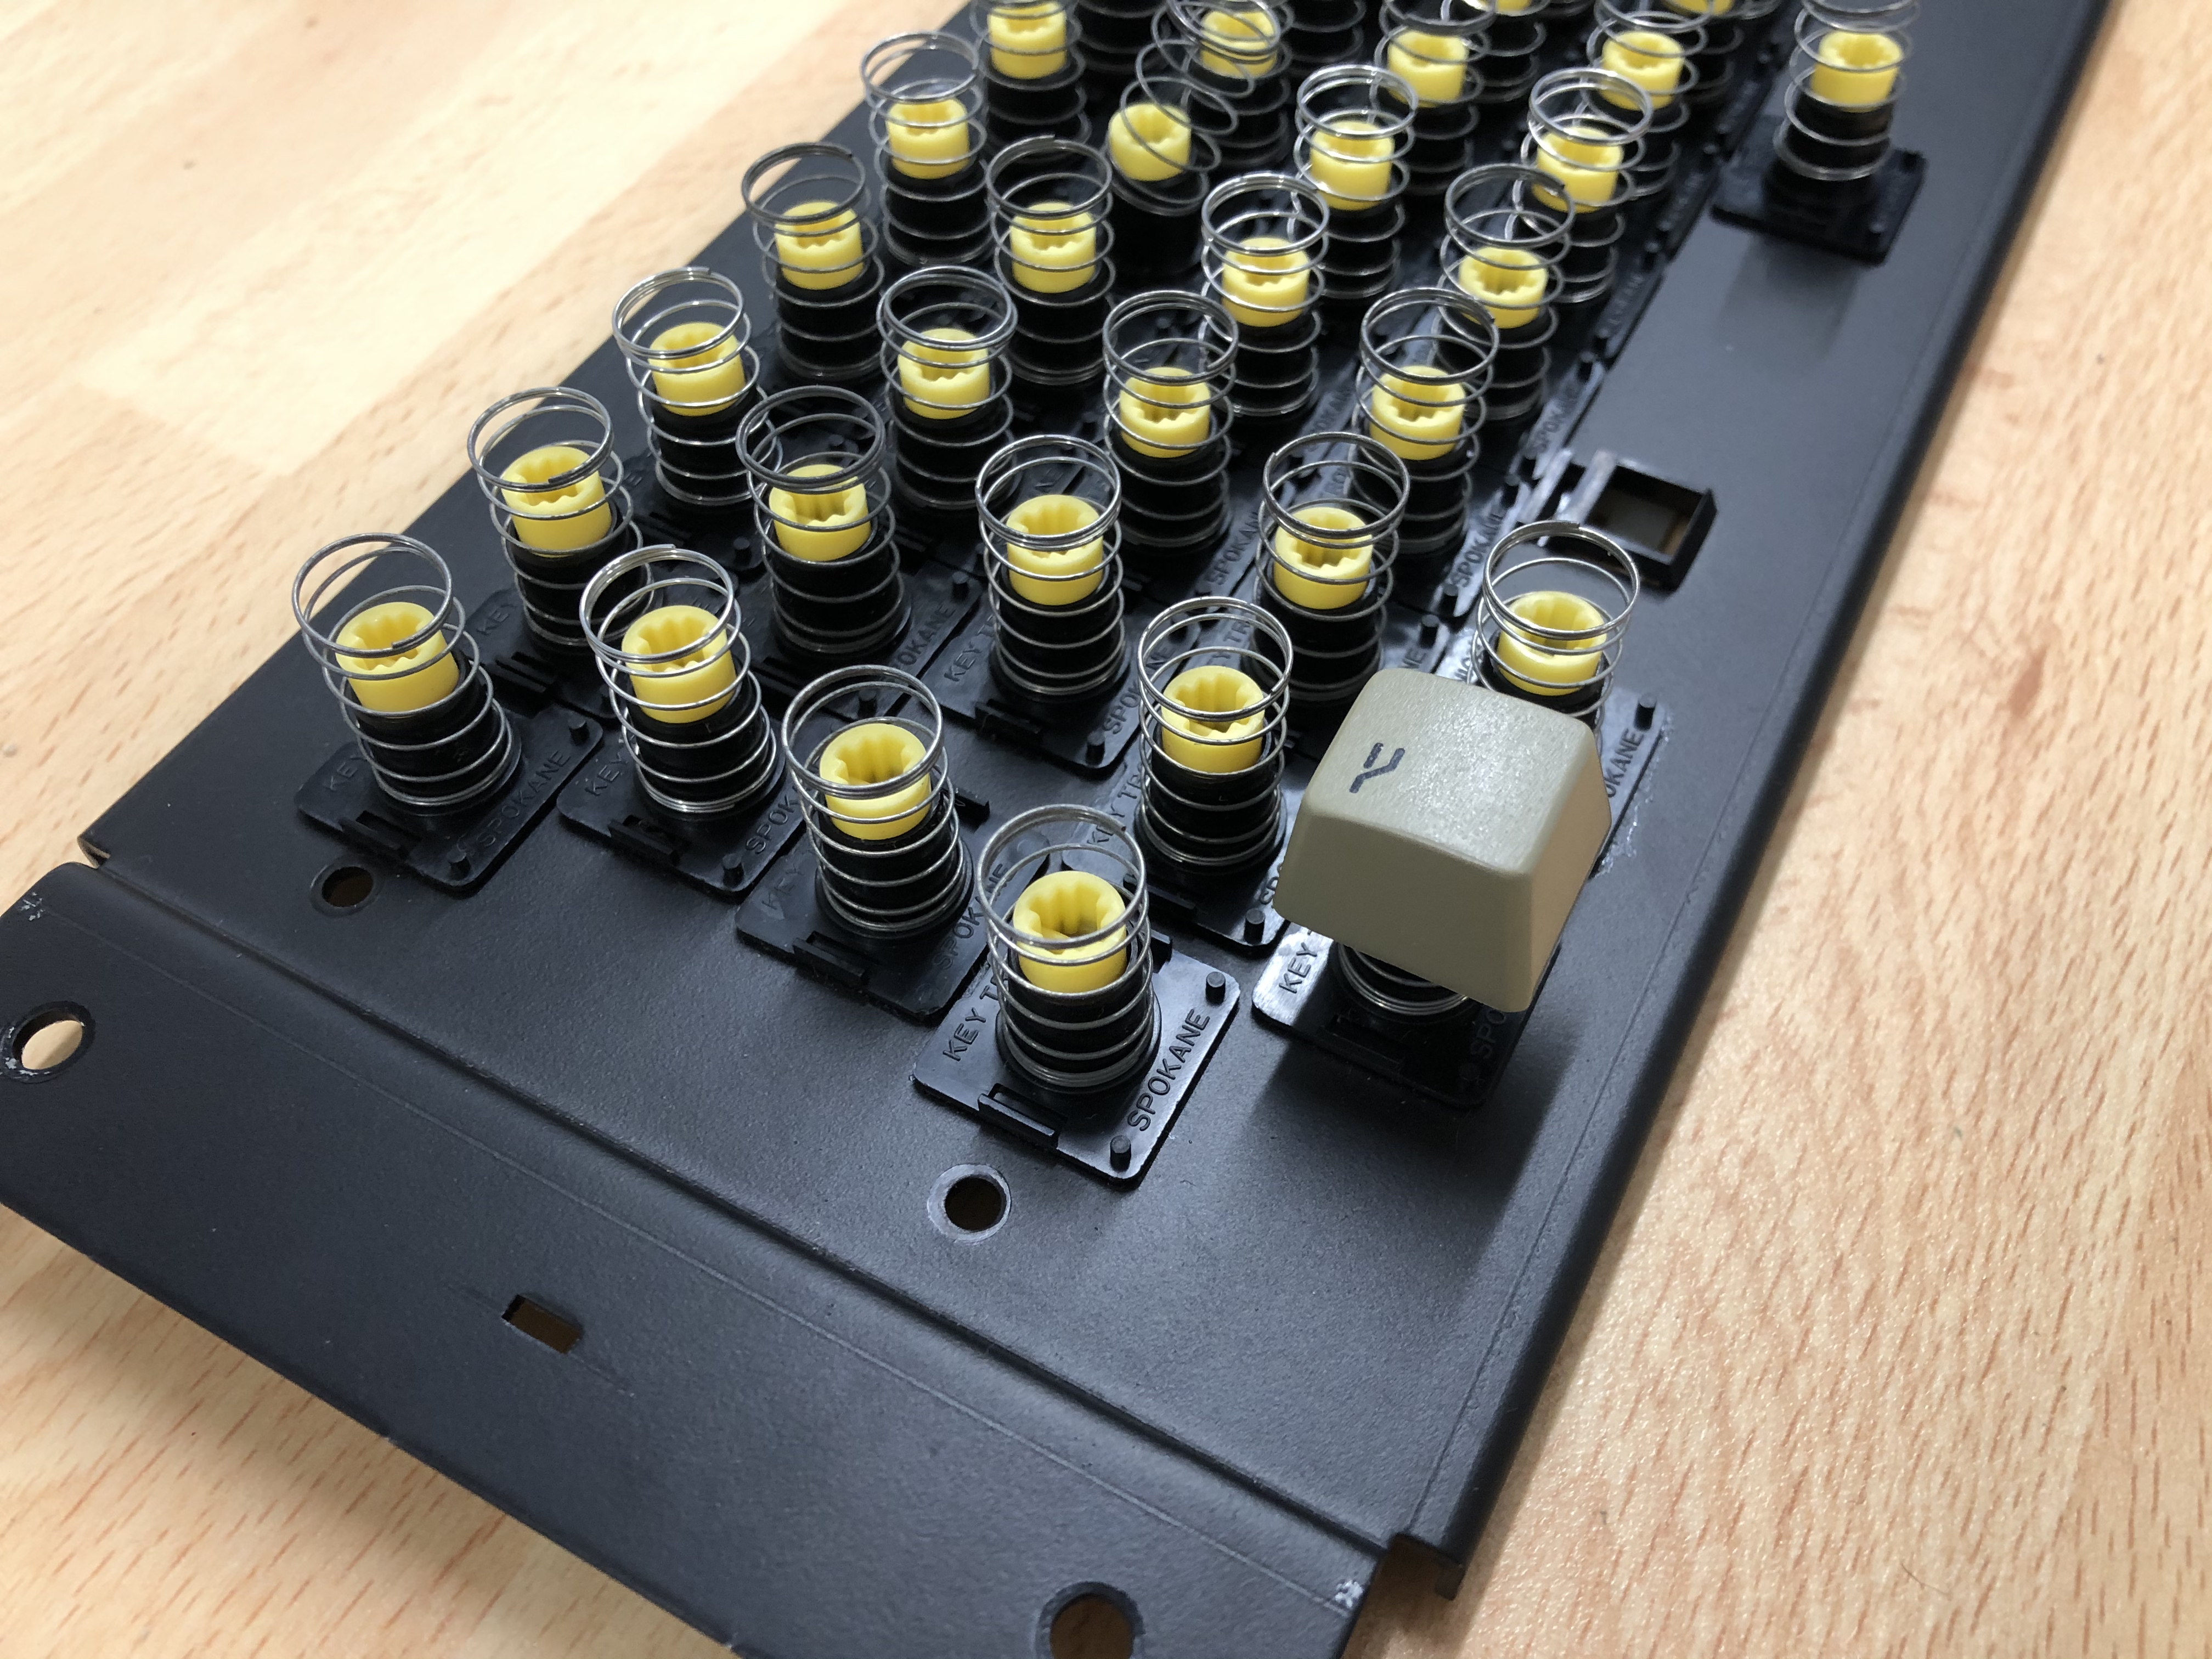
Complete dismantling of the buttons for deep cleaning. The springs, if they are loose in a box, it is very painful and time consuming to separate them. A piece of wood, screws and four legs do the job, especially since I have some of Lisa’s keyboards to restore.
Little puzzle to do:
Cleaning of plastics and keys. Usual shower...
Reassemble the set the next day after a good night’s drying.
Put the spring in place, then press the button on top of it.
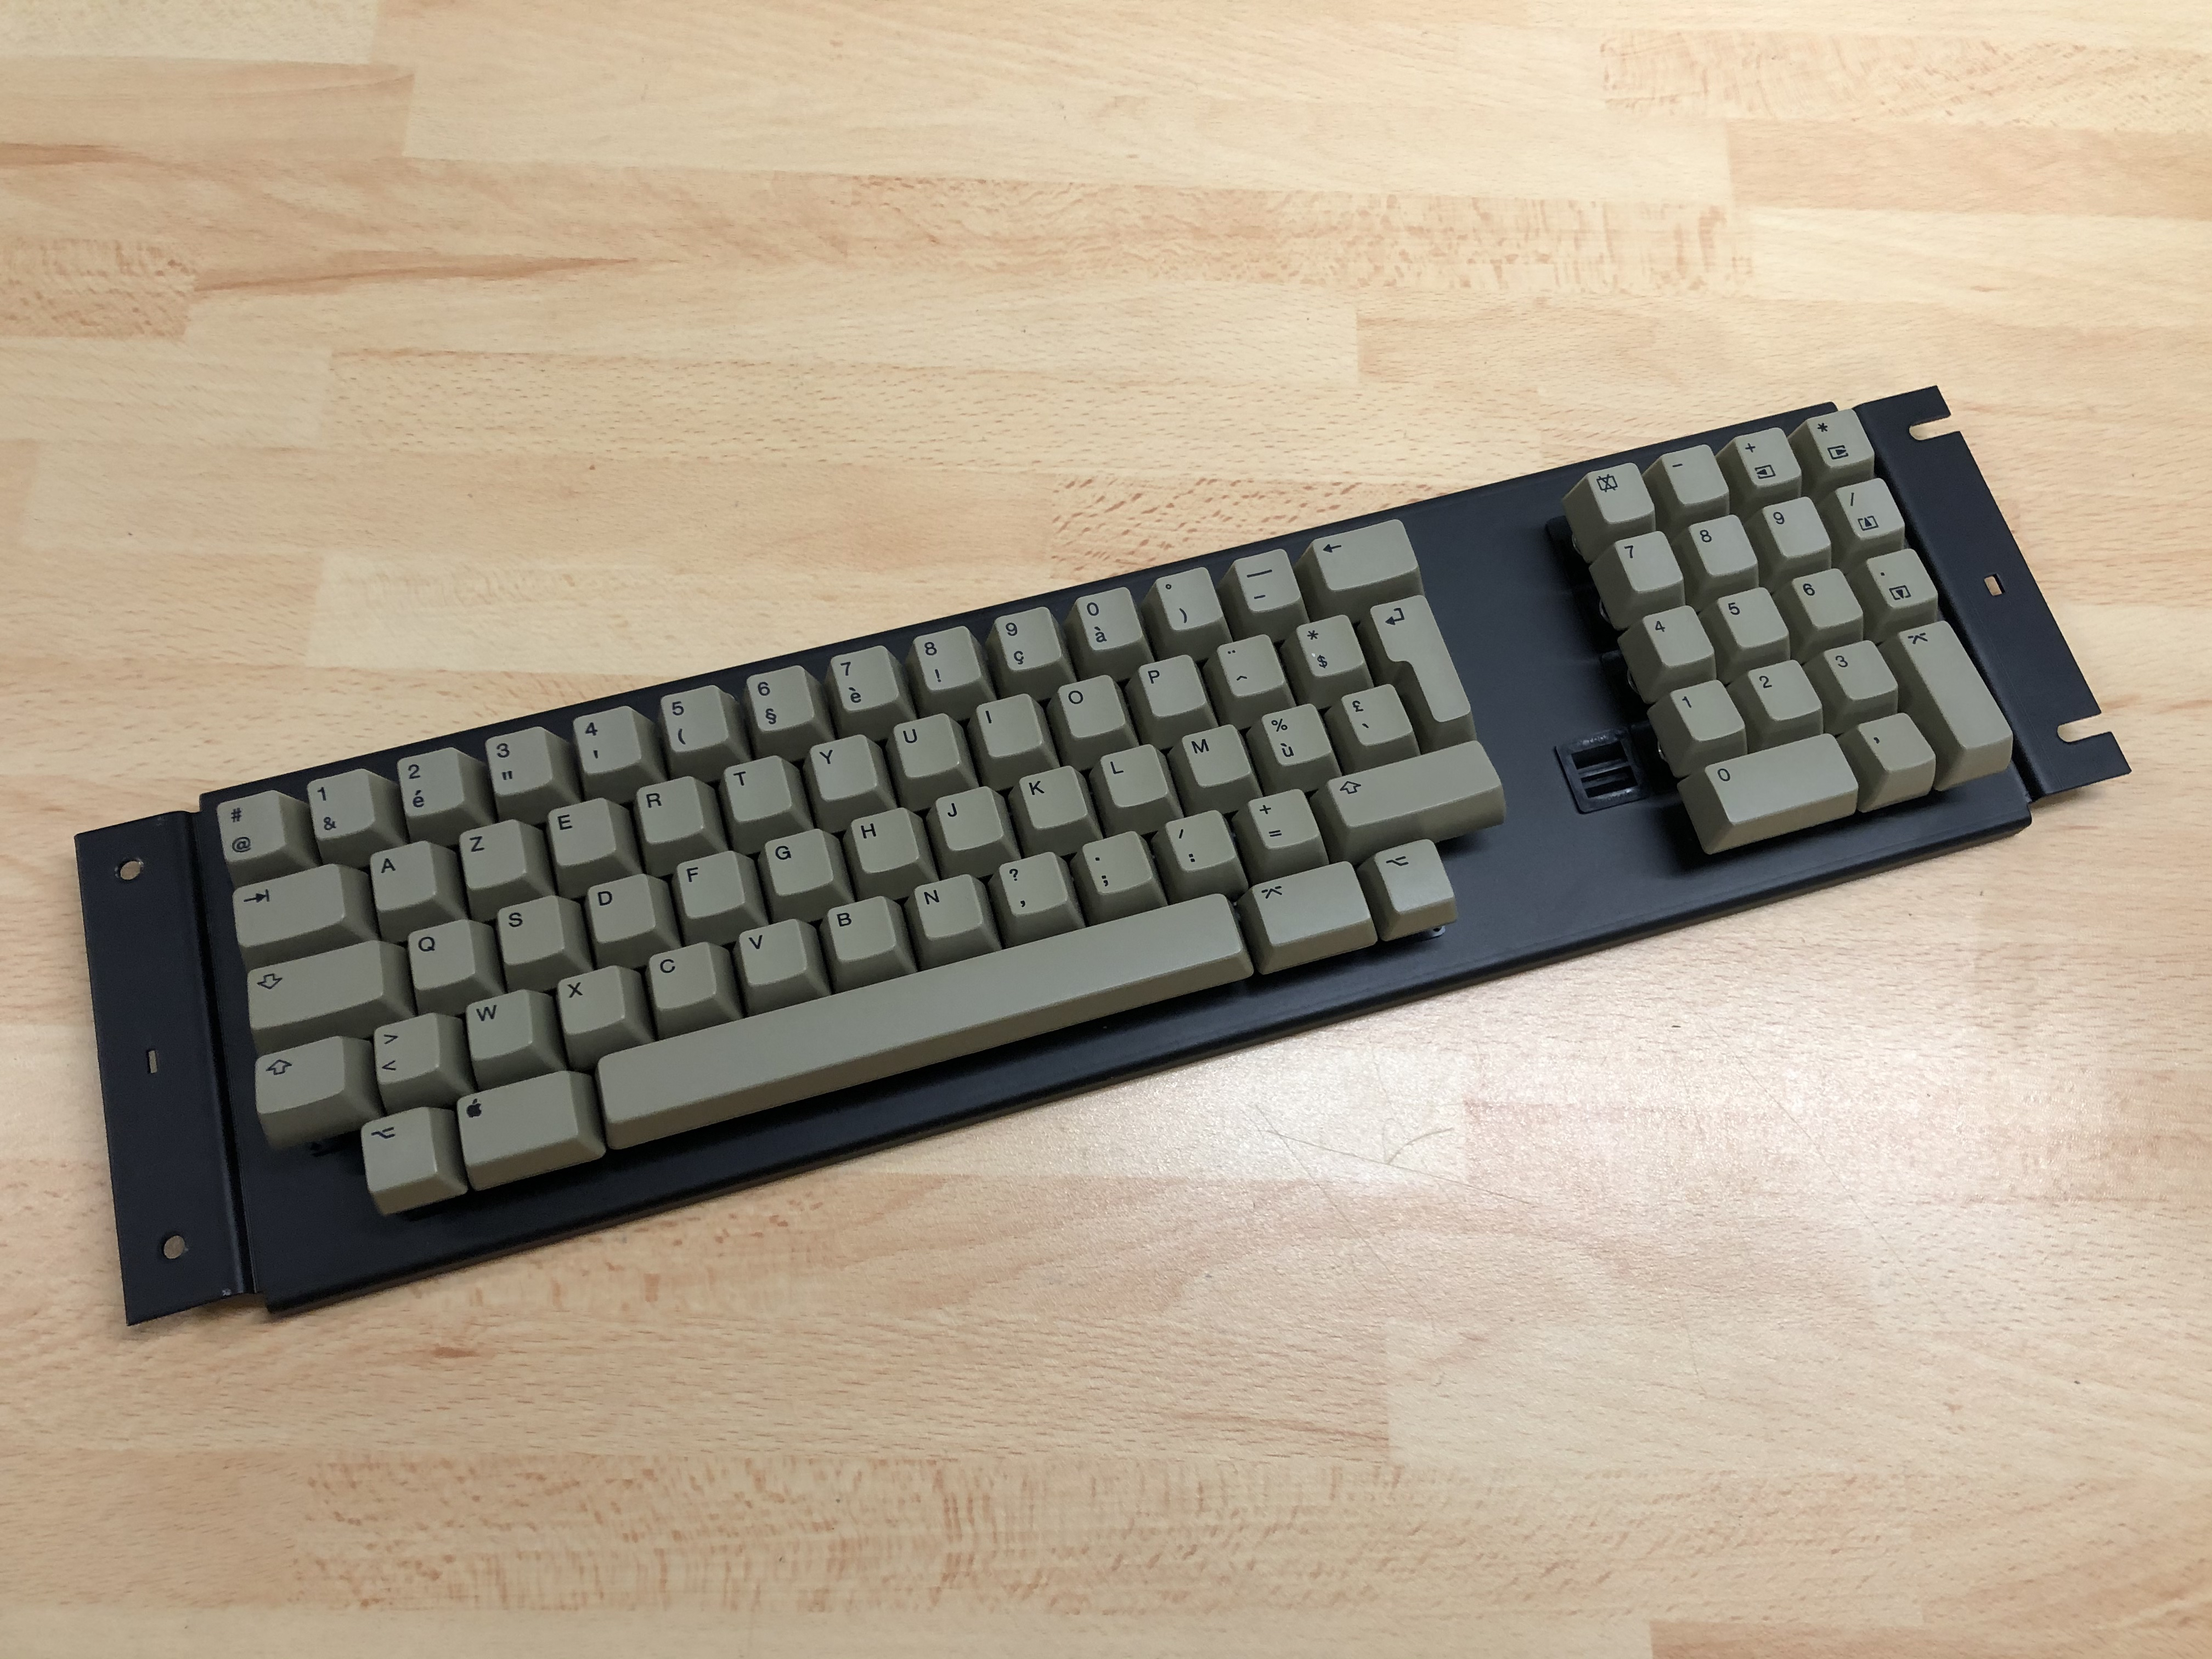
The reconstructed keyboard, with keys in a state quite close to new.
The tests were positive. All the keys are working again. The noise made by a mechanical keyboard has nothing to do with modern keyboards. A must try! 😉
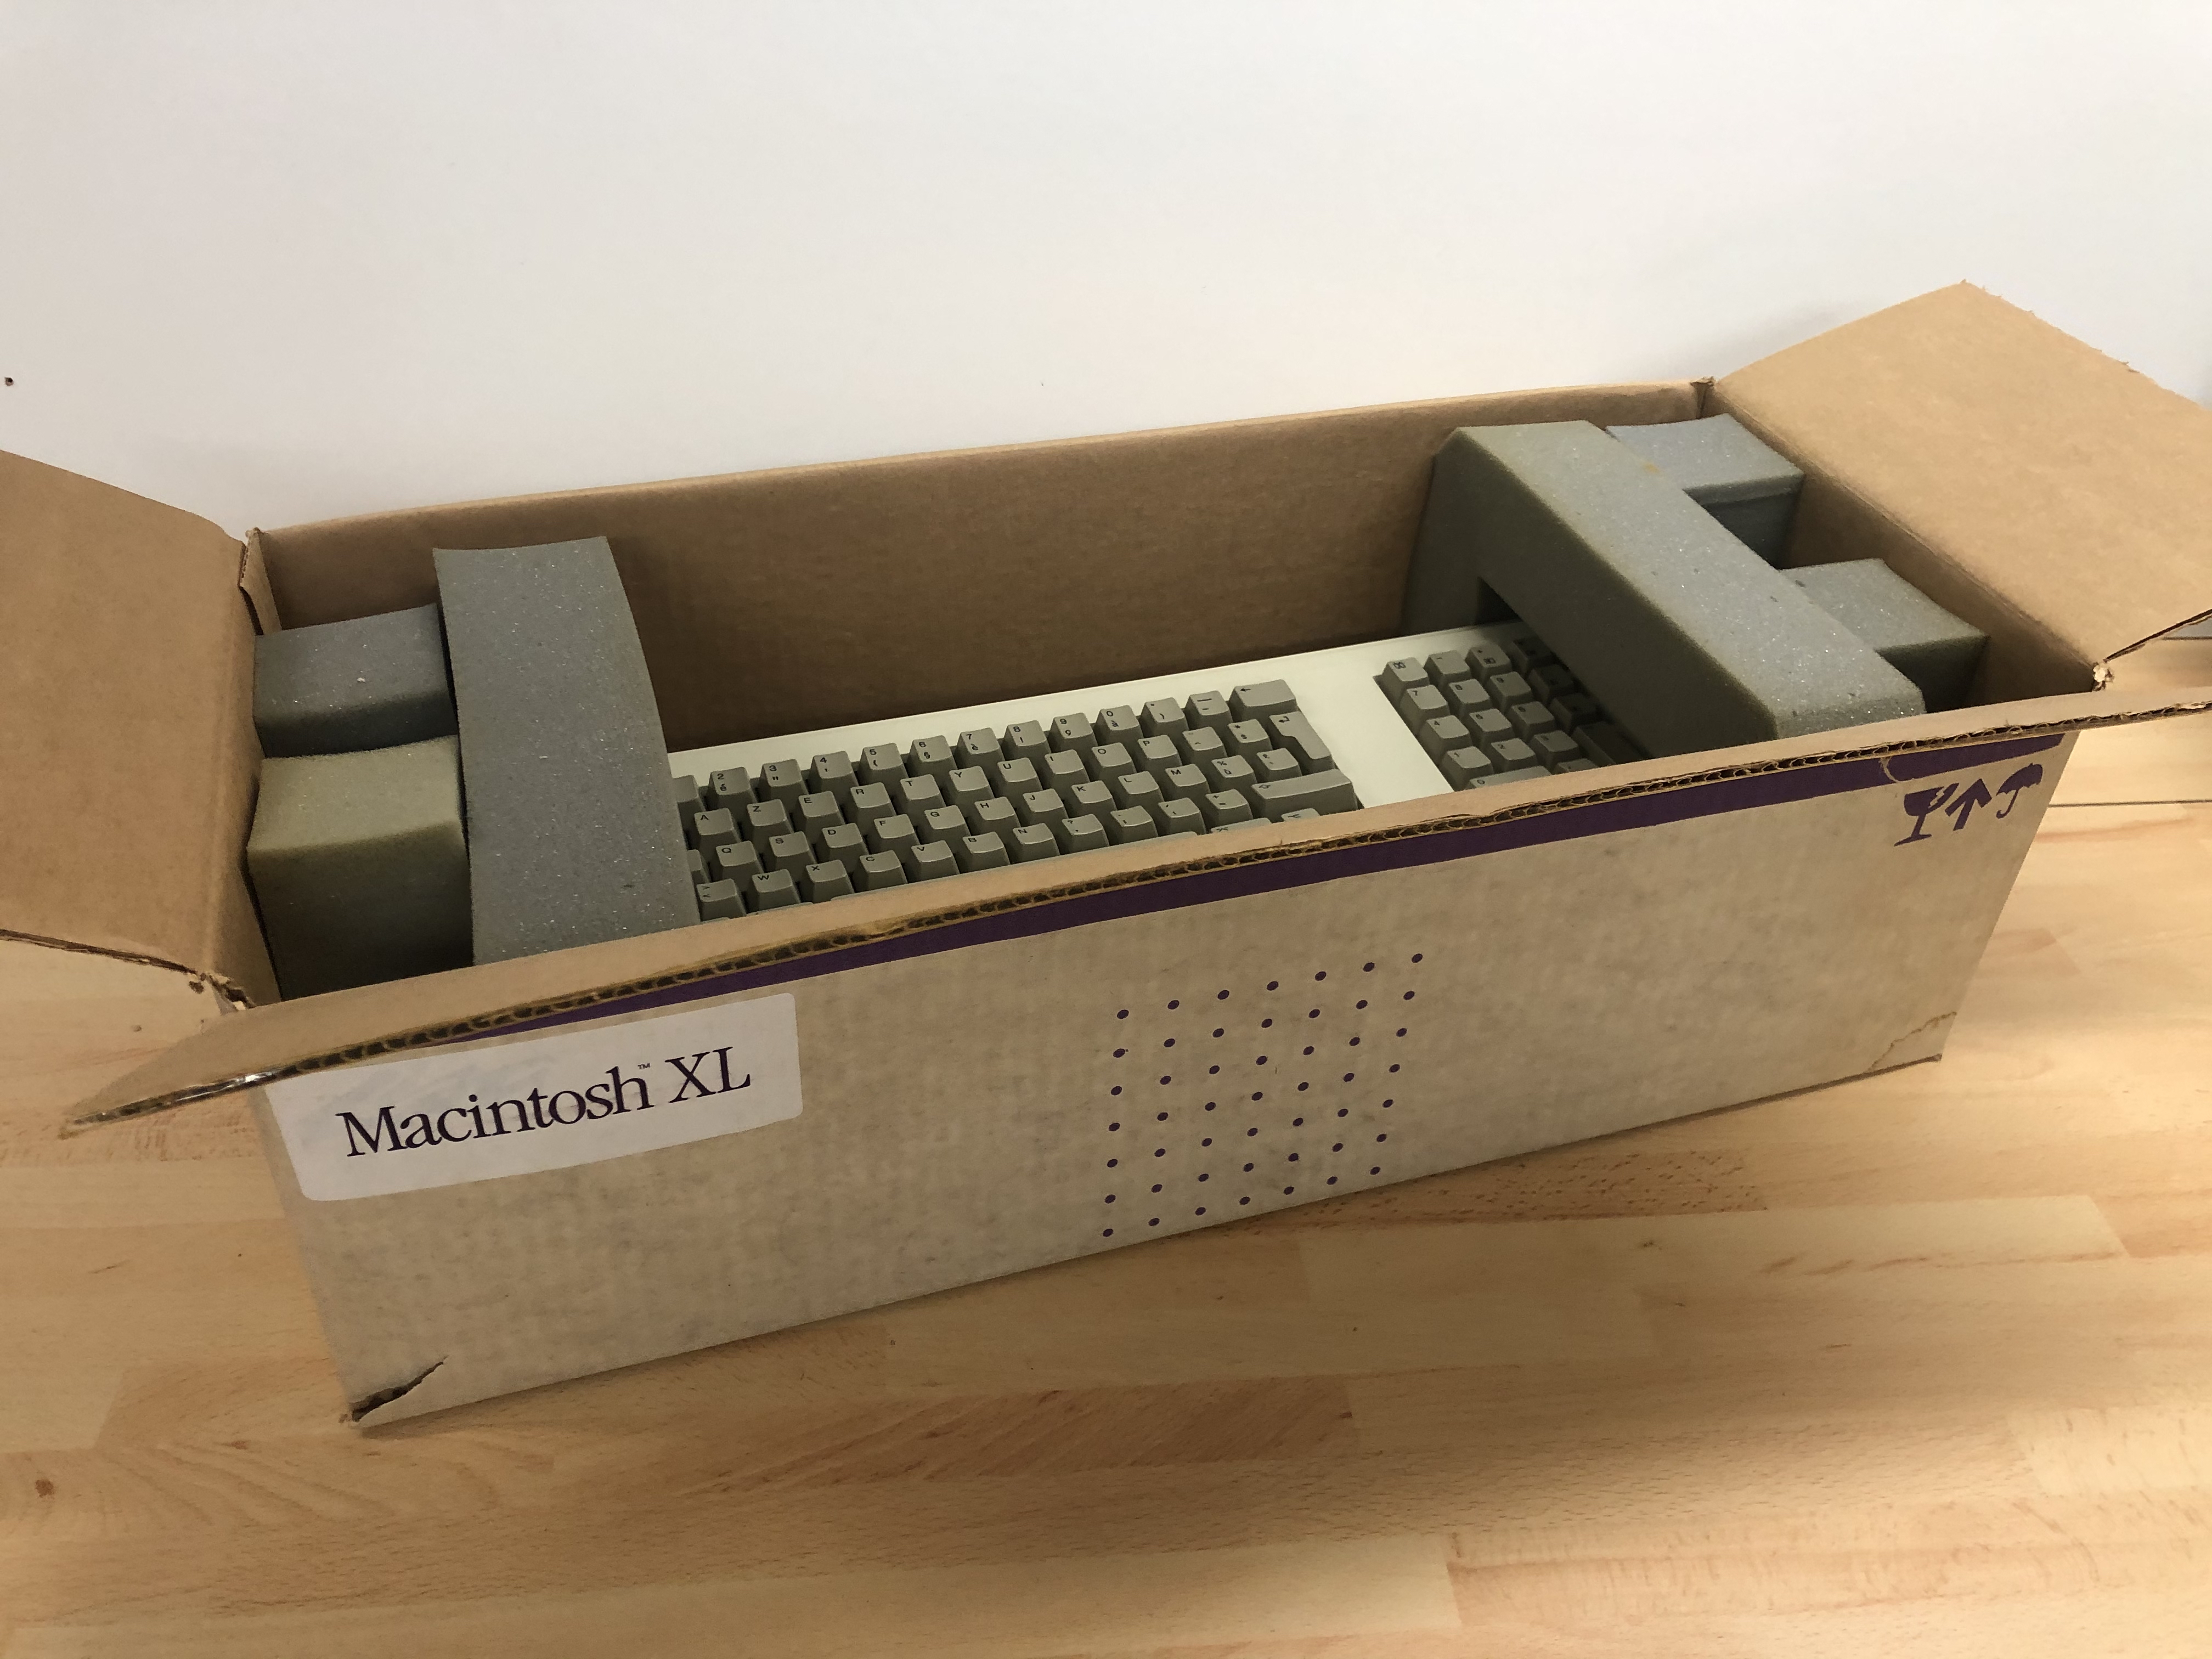
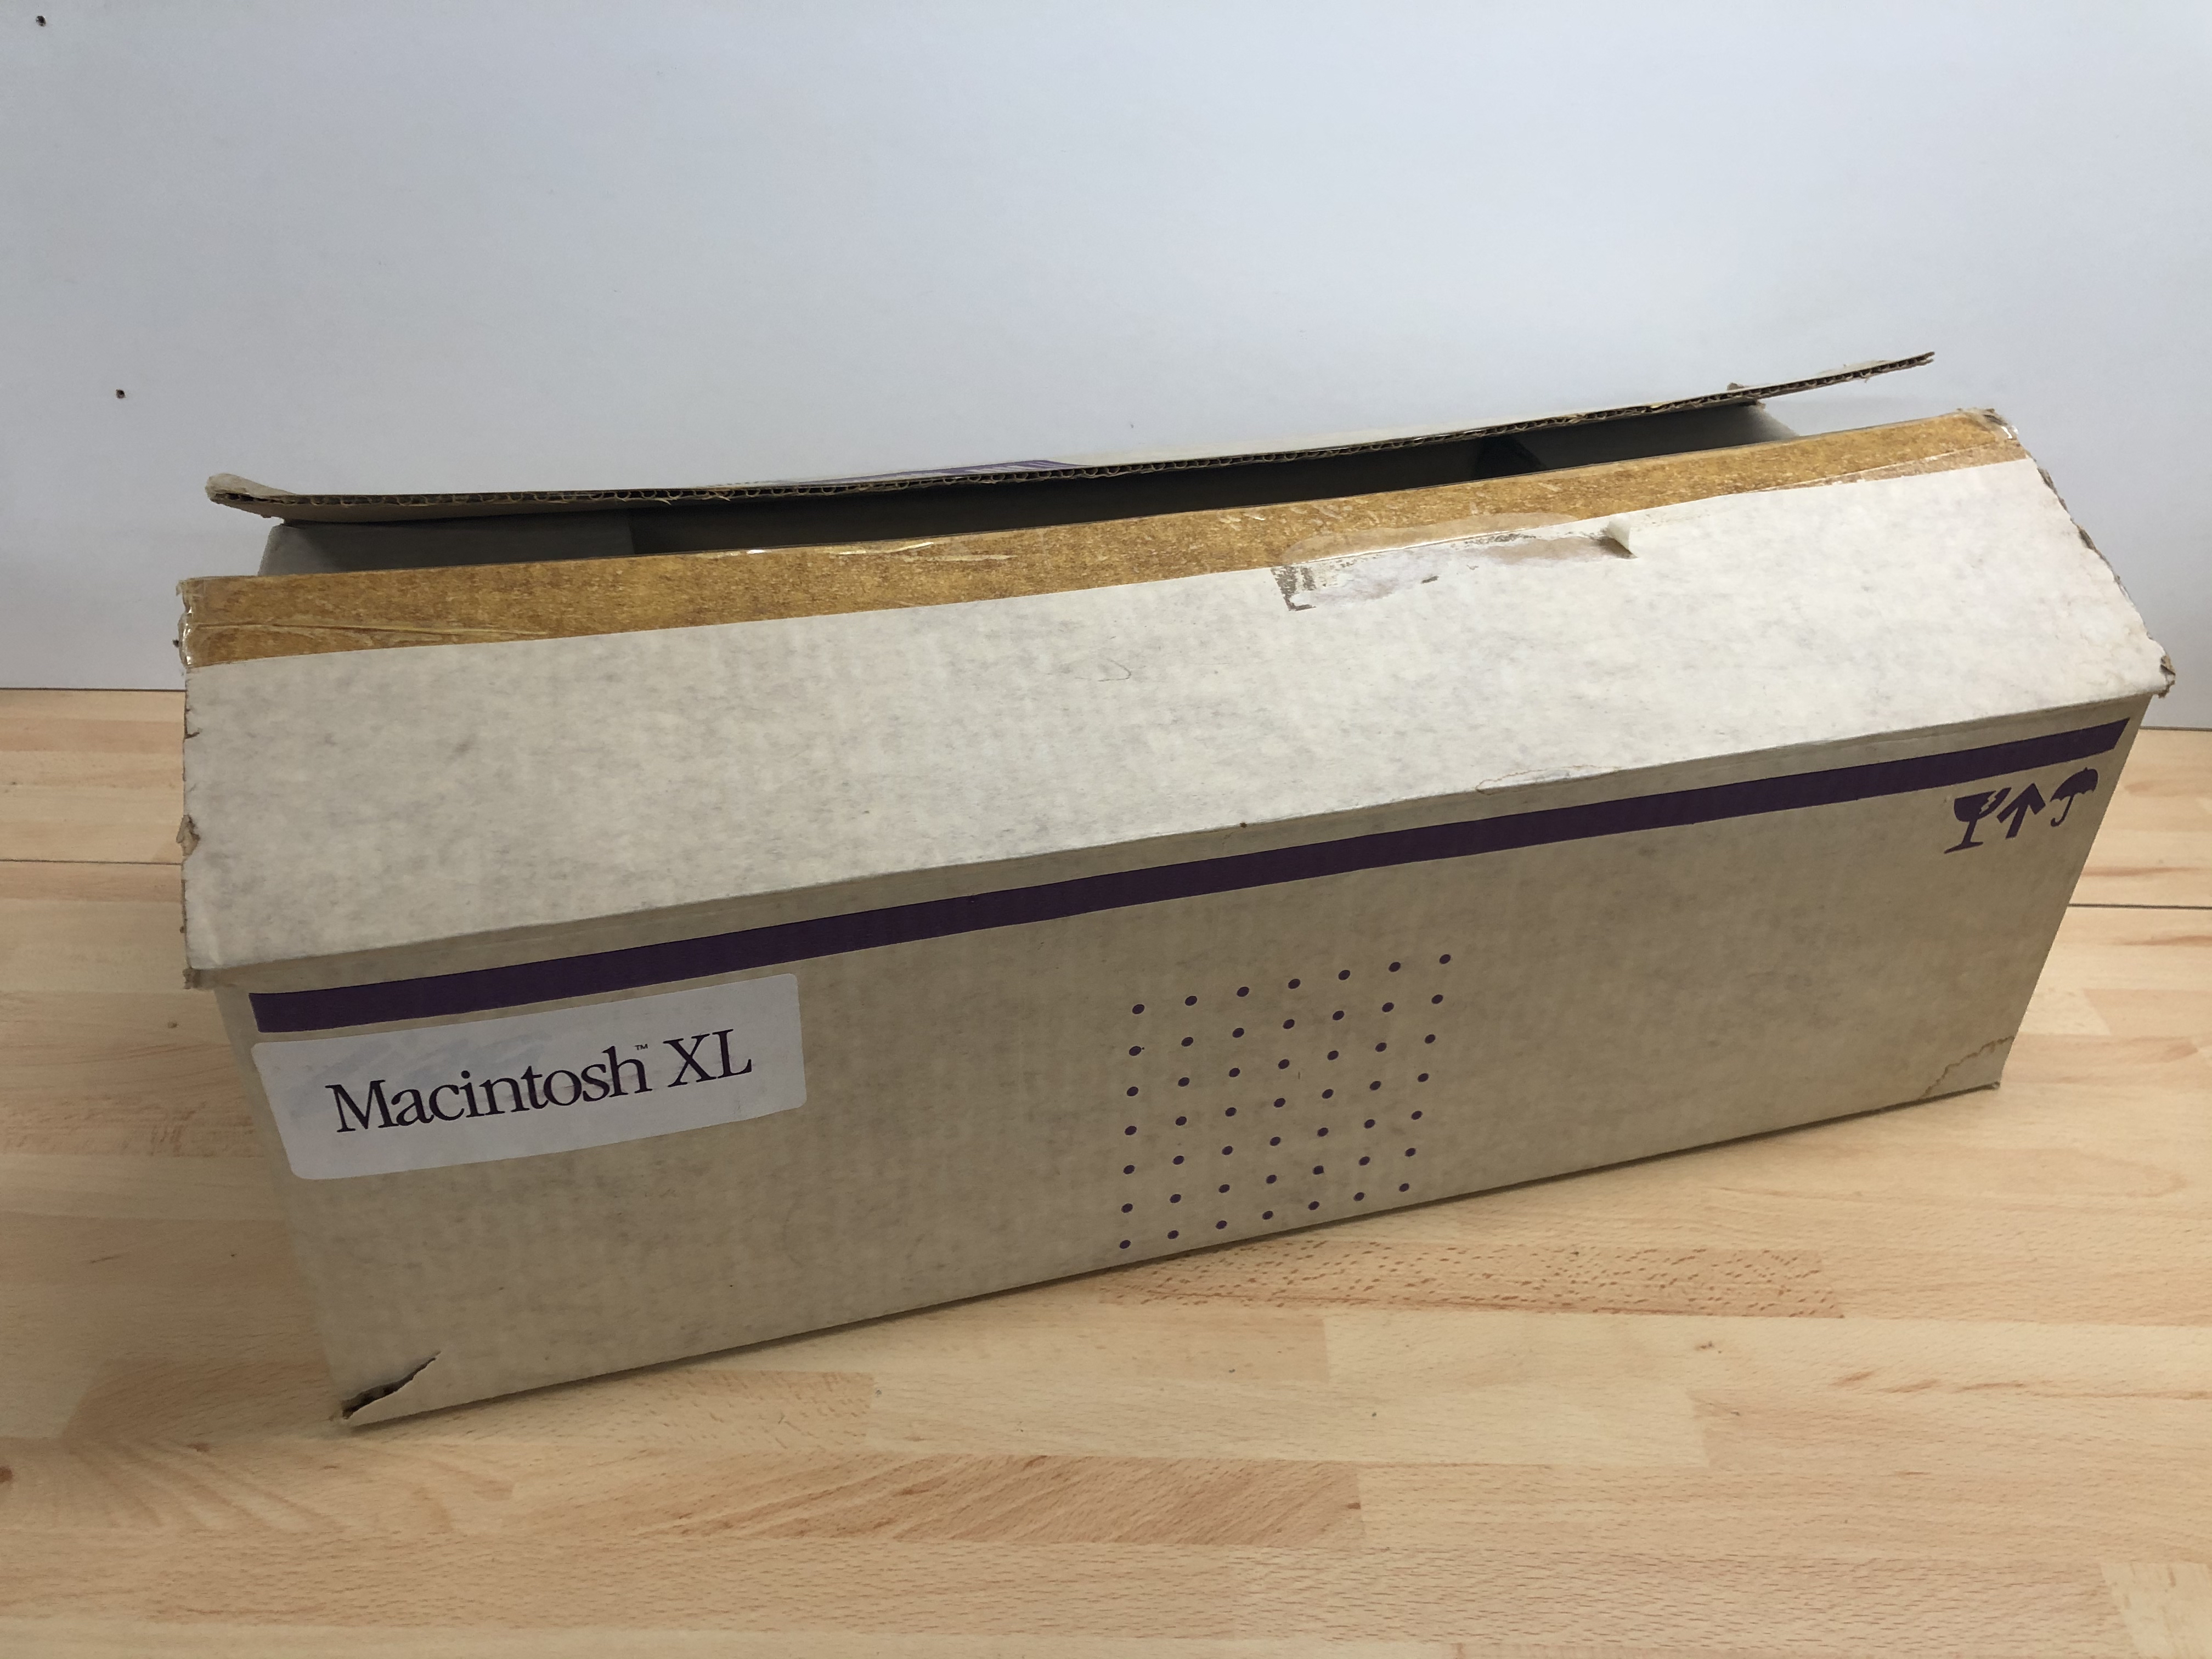
Oh yeah, one more thing (©), I also have its original box. 🙂
Even if the "Macintosh XL" sticker has been added on top, the "Lisa" logo is visible underneath.
Well, one keyboard done, that leaves the others. This restoration has been very time-consuming. 77 keys to clean and reconstruct is not a job done in a few minutes, but I’m glad to have a fully functional keyboard in an almost perfect cosmetic state.
To be continued…